Peanut Butter Granola Bars with Honey and Chocolate Chips
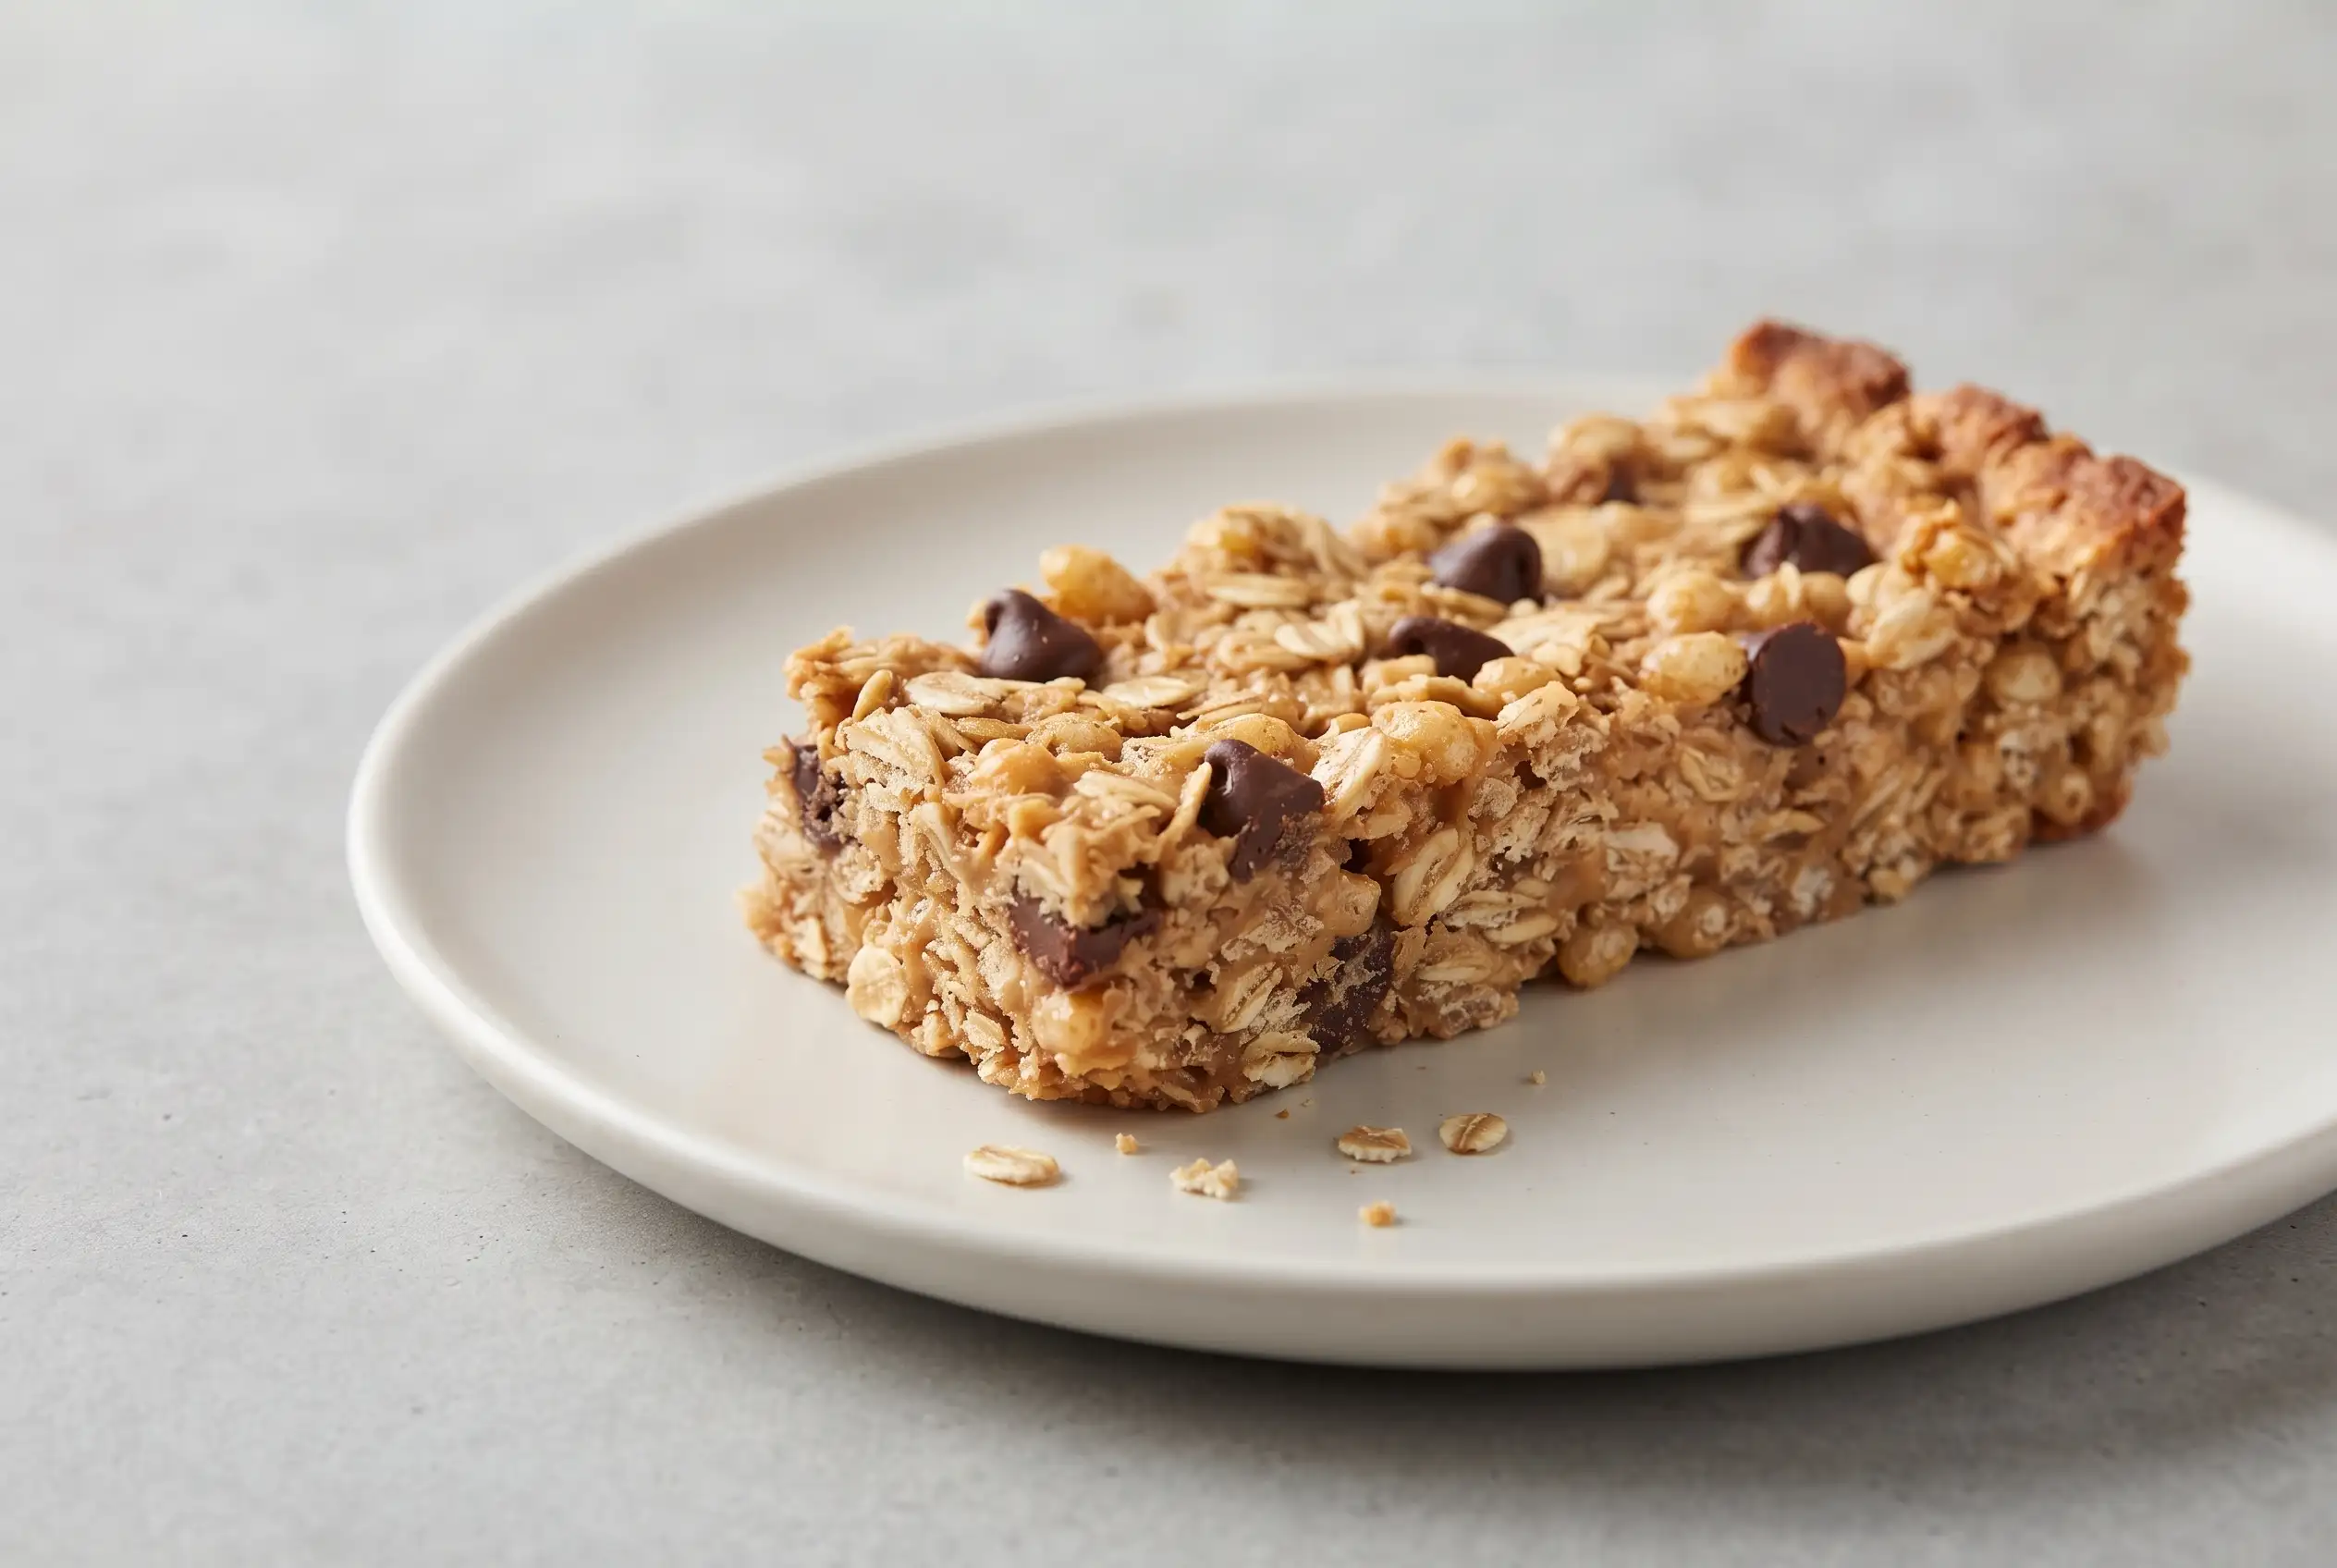
Peanut butter granola bars combine rolled oats, creamy peanut butter, honey, and chocolate chips in a chewy homemade snack with lightly golden edges and a soft center. The mixture comes together quickly, uses familiar pantry staples, and bakes in an 8×8-inch pan for bars that are easy to portion for breakfasts, lunchboxes, road trips, or afternoon snacks.
Compared with many packaged options, homemade peanut butter granola bars make it easier to control sweetness, texture, and optional additions. Firm pressing and patient cooling matter just as much as the ingredients because those two actions determine whether each bar slices neatly or breaks into loose clusters.
Chewy Bars Depend on Moisture and Compression
Rolled oats form a sturdy base while still absorbing enough moisture to soften during baking. Their broad flakes retain more bite than instant oats, producing a texture that sits between soft baked oatmeal and a dense snack bar.
Creamy peanut butter coats the oats with fat and moisture, preventing the finished slab from becoming dry. Honey contributes stickiness before baking and firms as the bars cool, helping the oat mixture stay connected without a complicated binder.
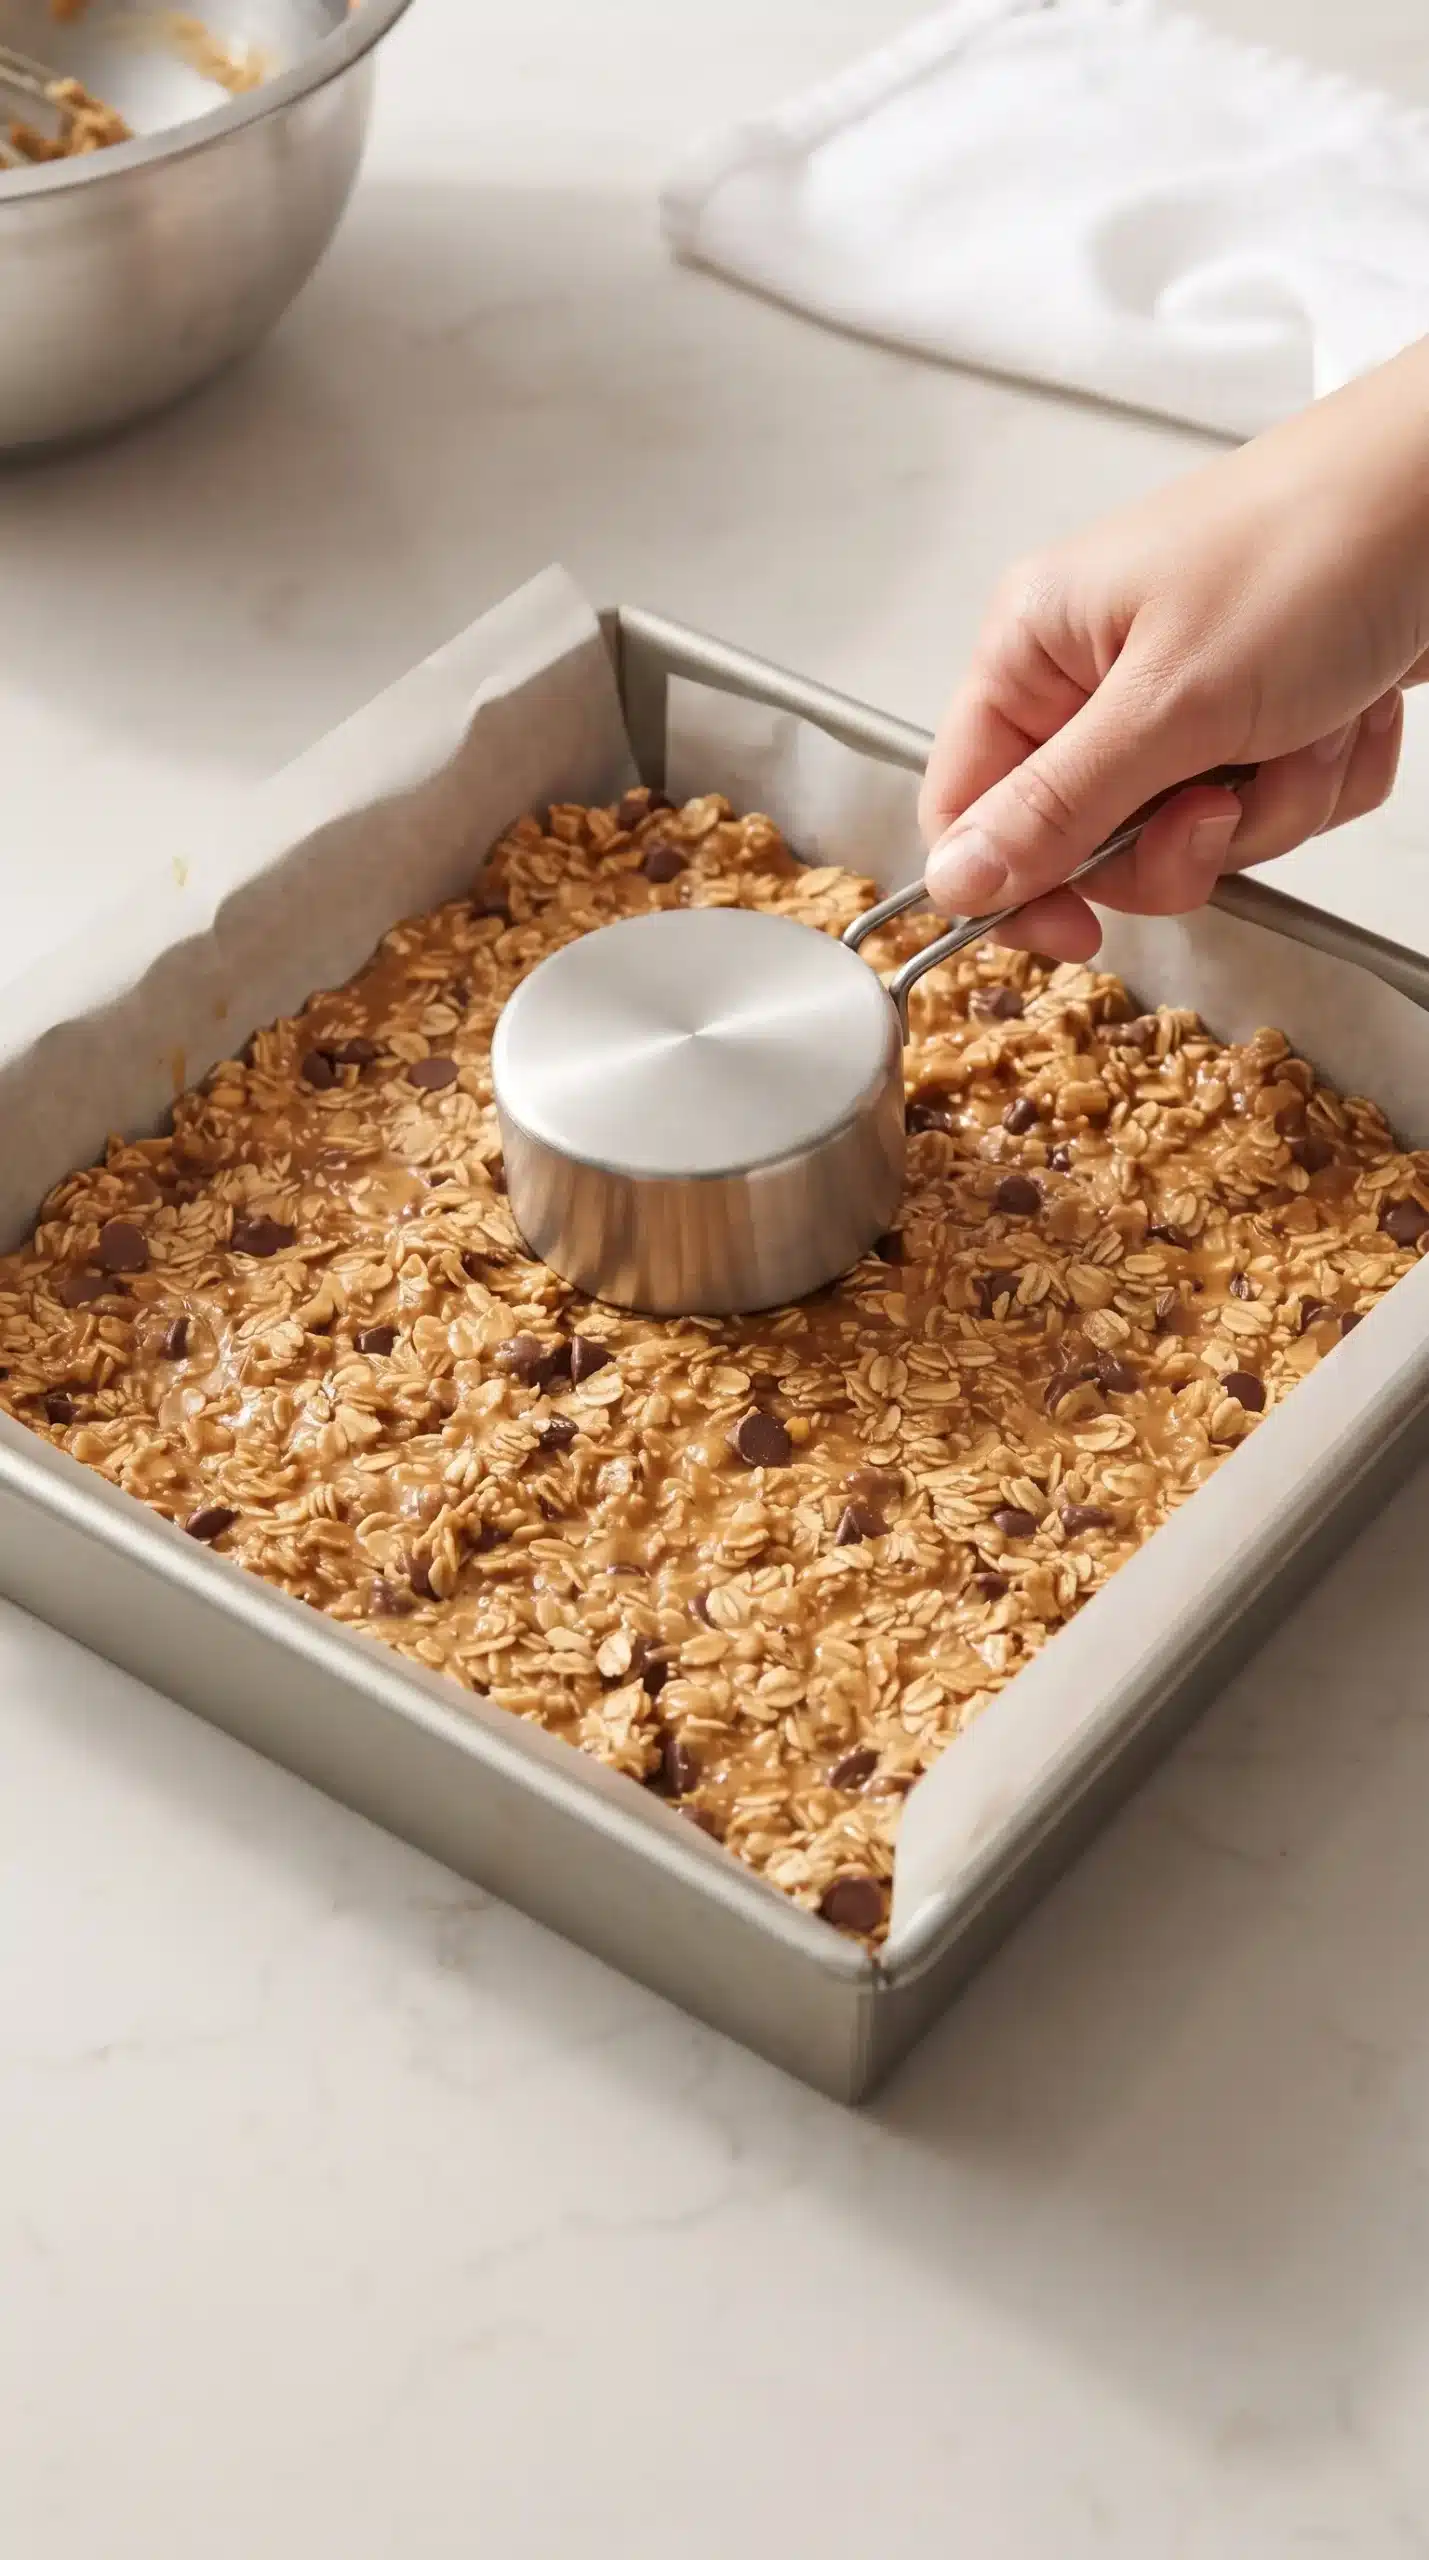
Compression completes that structure. Pressing the mixture firmly across the bottom and into the corners removes loose spaces, so the baked slab behaves as one piece when lifted and cut.
Rolled Oats and Peanut Butter Need the Right Balance
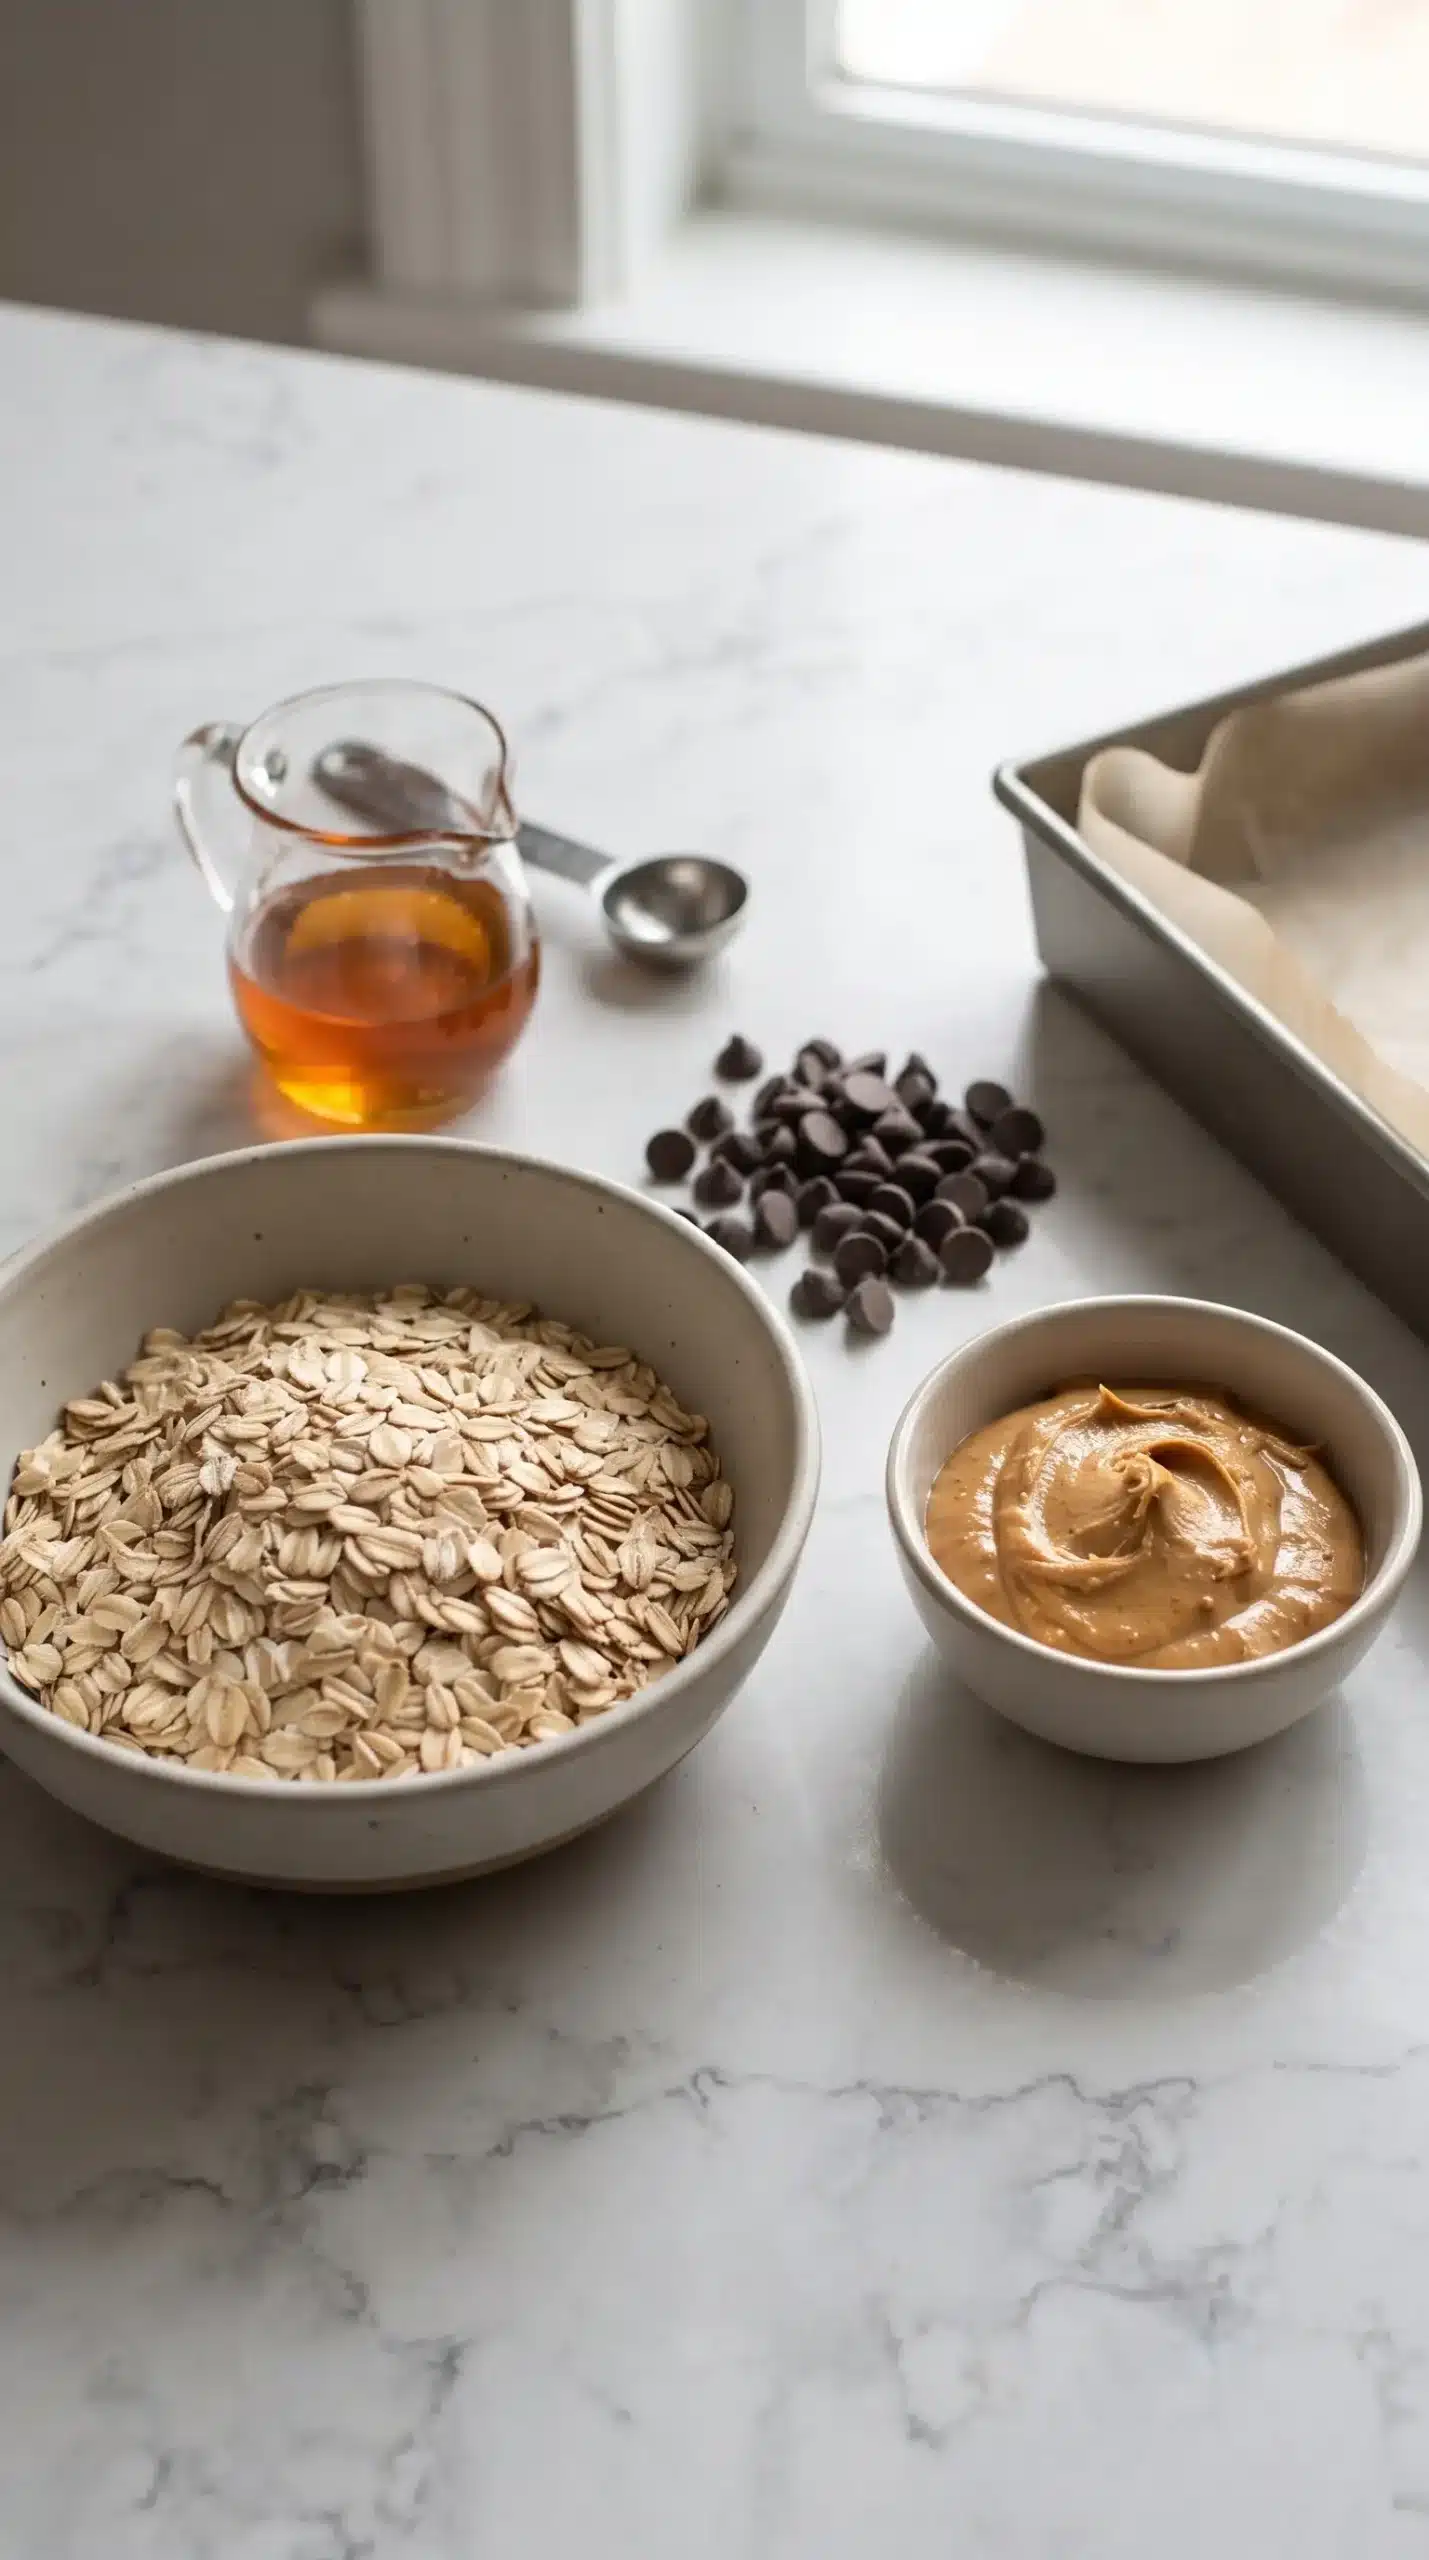
Old-fashioned rolled oats are the strongest choice for chewy peanut butter granola bars because their substantial flakes hold their shape while absorbing the peanut butter and honey mixture. Quick oats are rolled thinner or steamed longer, so they create a softer, less defined bite.
Conventional creamy peanut butter usually produces a predictable, cohesive mixture. Natural peanut butter is also suitable when it has been stirred thoroughly enough to reincorporate the separated oil.
Excessively runny nut butter can loosen the mixture and make clean slicing harder. A thick but spreadable consistency coats the oats evenly without leaving oily patches in the pan.
Honey serves several purposes at once: it sweetens the bars, supplies moisture, and helps bind the oats. Maple syrup may replace it, although the finished texture can be somewhat softer because the consistency differs.
Pan Pressure and Oven Timing Control the Structure
Warming the peanut butter and honey briefly makes mixing easier because the thinner mixture reaches more of the oat surfaces. Stir until no obviously dry pockets remain and the mass feels thick, sticky, and evenly coated.
Transfer the mixture to a parchment-lined 8×8-inch pan, then apply firm, even pressure with a flat measuring cup, spatula, or smooth-bottomed glass. Uneven pressure can leave sturdy edges but a crumbly center.
Bake at 350°F until the edges appear lightly golden and the middle remains slightly soft. Removing the pan before the center looks dry protects the chewy texture because the bars continue to firm during cooling.
Lightly Golden Edges Signal the Right Bake
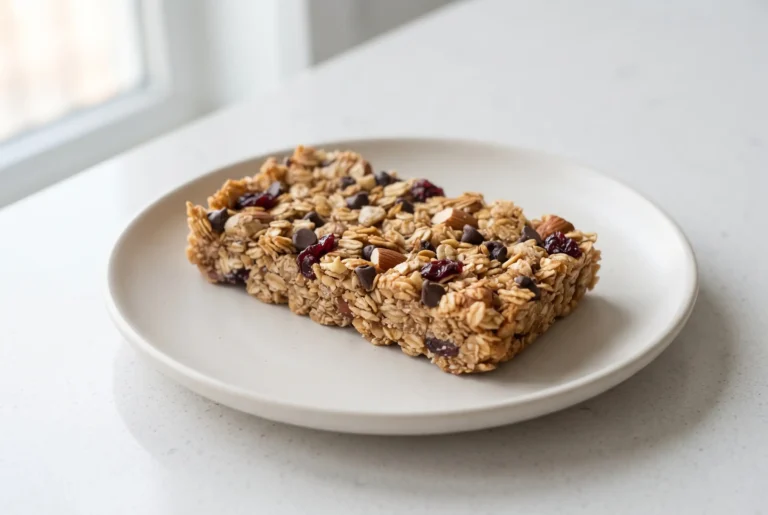
A finished slab should show subtle browning around the perimeter while the center still looks set but tender. Deep browning across the top usually indicates a drier, firmer result than intended.
Cooling Turns a Soft Slab Into Clean Bars
Freshly baked peanut butter granola bars remain fragile while warm because the honey and peanut butter have not yet settled into a firm structure. Cutting too early pulls the oat flakes apart and smears the softened chocolate.
Complete cooling gives the oats time to absorb moisture and allows the binder to thicken. Lifting the slab out by the parchment is safest only after it feels stable when gently pressed.
Refrigerating the cooled slab for about 20 minutes can create sharper edges. Use a large knife and press straight down instead of sawing aggressively through the oats.
Peanut Butter Granola Bar Mistakes to Avoid
Several common errors affect structure more than flavor. Each one can be recognized before the bars are served, making it easier to adjust the next batch.
- Loose packing: A lightly pressed mixture leaves air gaps and produces crumbly pieces. Compact every area of the pan with steady pressure.
- Overbaking: A dry-looking center often becomes hard after cooling. Remove the pan when only the edges are lightly golden.
- Warm slicing: Soft binders cannot hold a sharp cut. Let the entire slab cool before portioning.
- Too many add-ins: Excess nuts, seeds, or dried fruit interrupt the oat base and weaken cohesion. Keep additions moderate.
- Oily peanut butter: Unmixed natural peanut butter can create greasy areas. Stir the jar thoroughly before measuring.
Crumbled bars are still usable as a topping for yogurt or fruit, but the next batch will hold together better when pressure, cooling, and ingredient consistency receive equal attention.
Uneven thickness can also create mixed results, with thin edges becoming crisp before the thicker center sets. Spread the mixture level before pressing it firmly.
Substitutions Change Texture as Well as Flavor
Alternative ingredients can work well, but each one affects chewiness, firmness, or richness. The most useful swaps are those that preserve a sticky binder and a substantial oat base.
| Original ingredient | Possible substitute | Likely result |
|---|---|---|
| Creamy peanut butter | Almond or cashew butter | Similar richness with a different nut flavor |
| Creamy peanut butter | Sunflower seed butter | Nut-free structure with a distinct seed flavor |
| Honey | Maple syrup | Softer texture and a different sweetness |
| Rolled oats | Quick oats | Less defined chew and a softer crumb |
| Regular rolled oats | Certified gluten-free oats | Comparable texture with gluten-free suitability |
Mix-Ins Can Shift the Bars From Simple to Hearty
Chocolate chips provide soft pockets of richness, while mini chips spread that flavor more evenly. Chopped dark chocolate creates larger melted sections, and shredded coconut adds a softer, slightly textured finish.
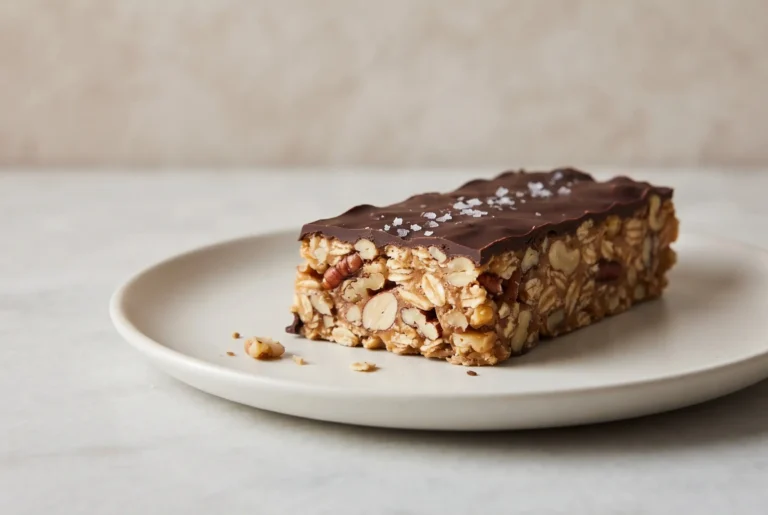
Seeds, nuts, and dried fruit can make an easy granola bar recipe feel more substantial, but additions should not overwhelm the sticky oat mixture. Keep chunky ingredients modest when preparing dark chocolate and nut bars, since oversized pieces can interrupt cohesion and make clean slicing more difficult.
- Trail mix style: Combine dried cranberries, chopped almonds, and pumpkin seeds.
- Coconut chocolate: Add shredded coconut with dark chocolate chunks.
- Seed-forward bars: Use chia seeds, flaxseeds, or hemp hearts in modest amounts.
- Simple lunchbox batch: Choose mini chocolate chips and omit chunky additions.
Breakfast and Snack Pairings Keep Portions Satisfying
Serve chewy peanut butter granola bars with fresh fruit, yogurt, coffee, tea, smoothies, or protein shakes. Their dense oat texture also makes them practical as hiking snacks, post-workout fuel, or portable breakfast bars.
Storage Temperature Changes the Eating Experience
An airtight container protects the bars from drying out and keeps outside moisture from softening the lightly crisp edges. At room temperature, they remain convenient and pleasantly chewy for up to 5–7 days.
Refrigeration extends freshness for up to two weeks and produces a firmer bite. Allowing a chilled bar to rest briefly at room temperature softens the peanut butter and chocolate again.
Individual wrapping makes freezing especially practical. Store the portions for up to three months, then thaw them briefly before serving so the center returns to its chewy texture.
Batch Preparation Reduces Busy-Week Snack Costs
Doubling the mixture, freezing part of the batch, and wrapping portions separately can reduce reliance on individually packaged snacks. Rolled oats and store-brand peanut butter keep costs manageable, while smaller amounts of premium chocolate can still provide strong flavor.
Serving Temperature Creates Three Distinct Textures
The same batch can feel noticeably different depending on whether it is served warm, at room temperature, or chilled.
| Serving condition | Chocolate texture | Bar structure |
|---|---|---|
| Slightly warm | Melted and soft | Tender and more fragile |
| Room temperature | Soft pockets | Chewy with stable edges |
| Chilled | Firm bites | Dense, sturdy, and easy to pack |
Firm Pressing Creates the Most Reliable Chewy Bar
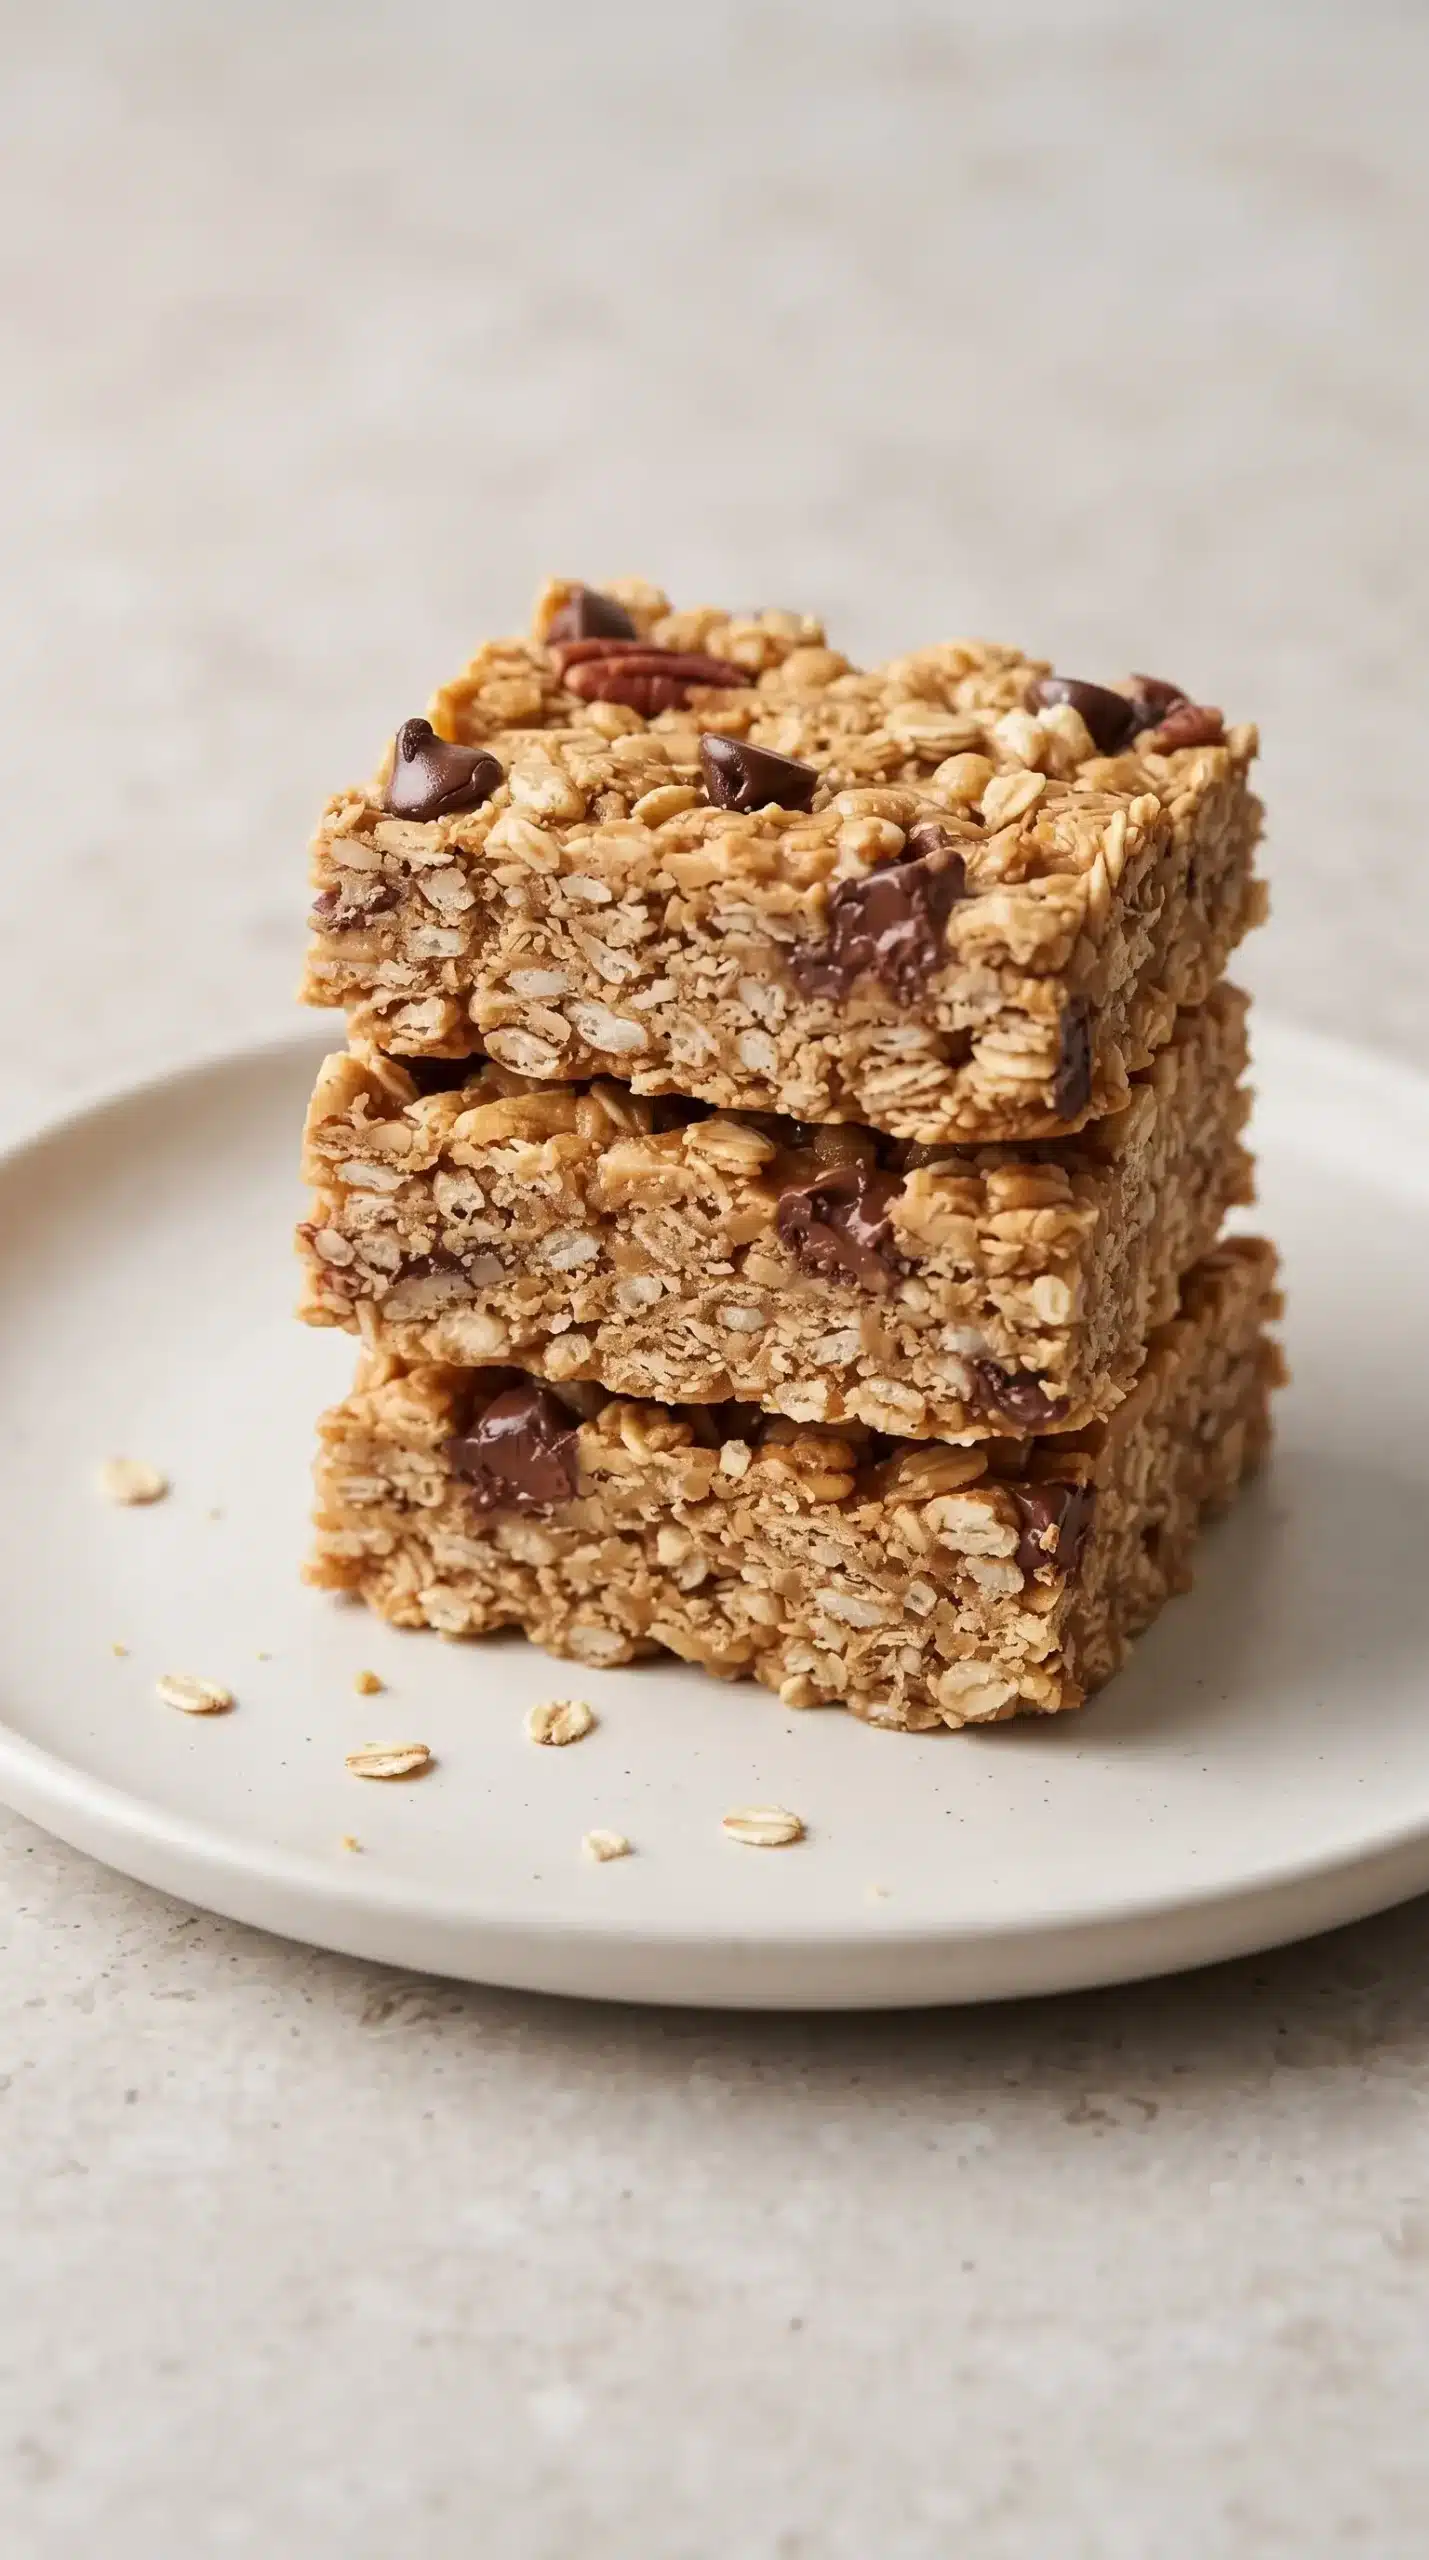
Evenly coated oats and a slightly soft center provide the foundation, but strong compression is the decisive action that turns a sticky mixture into cleanly portioned bars. Cooling then locks that compact structure in place without sacrificing tenderness.
A successful pan of peanut butter granola bars should feel hearty, cohesive, and chewy, with subtle edge crispness and pockets of chocolate throughout. That balance makes the bars practical for meal prep while still feeling like a comforting homemade snack.
Questions About Crumbling, Oats, and No-Bake Preparation
Can the bars be made without baking?
Press the mixture firmly into the lined pan and refrigerate it for 2–3 hours. The no-bake version stays softer and benefits from chilled storage.
Why did the chocolate chips melt while mixing?
Slightly warmed peanut butter and honey can soften the chocolate. Mild melting is harmless and may create chocolate streaks throughout the bars.
Can protein powder be added?
Vanilla protein powder can be included with chia seeds or hemp hearts, but a large amount may dry the mixture and weaken its ability to hold together.
How can the bars be adapted for nut allergies?
Sunflower seed butter can replace peanut butter while maintaining a similar thick, sticky consistency. Choose other mix-ins according to the allergy requirements involved.
Why are rolled oats better than instant oats?
Rolled oats retain larger flakes, giving the bars stronger structure and a more noticeable chew. Instant oats absorb moisture quickly and can make the center feel mushier.
Should the bars be reheated after storage?
Reheating is unnecessary. A refrigerated or thawed bar can sit at room temperature briefly when a softer texture is preferred.
Peanut Butter Granola Bars with Honey and Chocolate Chips
Ingredients
Method
- Preheat oven to 350°F / 175°C and prepare an 8x8-inch baking pan with parchment paper.
- Mix rolled oats, creamy peanut butter, honey, and salt in a large bowl until the oats are fully coated and the mixture becomes thick.
- Stir the chocolate chips into the oat mixture until they are spread throughout.
- Place the mixture in the lined baking pan and compact it into an even layer using a spatula or flat-bottom measuring cup.
- Bake the granola mixture for 15–20 minutes, until the edges are lightly golden and the center is still slightly soft.
- Allow the baked granola slab to cool completely before slicing.
- Slice the cooled granola into 8 bars and serve.