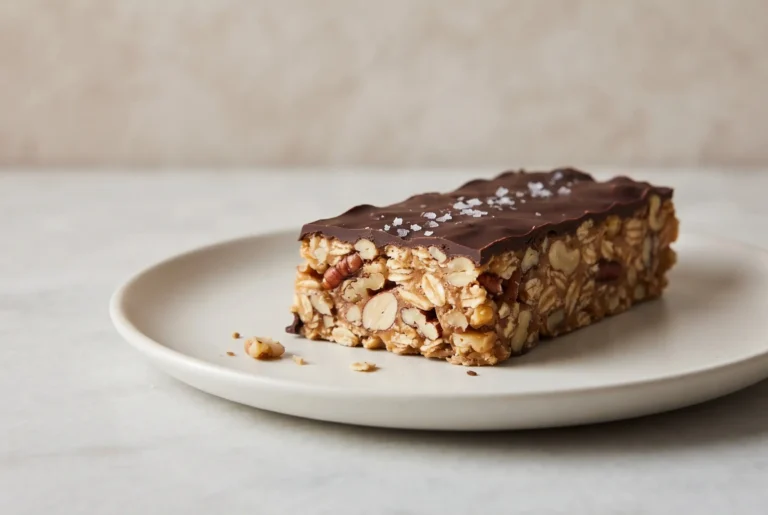
Peanut Butter Granola Bars with Honey and Chocolate Chips
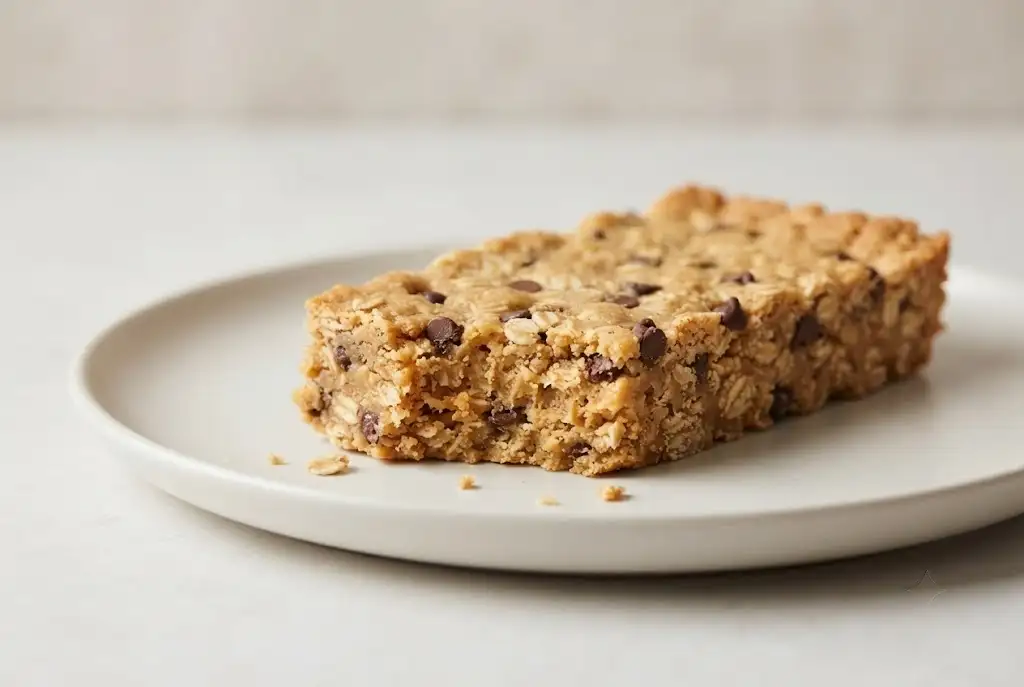
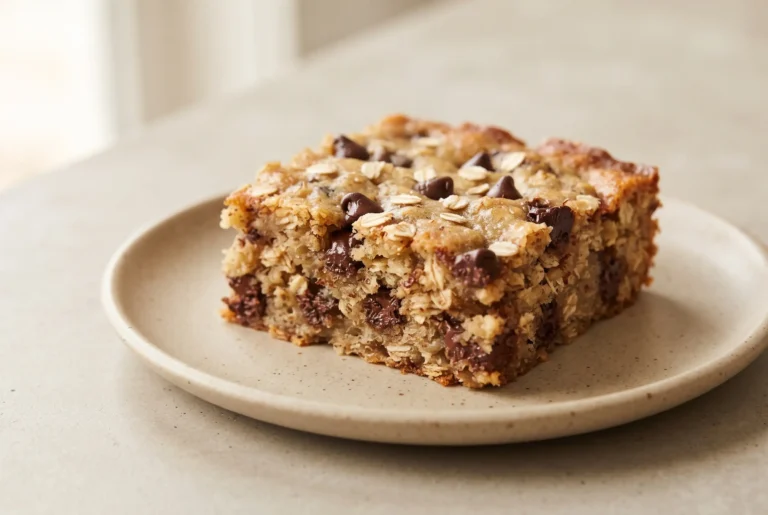
Peanut butter granola bars turn rolled oats, creamy peanut butter, honey, and chocolate chips into a chewy snack with lightly crisp edges and a soft, satisfying center. The simple mixture is easy to prepare, easy to press into a square pan, and practical for breakfasts, lunchboxes, afternoon snacks, or make-ahead portions.
Unlike many packaged options, homemade peanut butter granola bars give you direct control over sweetness, texture, and mix-ins. Rolled oats keep each bite hearty, peanut butter supplies richness and cohesion, and honey helps the mixture set once baked and cooled.
Chewy Bars Built for Busy Snack Routines
Busy mornings become easier when a prepared snack can be lifted from a container and packed without reheating. These bars travel well, portion neatly after cooling, and remain filling enough to pair with fruit, yogurt, milk, coffee, or a smoothie.
Meal-prep value comes from the combination of shelf-stable ingredients and flexible storage. One batch can cover several snack occasions, while individually wrapped portions can be frozen for later use.
Chocolate chips make the wholesome oat base feel more indulgent without changing the straightforward preparation. Smaller chips distribute especially evenly, though chunks, dried fruit, coconut, seeds, or chopped nuts can also create useful variation.
Rolled Oats and Peanut Butter Need the Right Balance
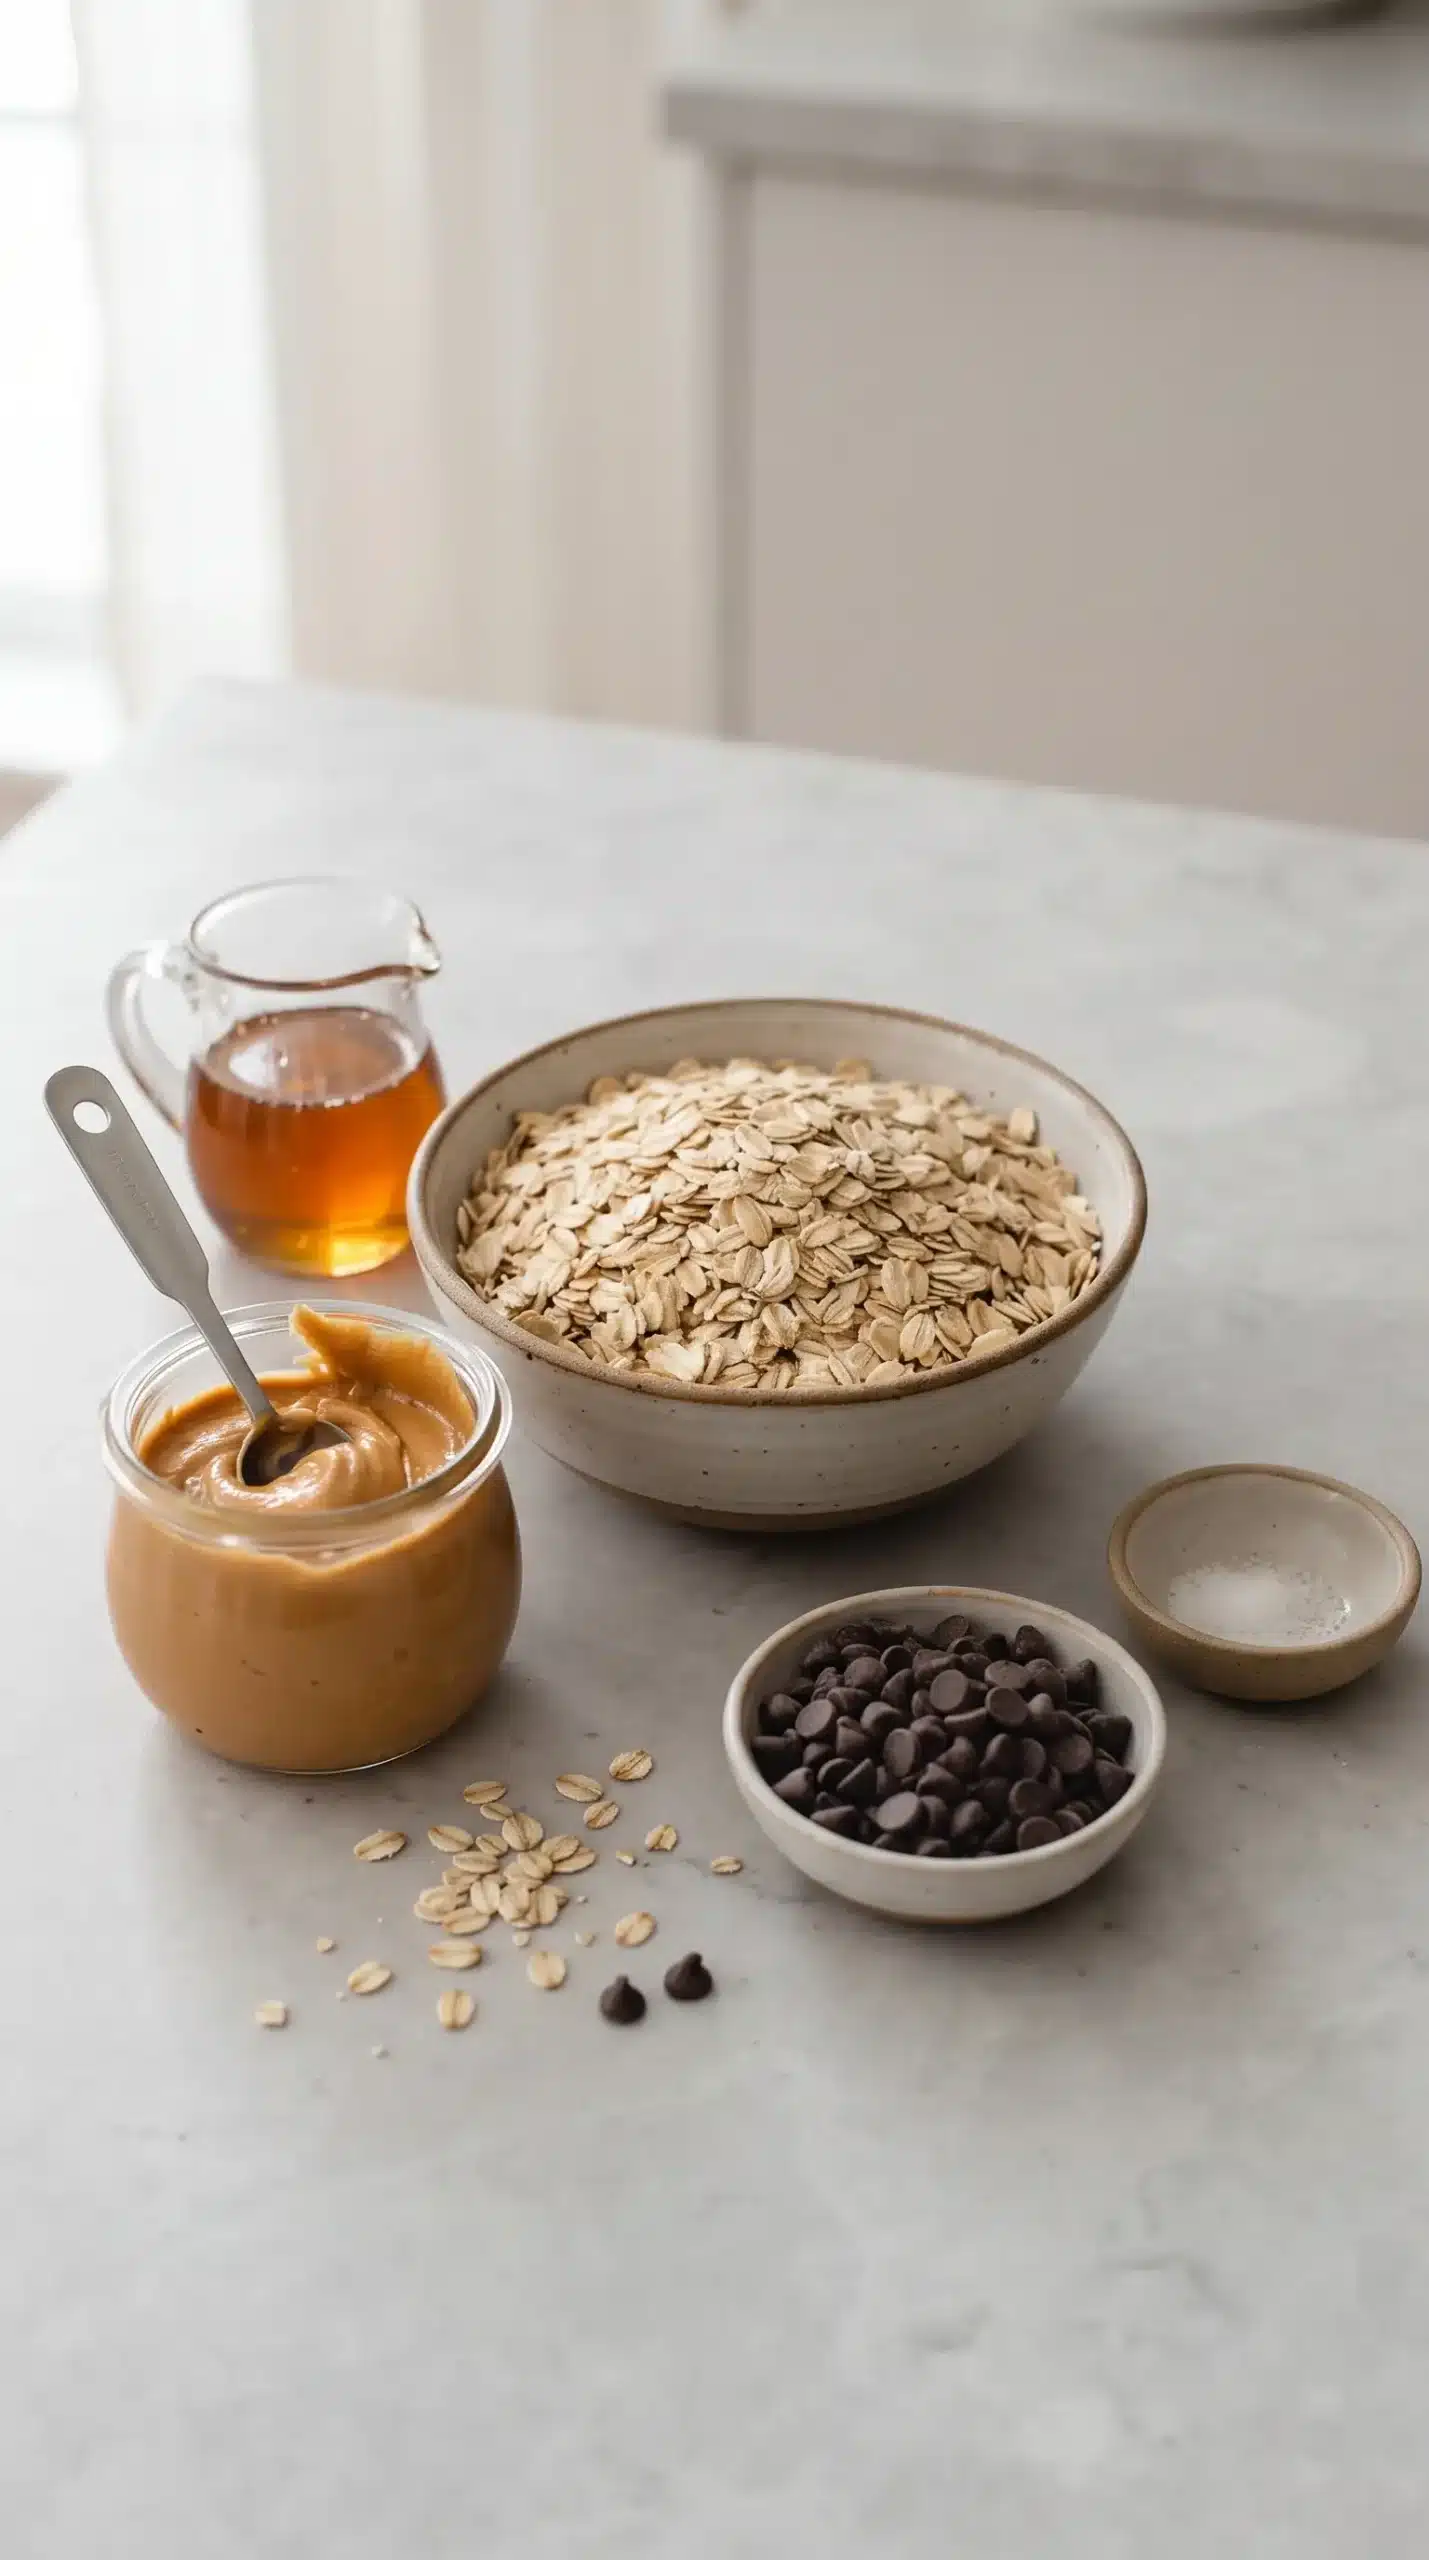
Rolled oats are the strongest choice for peanut butter granola bars because they retain a distinct chew after baking. Quick oats can be substituted, but their finer texture produces a softer, less defined bar.
Creamy peanut butter coats the oats more evenly than a chunky style and helps the mixture compact into a stable slab. Natural peanut butter can work when it is stirred thoroughly so the oil and solids are fully recombined before measuring.
Honey functions as both sweetener and binder. Maple syrup or agave can replace it, although the finished texture may feel slightly different because each liquid sweetener has its own consistency.
Salt sharpens the peanut flavor and balances the chocolate. Even a small amount matters in a mixture built from naturally rich and sweet ingredients.
Firm Packing Determines Whether the Bars Hold
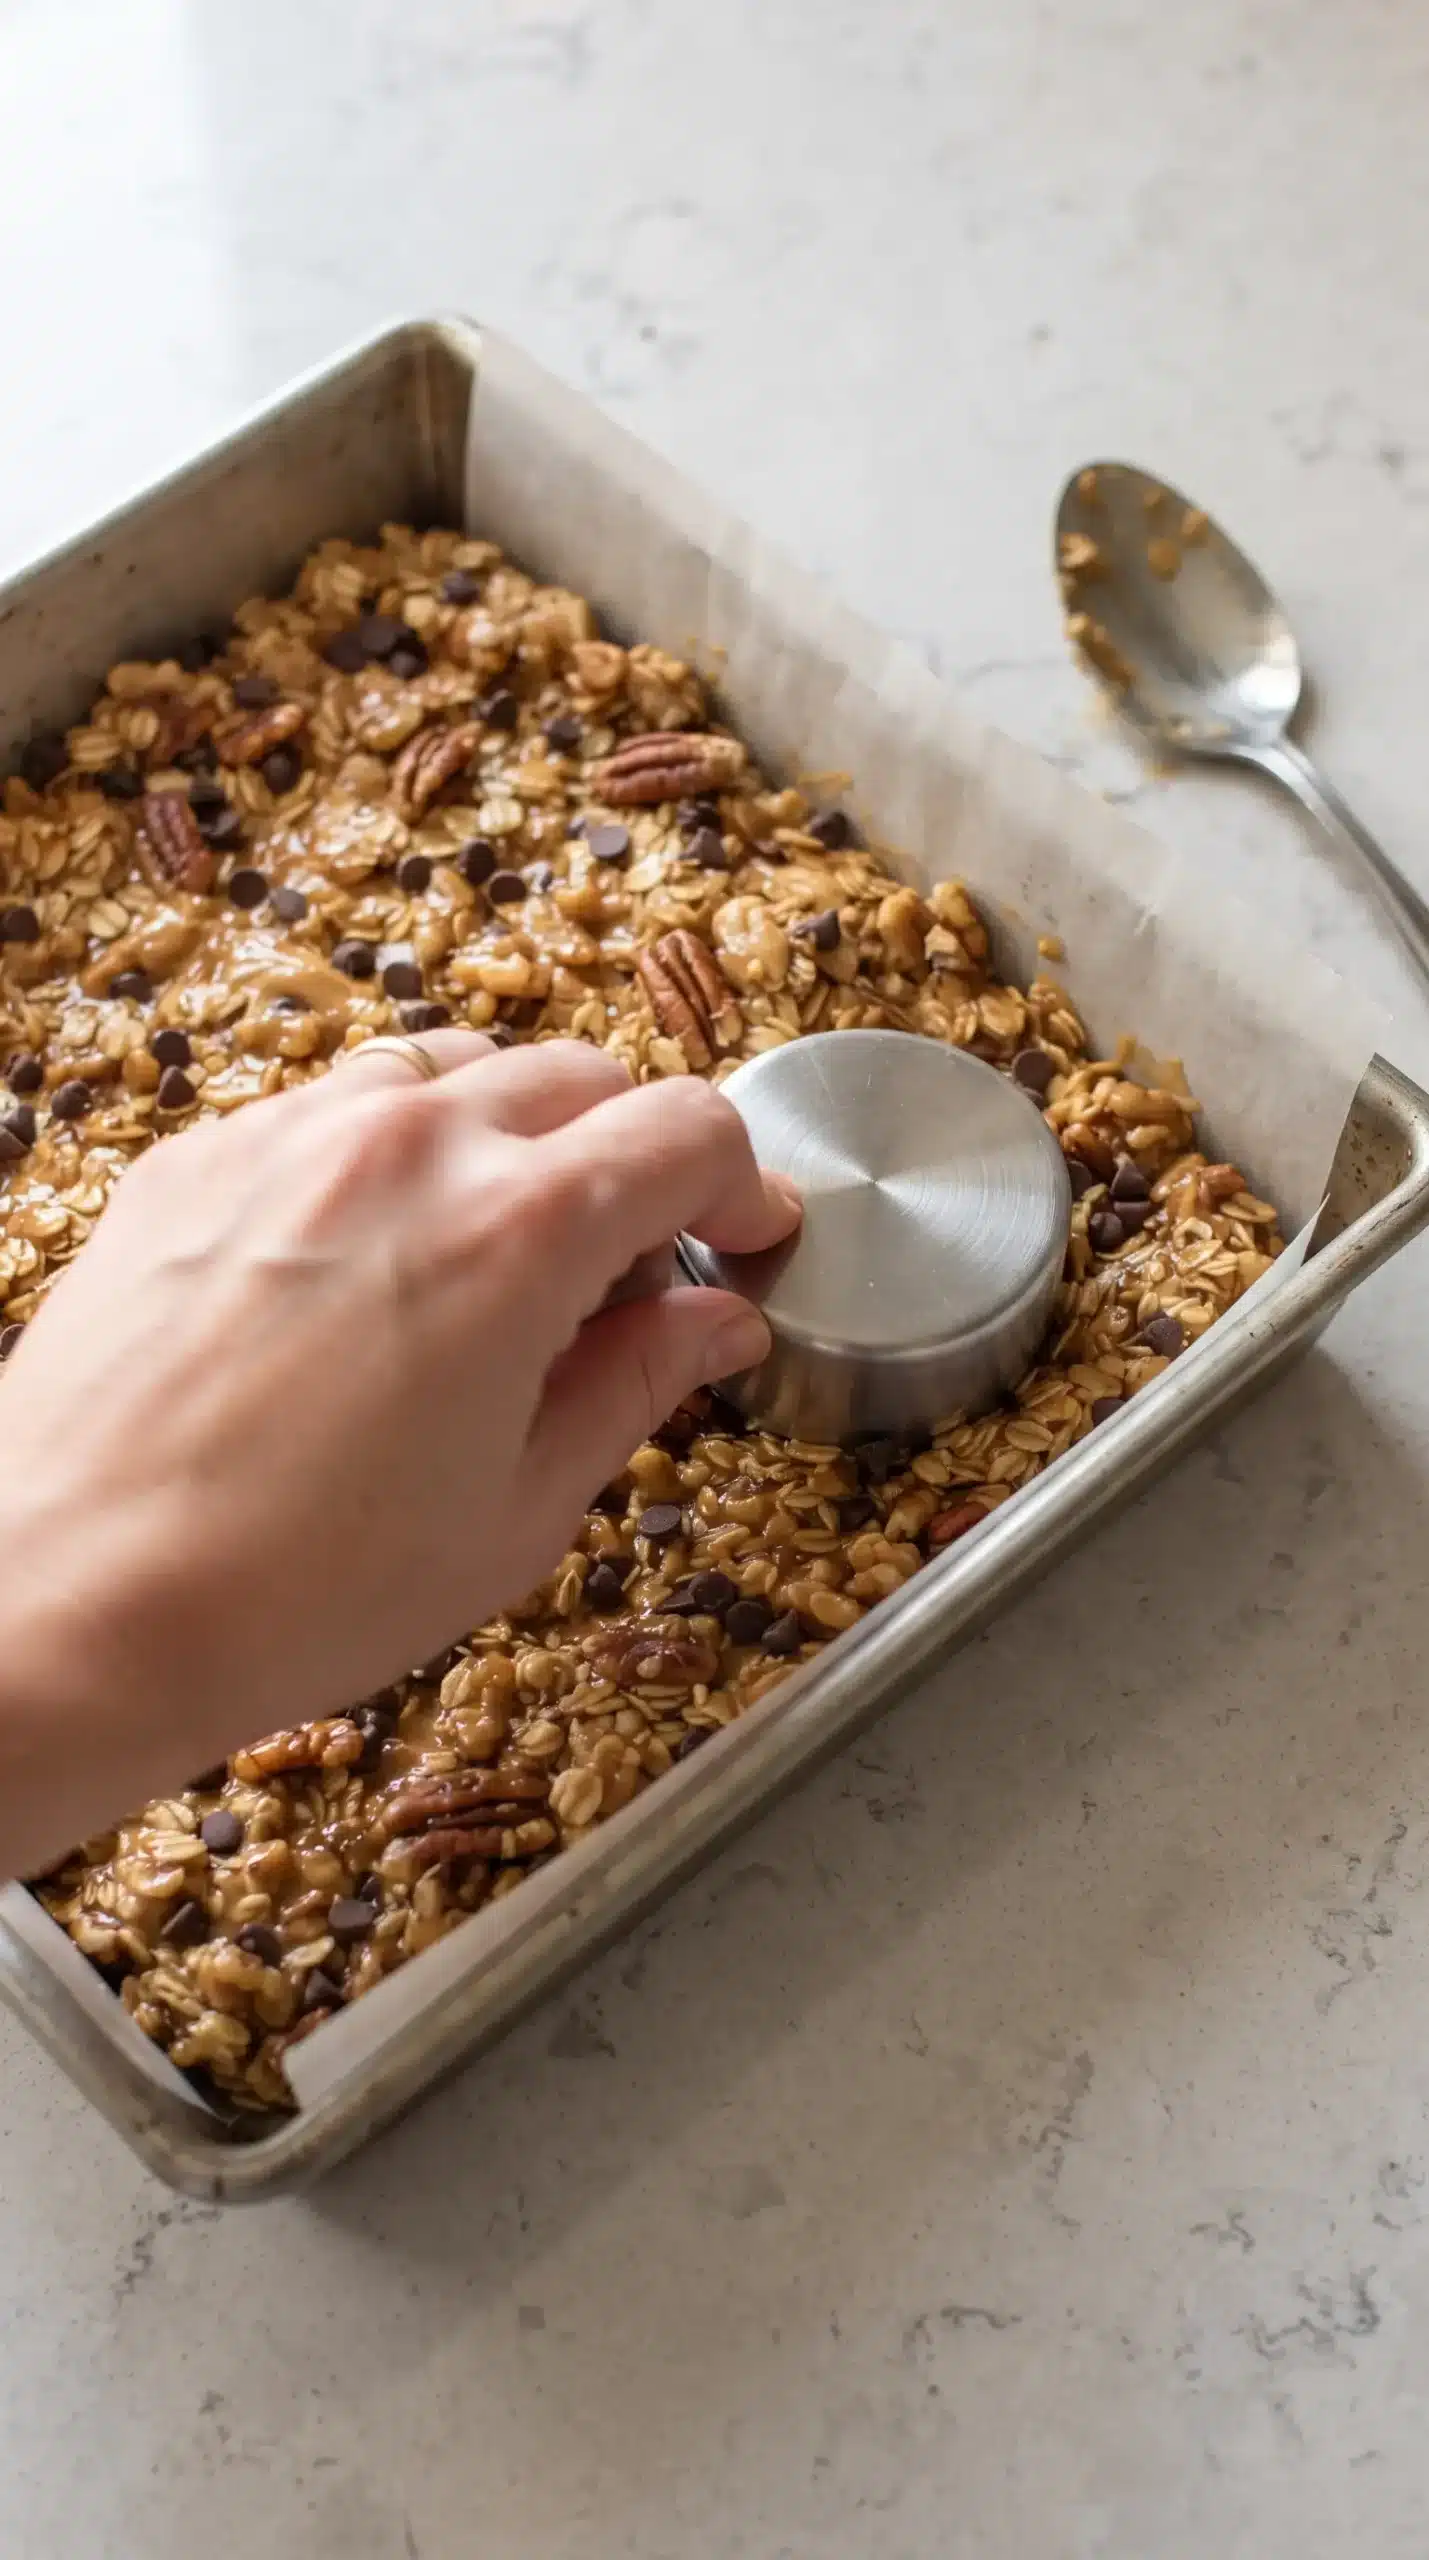
Strong pressure is the most important control point in an easy granola bar recipe. Once the mixture reaches the lined pan, compress it across the center, edges, and corners with a flat measuring cup, spatula, or glass bottom until the surface feels dense and even.
Loose pockets leave weak points that separate during slicing. Consistent thickness also helps the outer edges color at a similar rate while the center remains chewy.
Parchment overhang makes firm pressing easier because the paper keeps the mixture from sticking to the pan and later provides handles for lifting the cooled slab. A square pan gives the bars enough thickness to remain tender while still baking evenly.
Light Browning Is the Reliable Baking Signal
Heat should set the binders and lightly color the perimeter without drying the oats. Remove the pan when the edges appear pale golden and the center still looks moist and compact.
Cooling Changes a Soft Slab into Clean Bars
Freshly baked peanut butter granola bars remain fragile because the warm peanut butter and honey have not finished firming. Leave the slab undisturbed until completely cool, then lift it from the pan and cut with a sharp knife.
Cleaner edges are possible after a brief chill, particularly when the kitchen is warm or the chocolate remains soft. Cutting early is one of the quickest ways to turn cohesive bars into loose clusters.
Room-temperature portions feel softer and more tender, while refrigerated portions become firmer and denser. Both textures are useful, so storage temperature can be chosen according to preference.
Texture Adjustments for Different Eaters
| Desired result | Useful adjustment | Expected change |
|---|---|---|
| Softer bars | Use quick oats or bake toward the shorter end | More tender, less defined chew |
| Heartier bars | Keep rolled oats and add chopped nuts or seeds | More structure and crunch |
| Smoother bars | Use creamy peanut butter and small mix-ins | Fewer large pieces in each bite |
| Firmer slices | Chill fully before cutting | Sharper edges and denser texture |
Younger eaters may prefer mini chocolate chips, finely chopped dried fruit, or a nut-free version made with sunflower seed butter. Snack sticks or small squares can also be easier to pack than full-size bars.
Mix-Ins That Preserve the Oat Structure
Additions work best when they support the sticky oat base instead of overwhelming it. Too many dry ingredients absorb or interrupt the binder, which can make healthy peanut butter granola bars crumble after cooling.
- For gentle crunch: use chia seeds, flaxseeds, pumpkin seeds, or finely chopped nuts in restrained amounts.
- For chewy contrast: fold in raisins, dried cranberries, coconut flakes, or small pieces of dried fruit.
- For richer flavor: choose dark chocolate chunks, white chocolate chips, or a light chocolate drizzle after cooling.
- For a nut-free batch: replace peanut butter with sunflower seed butter and keep the remaining structure unchanged.
Protein powder can also be added, but extra dry material may require a little more peanut butter or honey to restore a sticky, pressable consistency.
Granola Bar Mistakes That Cause Crumbling
Most failures can be traced to pressure, proportion, or timing. A mixture that looks dry before baking is unlikely to become more cohesive in the oven, so it should feel evenly coated and sticky before it reaches the pan.
- Under-packing: press repeatedly until no loose oat pockets remain, especially around the corners.
- Early slicing: wait for complete cooling so the warmed binders can set.
- Excess dry add-ins: keep seeds, nuts, protein powder, and dried fruit from crowding out the peanut butter and honey.
- Overbaking: stop at lightly golden edges before the center turns dry.
- Separated nut butter: stir natural peanut butter thoroughly before combining it with the oats.
Very runny peanut butter can also weaken the mixture. When the consistency seems unusually thin, thorough stirring and careful control of extra add-ins become especially important.
Storage Choices for Soft or Firm Bars
| Storage place | Best handling | Texture and keeping time |
|---|---|---|
| Room temperature | Seal in an airtight container | Soft and chewy for up to 1 week |
| Refrigerator | Layer or wrap to prevent sticking | Firmer and chewier for up to 2 weeks |
| Freezer | Wrap individual bars before freezing | Convenient portions for up to 3 months |
Individual wrapping protects the cut edges and makes frozen bars easier to pack one at a time. Let a frozen portion soften before eating when a tender chew is preferred.
Serving Ideas Beyond the Lunchbox
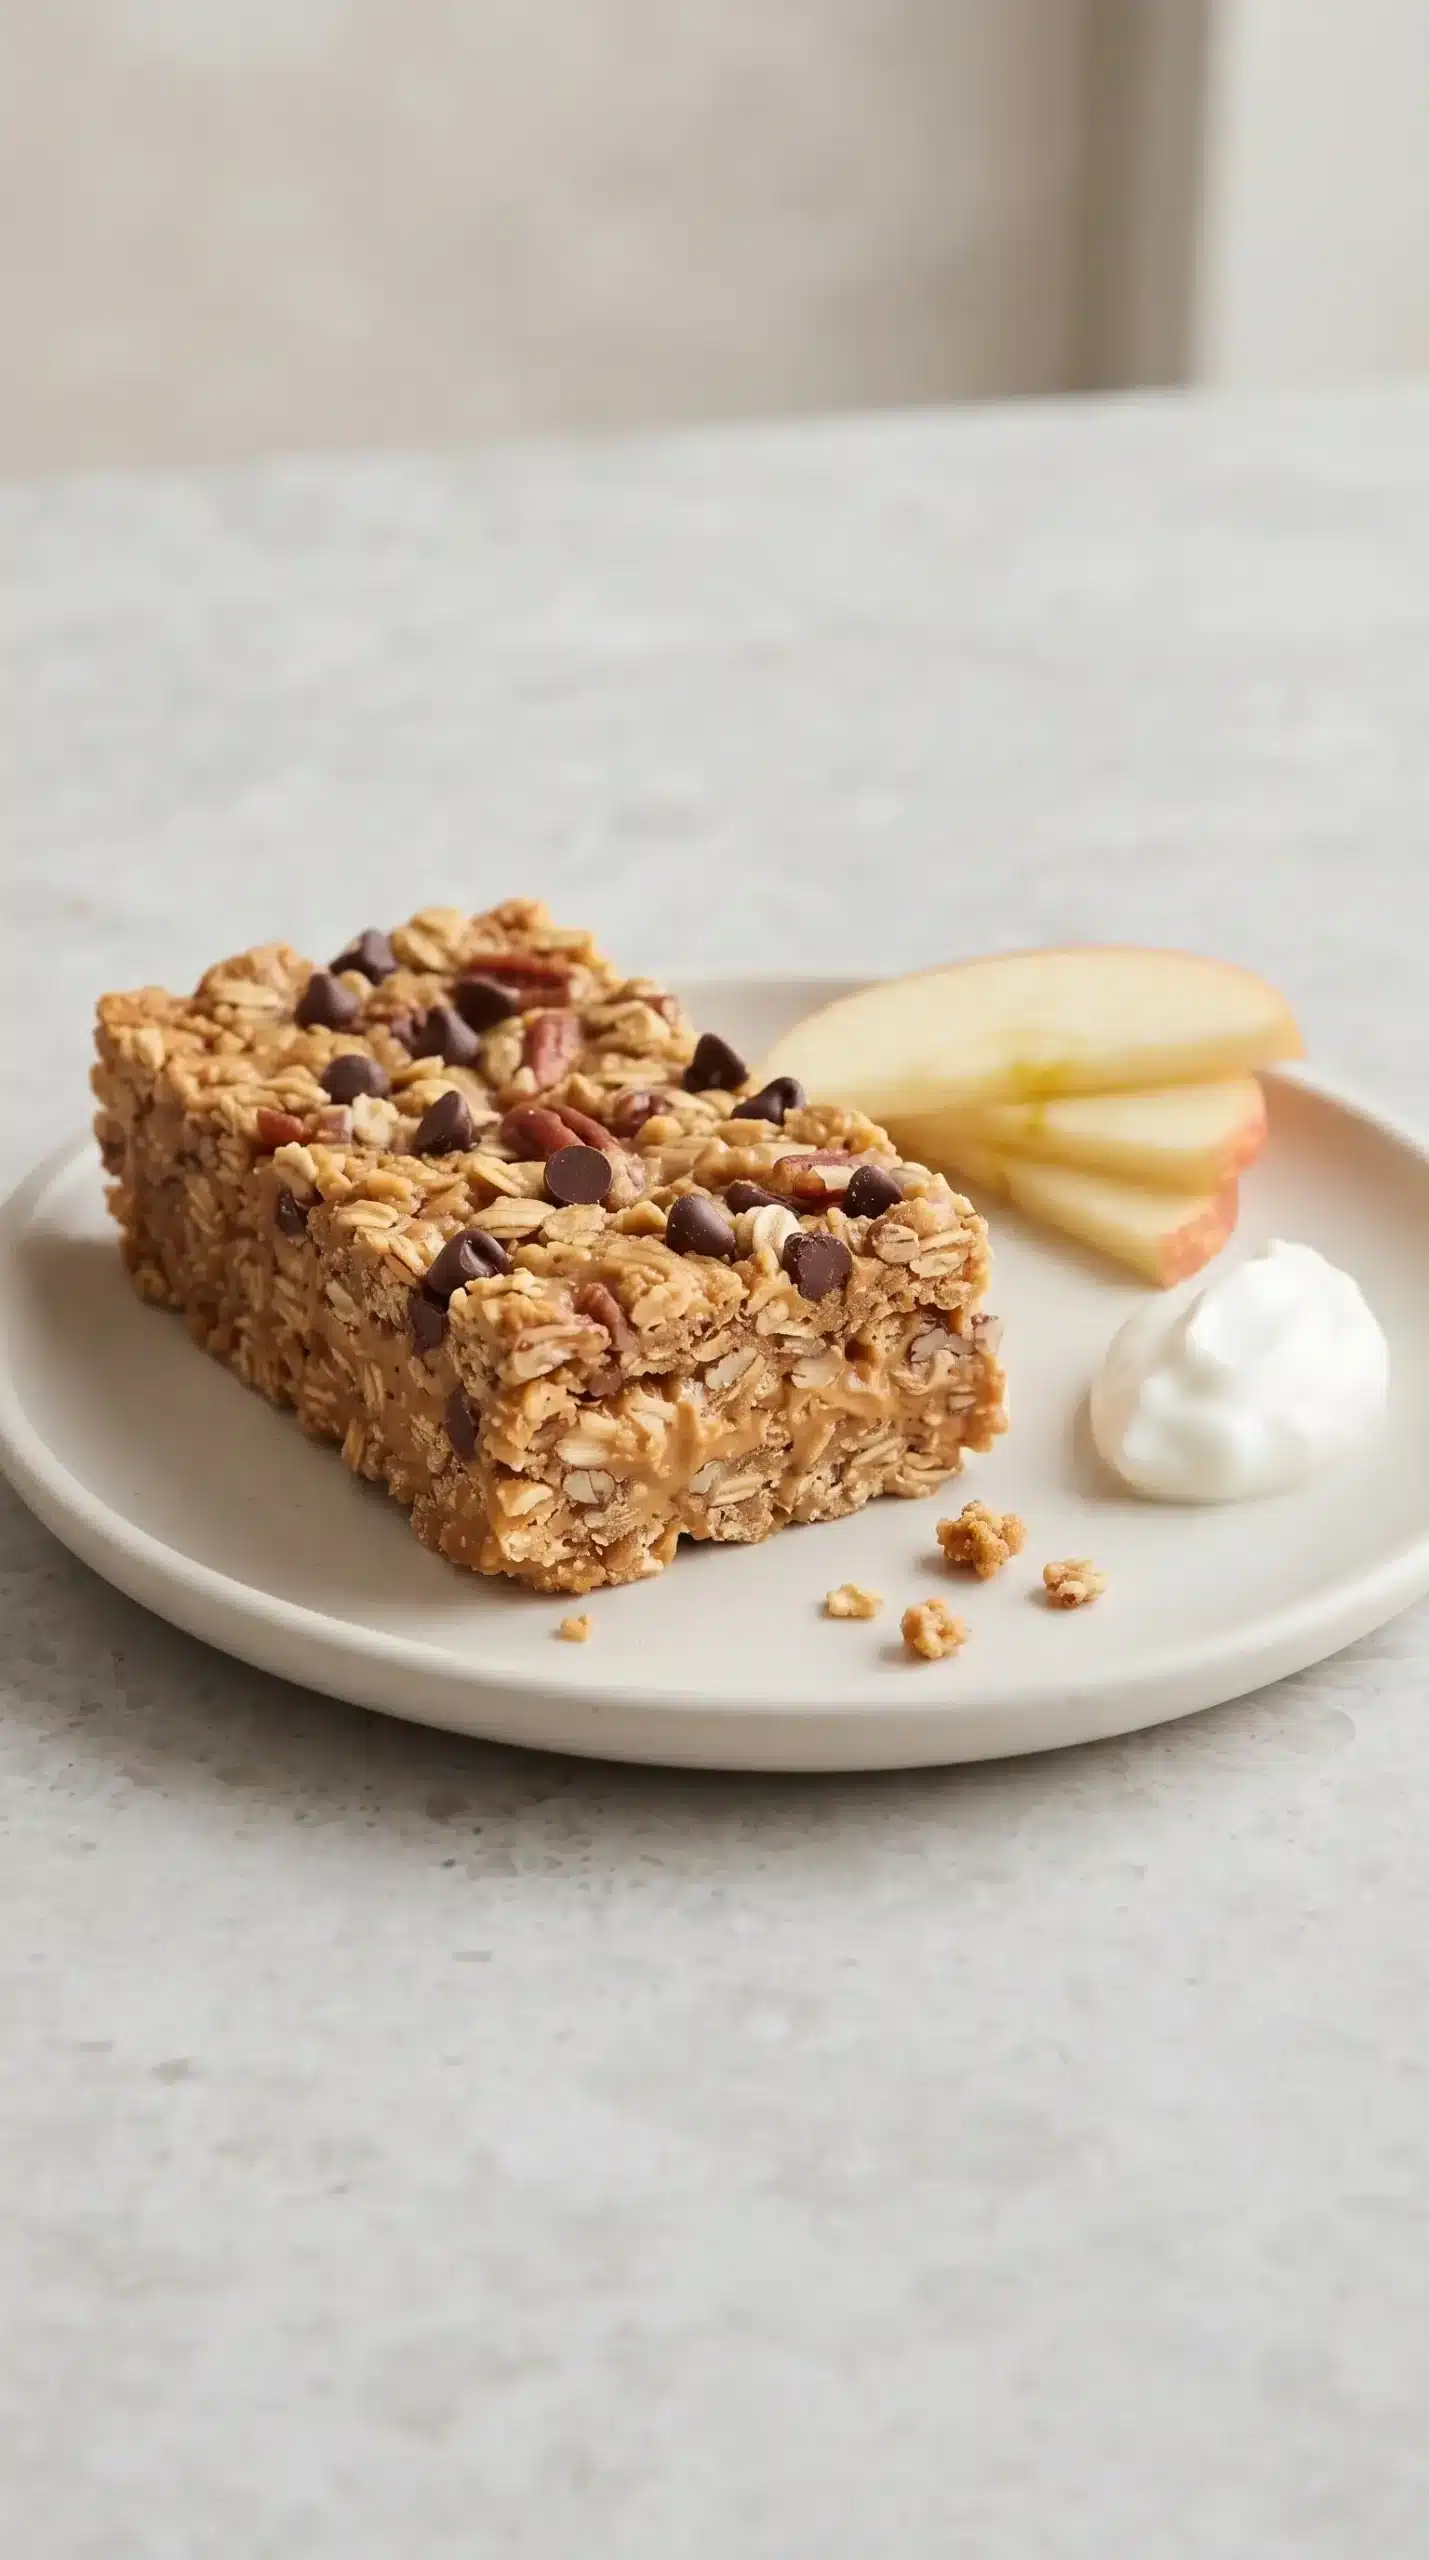
A bar can stand alone as a quick snack, but pairing it with fresh fruit or Greek yogurt creates a more varied breakfast. Coffee, milk, and smoothies also suit the peanut butter and chocolate flavors.
Post-workout portions can be made more substantial with seeds, hemp hearts, or a modest amount of protein powder. Smaller squares work well as a lightly sweet dessert, especially when the batch includes dark chocolate.
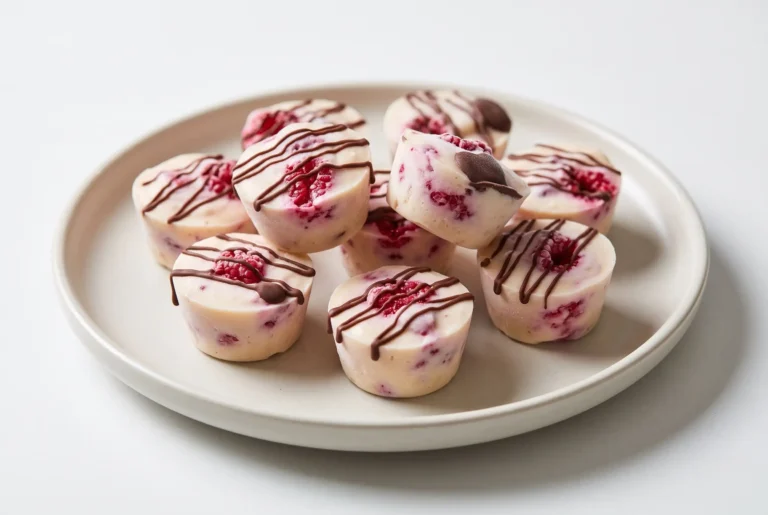
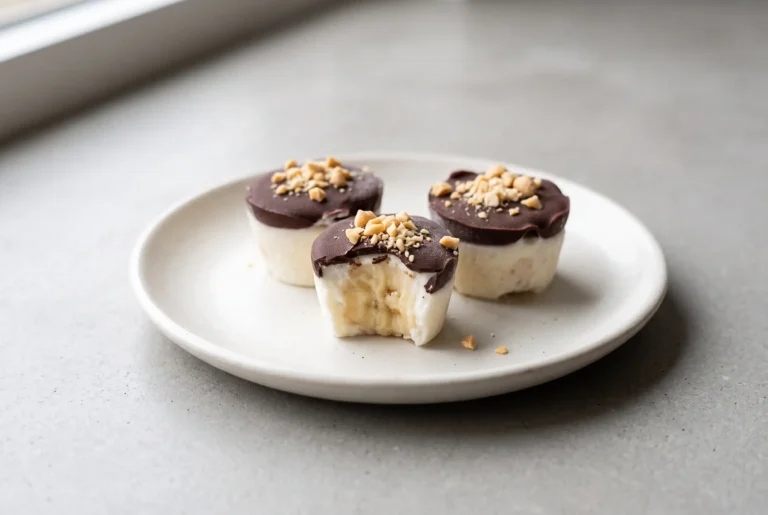
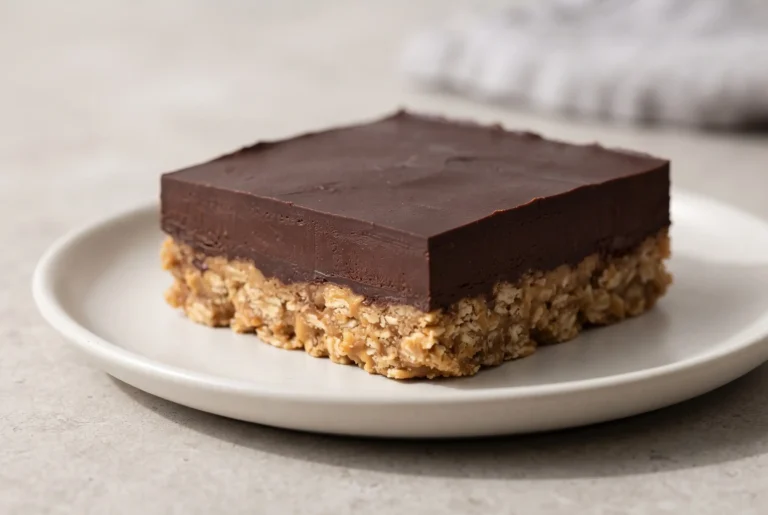
For dessert trays, cut the granola bars into small squares and alternate them with bite-size chocolate peanut butter bars, keeping the richer portions compact so the peanut butter and chocolate flavors do not feel heavy.
Road trips and workdays benefit from the bars’ portability, since no utensils or reheating are required. Keep them protected from high heat so the chocolate and peanut butter do not soften excessively.
Budget Choices That Keep the Bars Practical
Bulk rolled oats and store-brand peanut butter provide the largest savings because they form most of the bar. Chocolate can be reduced slightly or replaced with raisins, chopped peanuts, sunflower seeds, or pantry leftovers.
Seasonal mix-ins prevent small amounts of dried fruit, coconut, or nuts from going unused. Doubling a batch also turns one preparation session into several weeks of freezer-ready snacks.
Higher-quality peanut butter, fresh oats, and flavorful chocolate have the greatest effect on taste and texture when there is room to spend more. Specialty equipment offers far less benefit than careful mixing, compact pressing, and patient cooling.
Minimal Equipment Keeps Preparation Simple
An 8-inch square baking dish, parchment paper, a large bowl, measuring tools, a silicone spatula, and a sharp knife cover the essential work. A flat measuring cup or glass bottom is especially useful because even compression matters more than mixing machinery.
Fast Shortcuts Without Sacrificing Structure
Briefly warming the peanut butter and honey makes them easier to distribute through the oats. Parchment speeds removal and cleanup, while mini chocolate chips and pre-chopped add-ins reduce preparation work.
A simplified batch can rely on oats, peanut butter, honey, and salt when no extras are available. The bars will still have the chewy structure and rich flavor that define homemade peanut butter granola bars.
No-bake preparation is possible by refrigerating the firmly pressed mixture for several hours instead of using the oven. The result stays softer, so chilling and firm compression become even more important.
Balanced Pressure Creates Better Peanut Butter Granola Bars
Firmly packed oats create the dependable structure that allows peanut butter granola bars to stay chewy without falling apart. Light edge browning sets the mixture, but complete cooling finishes the work by turning a warm, fragile slab into clean, portable portions.
Careful control of dry add-ins preserves that balance across every variation. Once the mixture feels sticky, compact, and evenly coated, the finished bars can adapt to breakfast, snacks, dessert, or freezer meal prep without losing their essential texture.
Crumbling, Substitutions, and Storage Questions
Can peanut butter granola bars be made without baking?
Refrigerate the tightly pressed mixture for two to three hours until firm. No-bake bars remain softer than baked ones, so they benefit from cold storage and careful slicing.
Which oats work best for a chewy result?
Old-fashioned rolled oats provide the most distinct chew and structure. Quick oats are suitable when a softer, more uniform texture is preferred.
How can I make the bars gluten-free?
Choose oats specifically labeled gluten-free, since ordinary oats may encounter wheat, barley, or rye during growing, transport, or processing. Check that every mix-in meets the same requirement; the peanut butter, sweetener, and pressing method can remain unchanged.
What can replace peanut butter in a nut-free batch?
Sunflower seed butter is the clearest substitute because it supplies a similarly creamy binder. Stir it well before measuring if the oil has separated.
Why does adding protein powder make the mixture dry?
Adding protein powder increases the amount of dry material competing for the binder. Use only a modest quantity, then adjust with a little more peanut butter or honey until the oats look evenly coated and sticky.
How should frozen bars be prepared for eating?
Unwrap a portion and allow it to soften until the preferred chew returns. Refrigerator thawing keeps the bar firmer, while room-temperature thawing produces a softer bite.
Peanut Butter Granola Bars with Honey and Chocolate Chips
Ingredients
Method
- Preheat the oven to 350°F / 175°C and line an 8x8-inch baking dish with parchment paper, leaving enough overhang to lift the finished bars out easily.
- Mix the rolled oats, creamy peanut butter, honey, and salt in a large bowl until the oats are thoroughly coated and the mixture holds together.
- Stir the chocolate chips into the oat mixture until they are spread evenly throughout.
- Place the mixture in the prepared baking dish and compact it into a level layer using a spatula or flat measuring cup.
- Bake the granola bars for 15–20 minutes, until the edges become lightly golden.
- Let the bars cool completely in the pan, then slice into 8 bars.