Dark Chocolate Nut Bars with Rolled Oats and Sea Salt
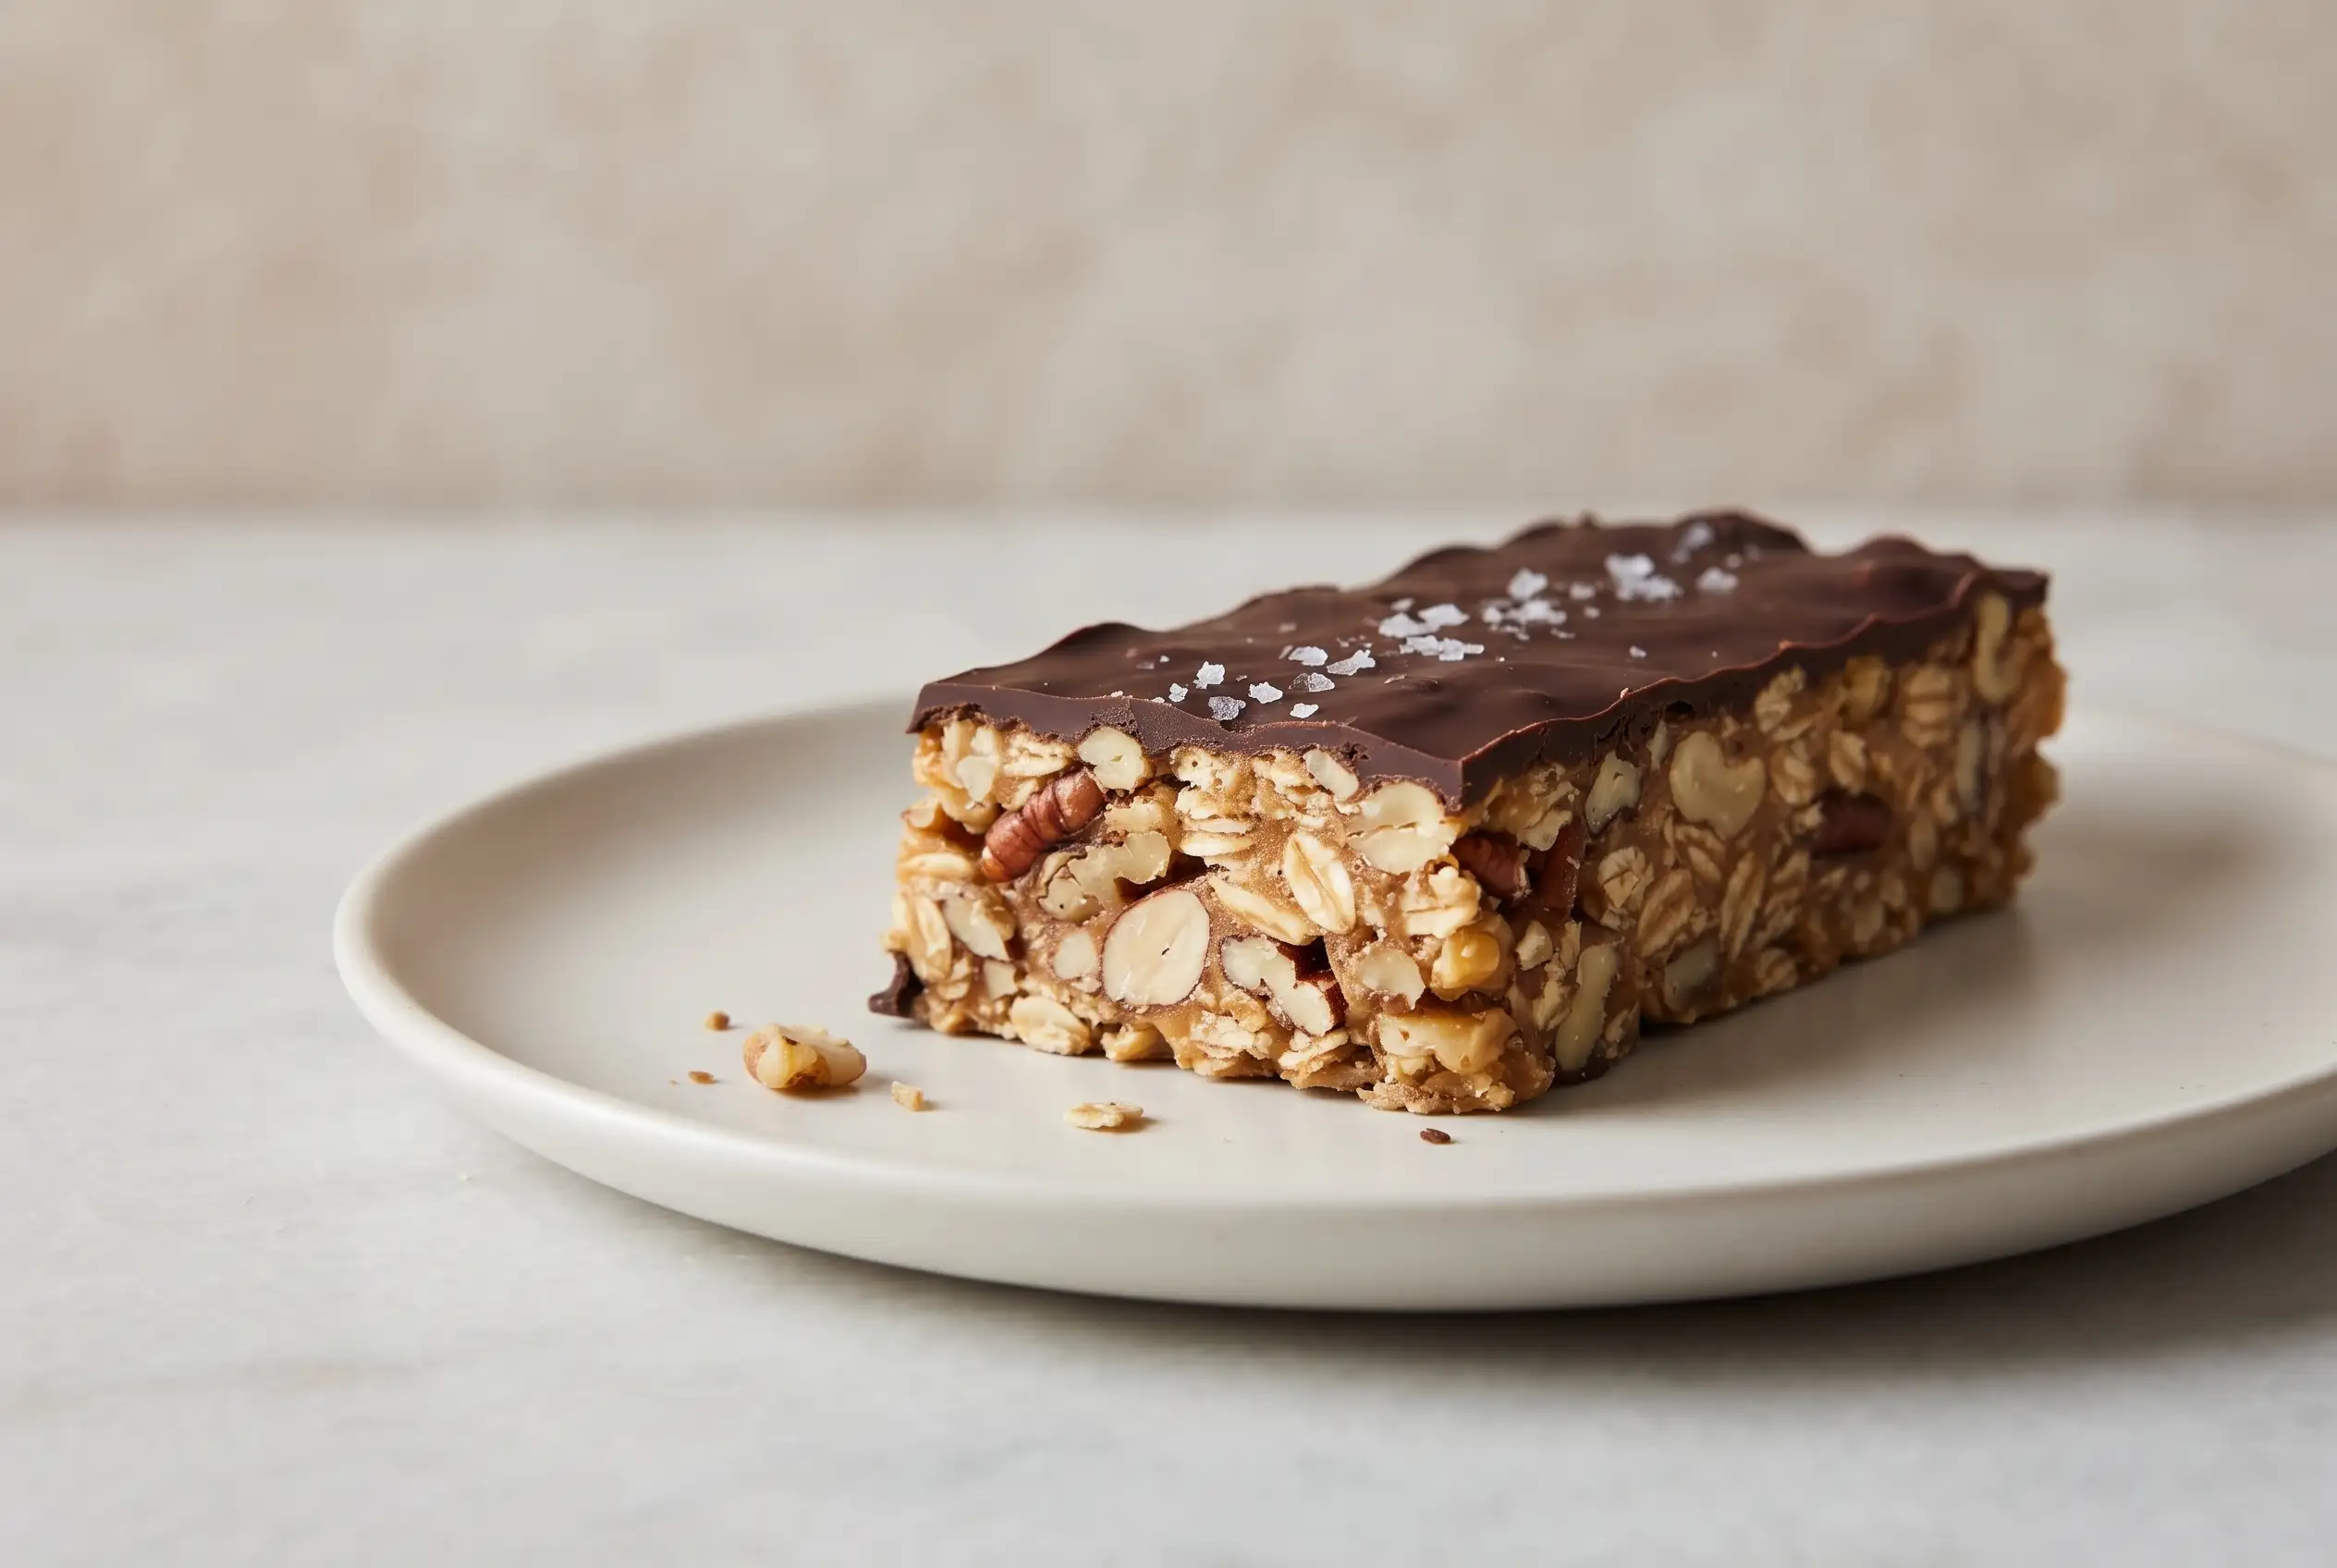
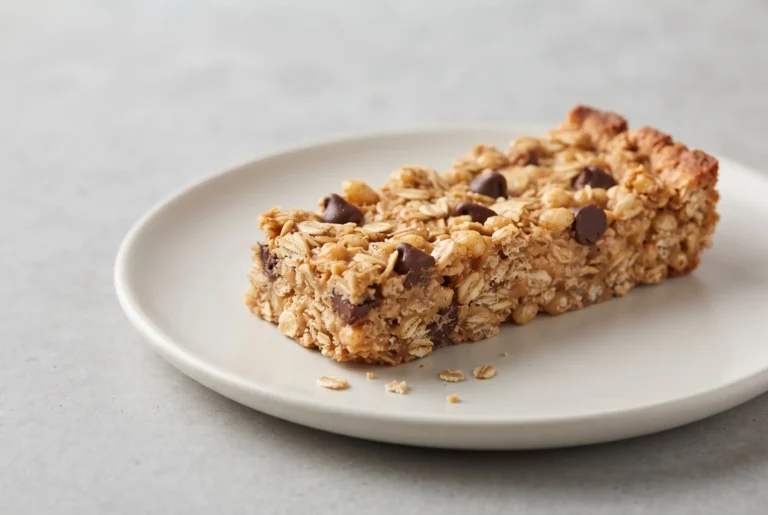
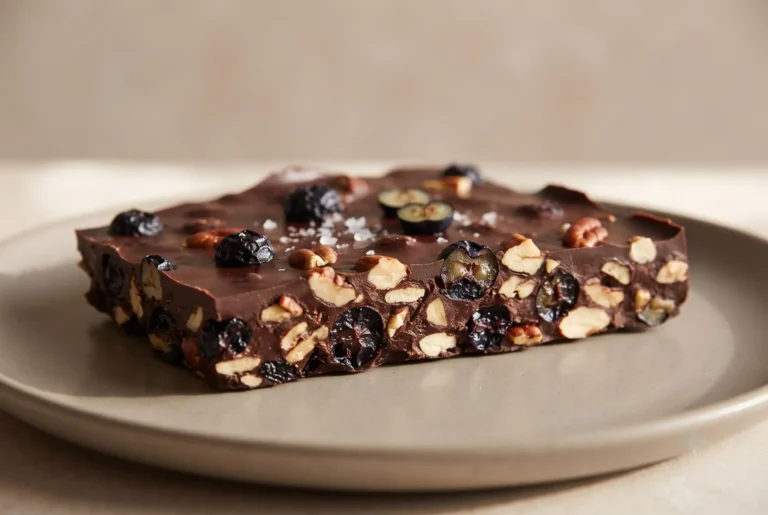
Dark chocolate nut bars combine toasted mixed nuts, rolled oats, dark chocolate, sweet syrup, vanilla, and sea salt in a chewy snack with crisp edges and pockets of rich cocoa flavor. Their balance of crunch, sweetness, and salt makes them useful for breakfast, lunchboxes, travel, afternoon snacking, or a simple homemade dessert.
Unlike many packaged bars, the homemade version allows direct control over the nut blend, chocolate intensity, sweetness, and finished texture. Firm compression creates clean slices, gentle heat protects the syrup from hardening, and complete cooling gives the bars enough structure to hold together.
Nuts and Oats Build a Stronger Bar
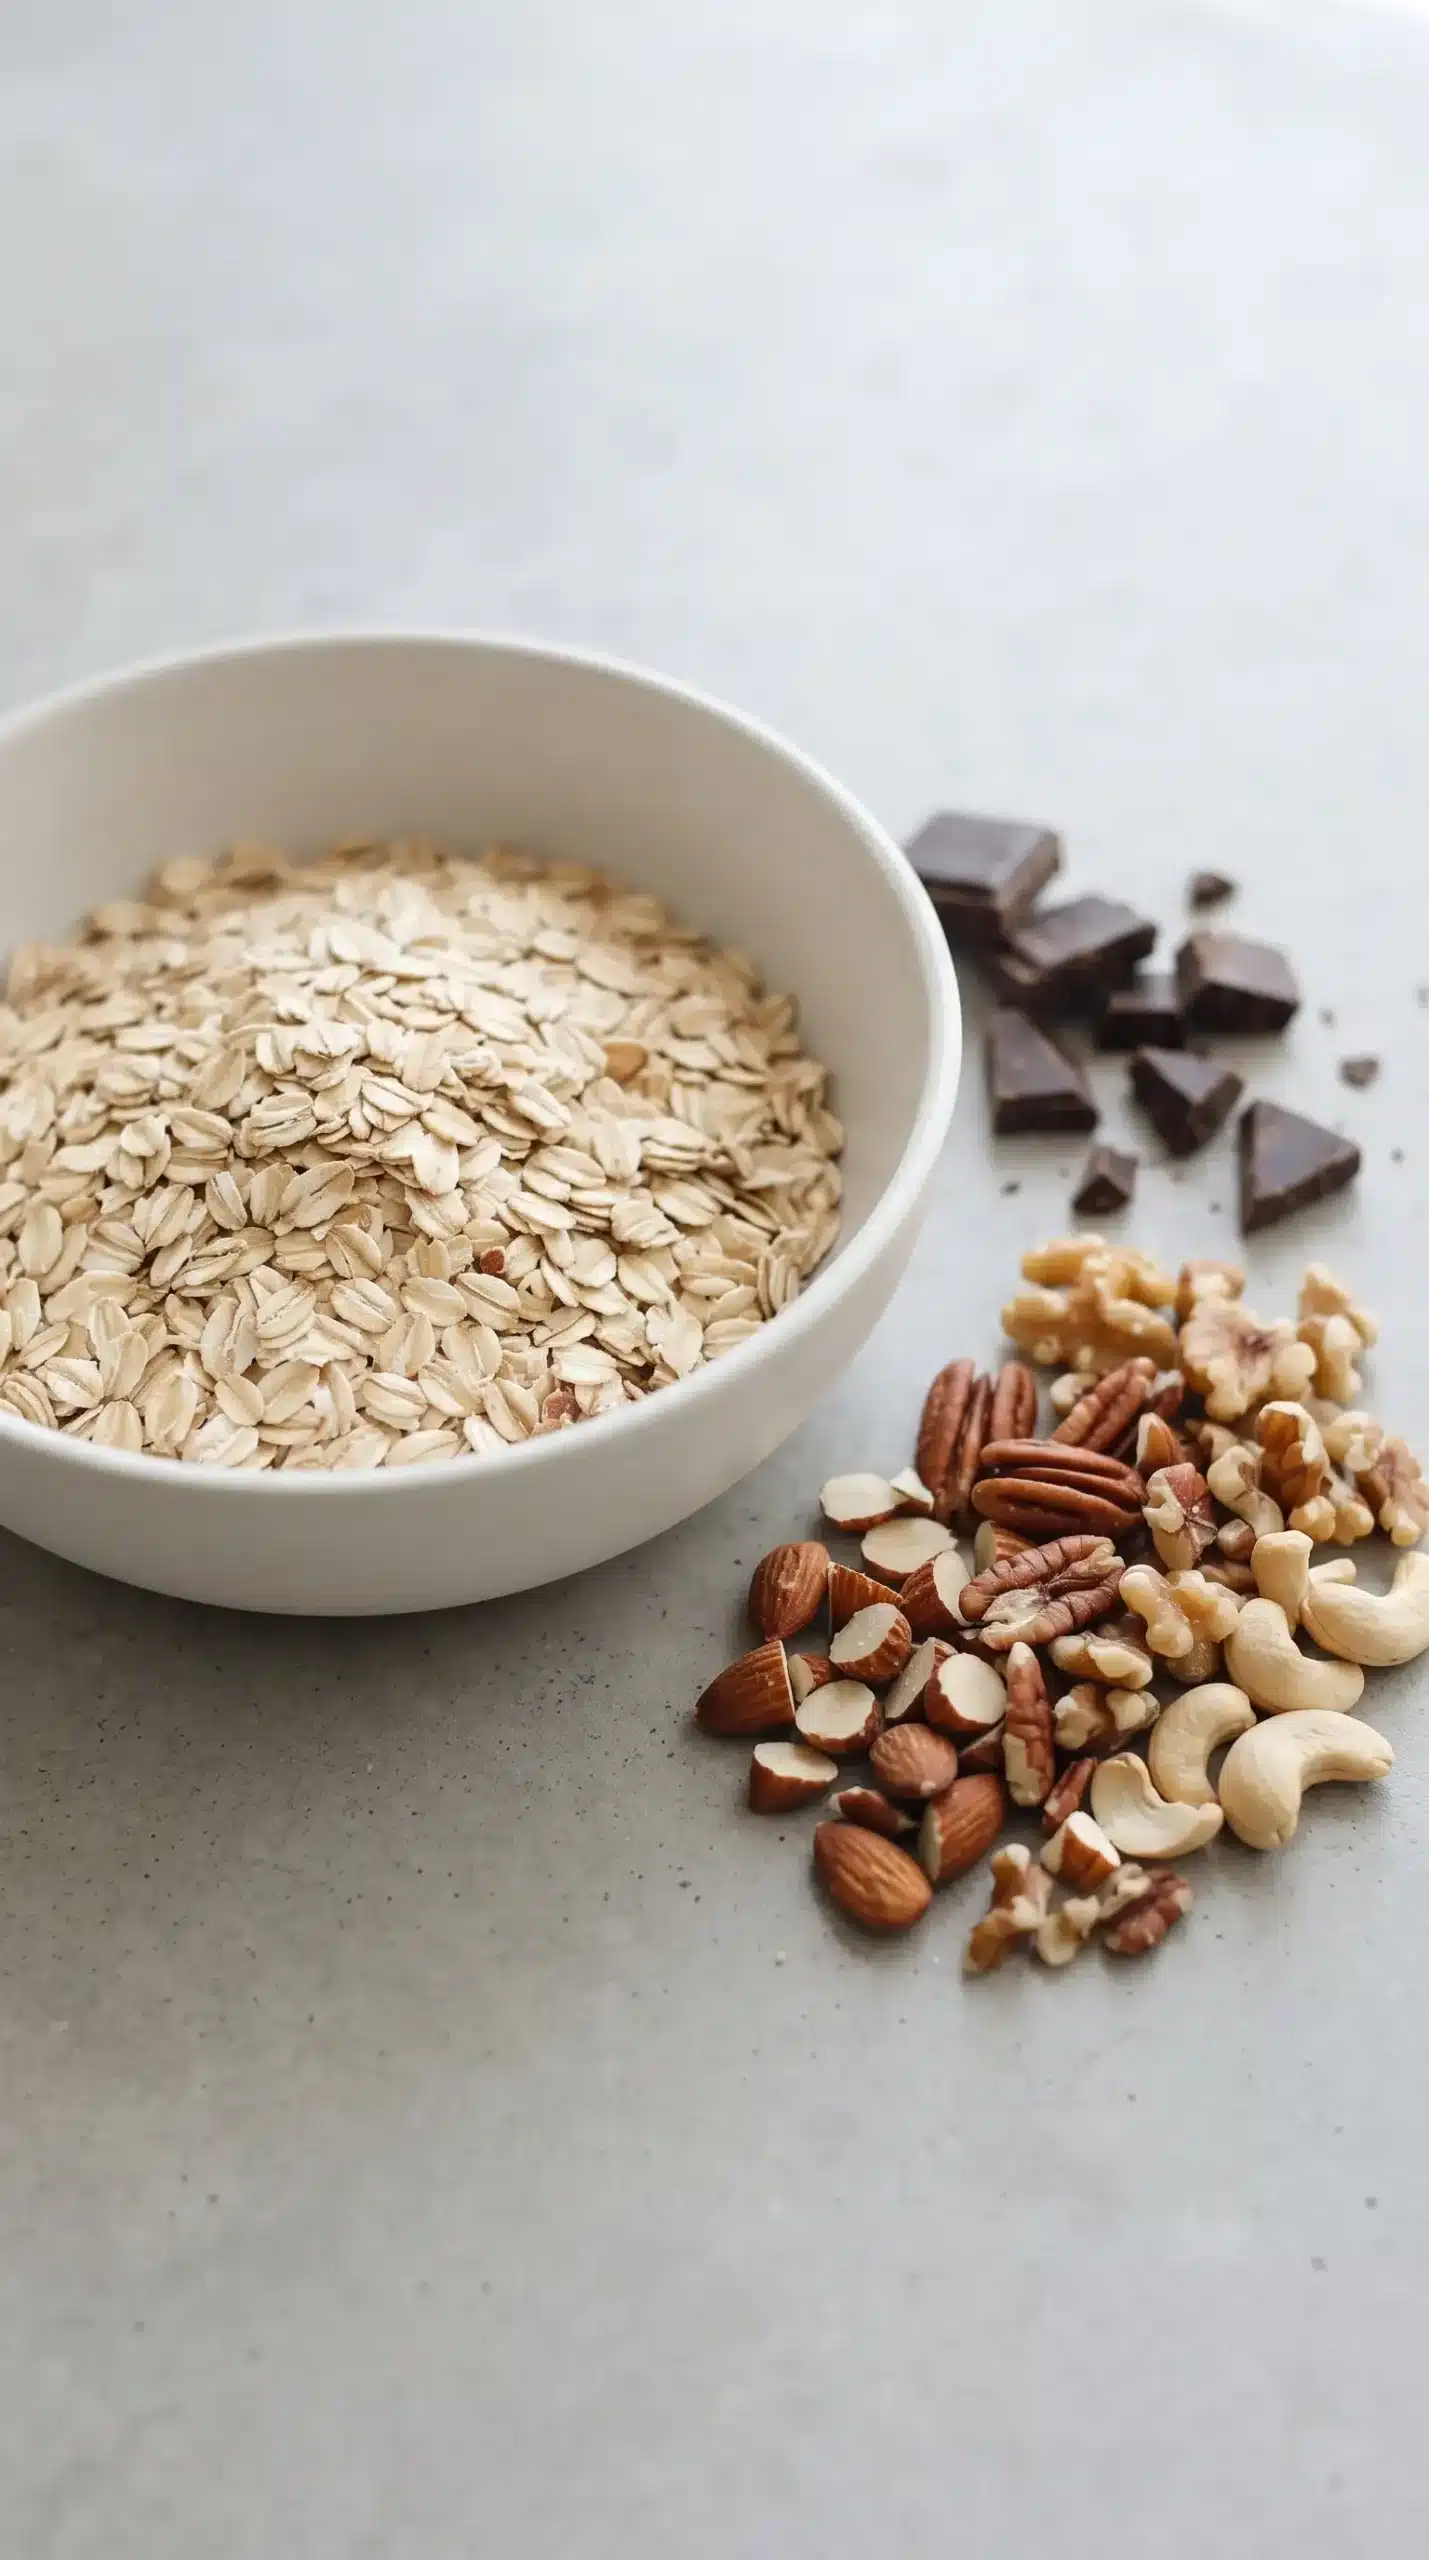
Mixed nuts form the crunchy framework, but their size affects how successfully the slab slices. Large whole pieces can leave gaps and cause sections to break away, while evenly chopped almonds, pecans, walnuts, or cashews settle more tightly around the oats. A combination of varieties creates more texture contrast than a single nut alone.
Rolled oats absorb part of the warm syrup while retaining a hearty bite. Instant oats soften more quickly and can produce a less distinct texture, so broad rolled flakes are the better choice for dark chocolate oat bars with a chewy center. Their sturdy shape fills spaces between chopped nuts, improves cohesion without extra sweetener, and supports clean slicing in oat-based snacks such as peanut butter granola bars.
Freshness matters because stale nuts can make an otherwise balanced batch taste flat or bitter. Lightly toasting raw nuts before mixing deepens their flavor and strengthens the roasted aroma that develops during baking.
Dark Chocolate Needs a Salty Counterpoint
Chocolate with a pronounced cocoa flavor keeps the bars from tasting dominated by honey or maple syrup. Dark chocolate chips are convenient because they distribute evenly, while chopped baking chocolate produces irregular pockets that range from small flecks to softer pools.
Sea salt sharpens the cocoa flavor and prevents the sweetness from feeling one-dimensional. Fine salt mixed into the warm binder seasons the entire batch, whereas flaky salt added after baking creates occasional crisp, salty bursts across the surface.
Semi-sweet chocolate can replace some or all of the dark chocolate when serving children or anyone who prefers a milder cocoa taste. Combining the two preserves richness while softening the bitterness associated with darker chocolate.
Warm Syrup Controls Chewiness and Structure
Honey or maple syrup performs two jobs at once: it sweetens the mixture and connects the dry ingredients. Low heat loosens the syrup enough to coat the nuts and oats evenly without driving off excessive moisture.
Overheated syrup can firm too aggressively as it cools, leaving homemade chocolate nut bars harder than intended. A smooth mixture with light bubbling is sufficient; prolonged boiling is unnecessary and can reduce the pleasantly chewy finish.
Because longer boiling removes more water from a sugar syrup, the binder becomes more concentrated and sets more firmly after cooling. Keeping the heating brief helps preserve the bars’ chewy texture.
| Binder choice | Flavor effect | Practical result |
|---|---|---|
| Honey | Rounded floral sweetness | Creates a familiar chewy snack-bar character |
| Maple syrup | Warm caramel-like depth | Provides a vegan-friendly binding option |
| Overheated syrup | More concentrated sweetness | May produce bars that set too hard |
Firm Pressing Prevents Crumbly Slices
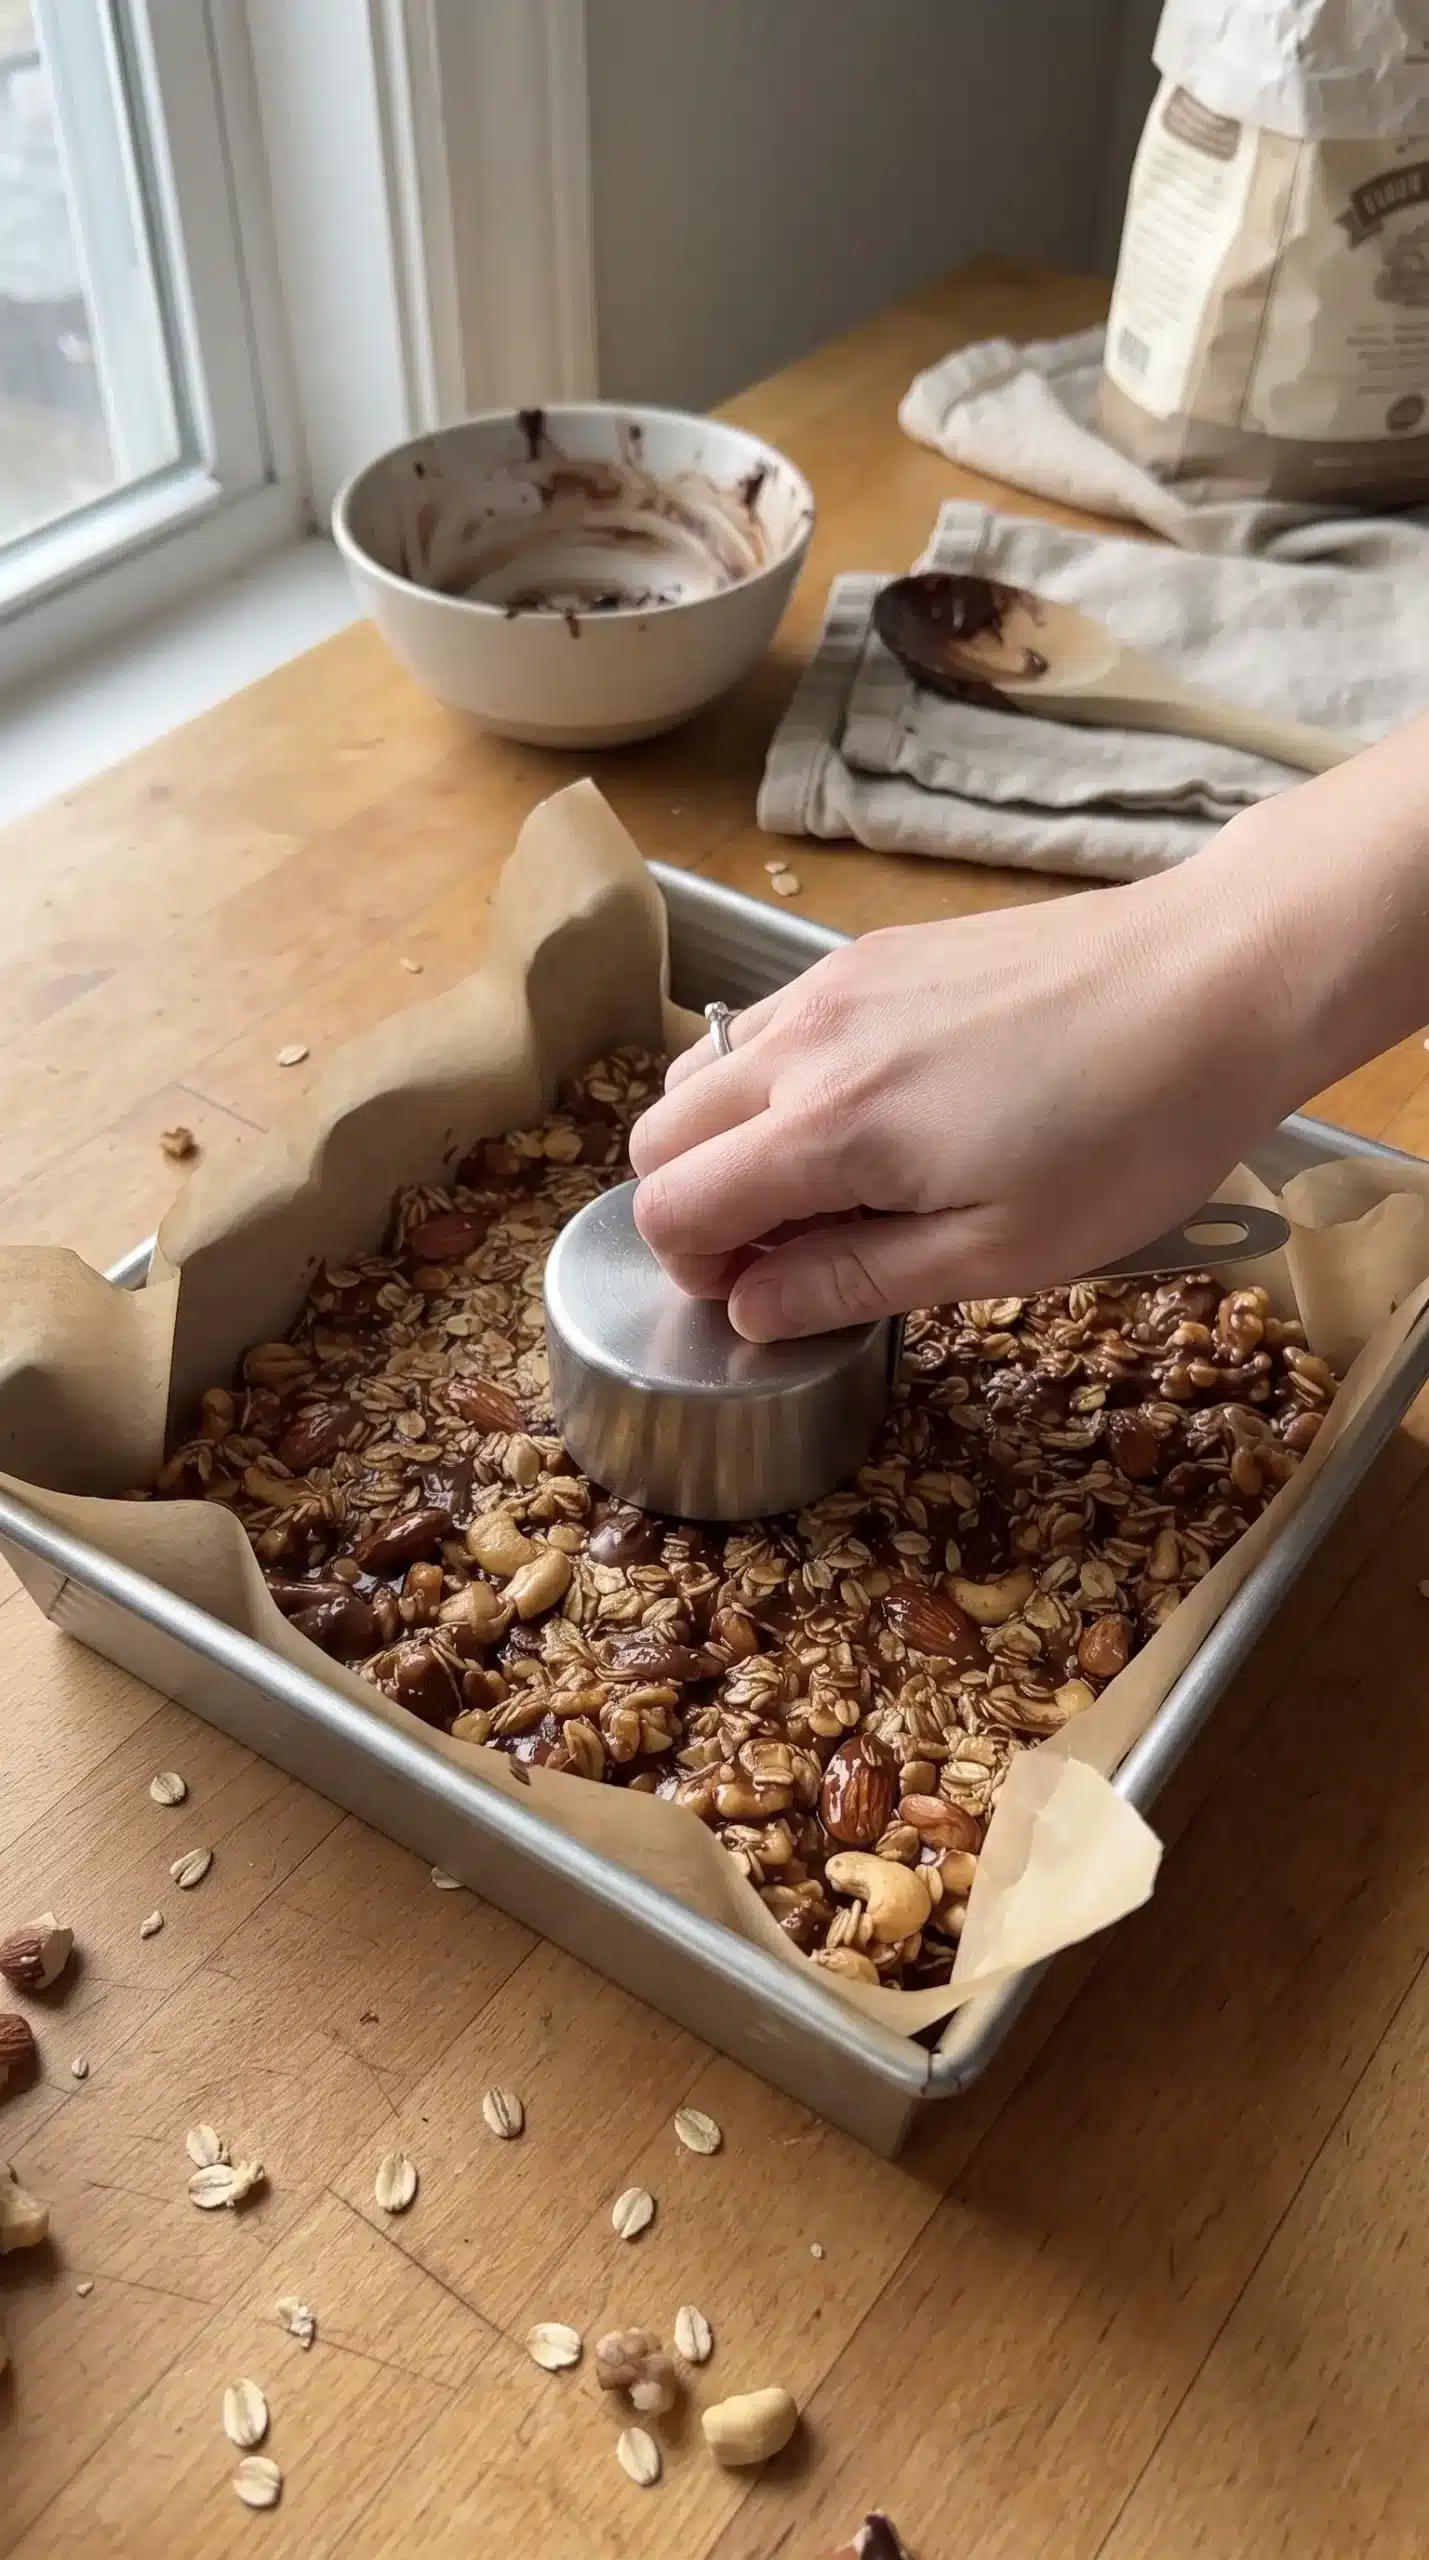
Compression is the most important physical step when preparing dark chocolate nut bars. Once coated, the mixture should be packed tightly into every corner of the parchment-lined pan. A flat measuring cup, sturdy spatula, or smooth glass bottom can apply more even pressure than fingertips.
Loose pockets become weak points after baking. Pressing repeatedly across the surface forces oats and chopped nuts into closer contact with the syrup, creating a dense slab that can be lifted and cut without shedding large clusters.
Parchment paper makes that force easier to apply because the sticky mixture stays contained and the finished slab can be removed intact. Leaving an overhang also provides convenient handles once everything has cooled.
Golden Edges Reveal the Right Bake
Moderate oven heat allows the oats to toast, the nuts to become aromatic, and the syrup to set without scorching the chocolate. The bars are ready when the edges look lightly golden and the surface appears settled, even though the center may still feel somewhat soft.
Waiting for the middle to become hard inside the oven leads to overbaking. Residual heat continues setting the slab after it leaves the pan, and the syrup firms further as its temperature drops.
- Look for: lightly browned edges and a surface that no longer appears wet.
- Smell for: a clear toasted-nut aroma without a burnt-sugar scent.
- Expect: a center that remains slightly yielding while warm.
Dark Chocolate Nut Bar Mistakes to Avoid
Slicing while warm is a common cause of breakage because the binder has not finished setting. Cooling the entire slab before lifting it from the pan gives the syrup and chocolate time to stabilize around the oats and nuts.
Adding excess syrup creates a different problem. The mixture may feel easier to press, but the finished bars can remain sticky instead of developing a clean chewy bite. Maintaining the supplied balance between dry ingredients and binder protects both shape and texture.
Uneven nut pieces can also interfere with slicing. Very large chunks resist the knife and pull neighboring ingredients apart, while powdery crumbs create dense patches. A moderately coarse, consistent chop gives each bar recognizable crunch without weakening its structure.
Heavy surface salting can overwhelm the chocolate. Flaky crystals should be scattered while the slab is still warm so a small amount adheres evenly and delivers contrast without making every bite noticeably salty.
Cooling Creates the Chewy-Crisp Contrast
Freshly baked sea salt nut bars are still flexible because their syrup is hot and the chocolate is soft. As the slab cools, the edges become firmer, the center develops chew, and the chocolate settles into distinct pockets throughout the oat mixture.
Room-temperature bars offer the softest chocolate and the most noticeable chew. Refrigeration produces a firmer bite, increases the snap of the chocolate, and can make precise slicing easier.
| Serving condition | Chocolate texture | Overall bite |
|---|---|---|
| Room temperature | Slightly soft | Chewy with crisp outer edges |
| Refrigerated | Firm with more snap | Denser and crunchier |
| Briefly warmed | Soft and lightly melty | More dessert-like |
Flavor Variations Keep the Base Flexible
A tropical version can include shredded coconut, dried mango, and macadamia nuts. Those additions preserve the contrast between chewy fruit, toasted oats, and crunchy nuts while shifting the flavor away from the classic dark chocolate profile.
Dried cranberries bring tartness that works especially well against rich cocoa. Seeds such as hemp, chia, pumpkin, or sunflower can add texture or replace part of the nuts, although major changes to the dry mixture should remain balanced with the available binder.
Protein powder may be incorporated in a modest amount, but adding too much dry material can make dark chocolate nut bars crumbly. The coated mixture should still look evenly moistened and compact smoothly when pressed.
- For gentle sweetness: combine dark and semi-sweet chocolate chips.
- For tart contrast: add dried cranberries in small pieces.
- For extra crunch: include pumpkin seeds or toasted coconut flakes.
- For smaller portions: cut the cooled slab into snack-sized squares.
Serving Choices Change the Experience
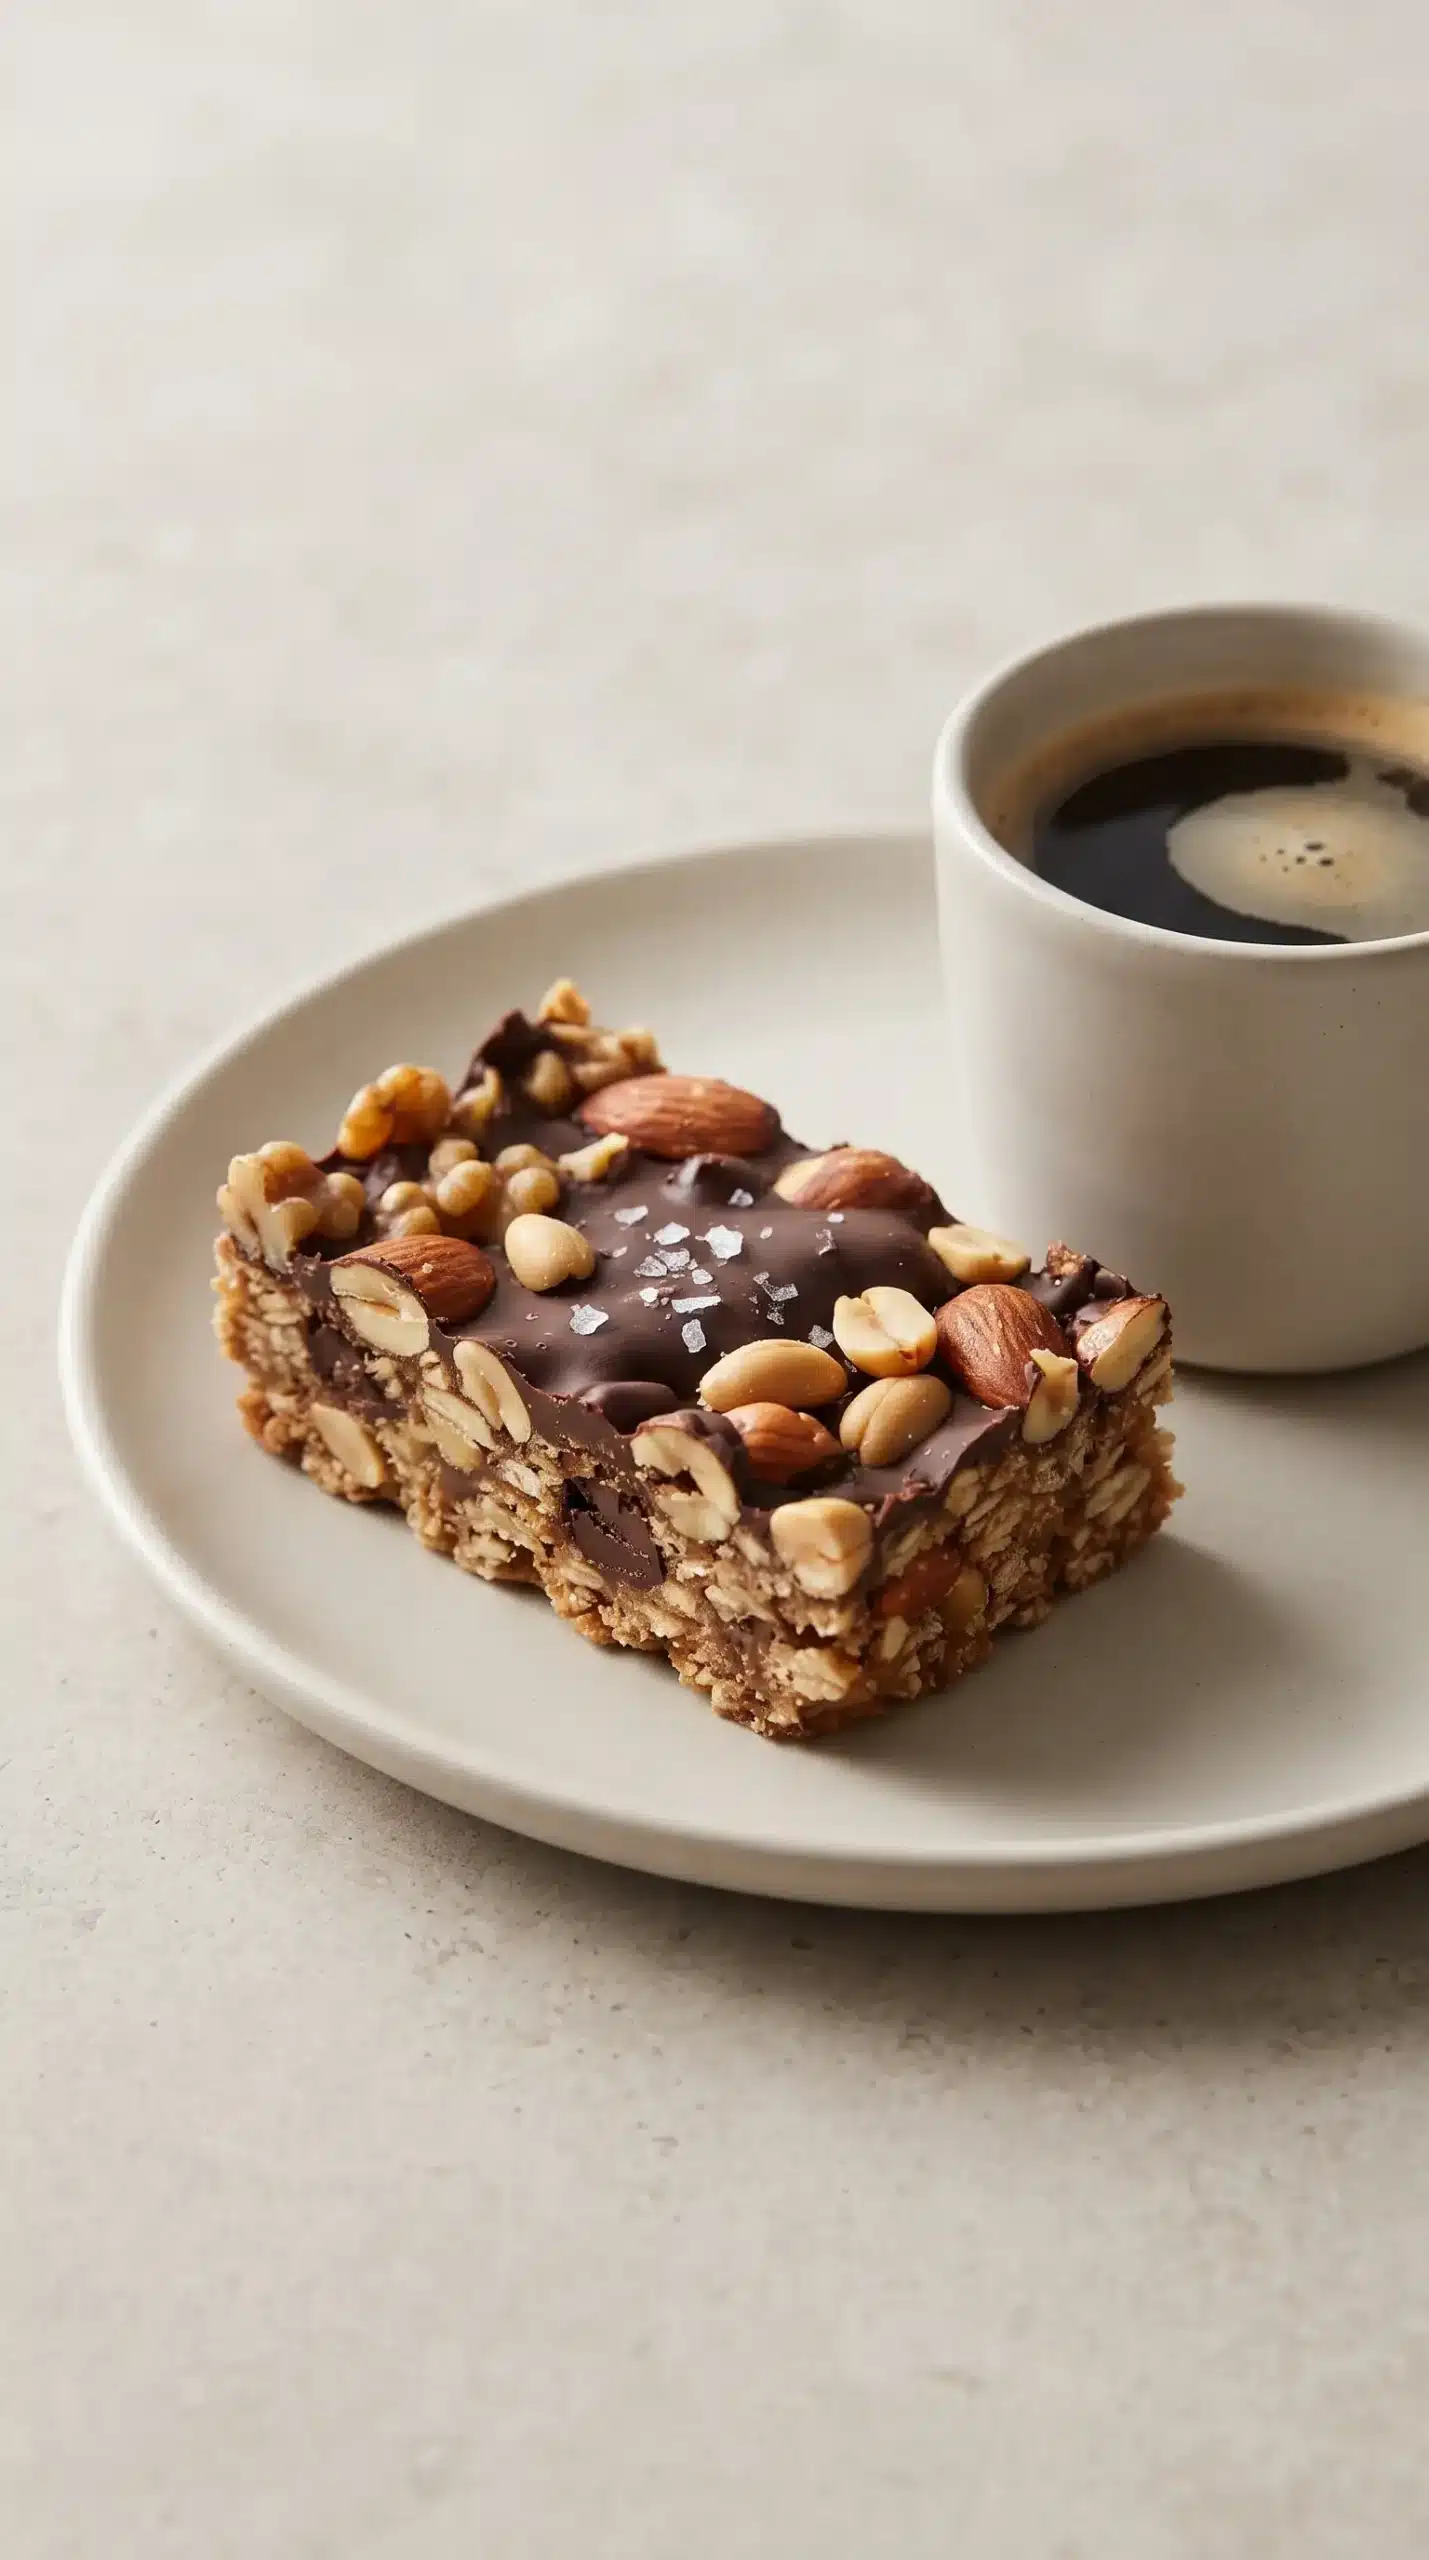
Alongside coffee or tea, the bars provide a sweet-salty bite with enough texture to feel substantial. Milk, yogurt, or a smoothie can turn one portion into a more complete breakfast or afternoon snack.
For a softer dessert presentation, a bar may be warmed briefly and served with Greek yogurt or fresh fruit. The chocolate loosens slightly, while the cool accompaniment balances the toasted nuts and concentrated sweetness.
Travel and lunchbox portions benefit from individual wrapping. Smaller squares are easier to pack, and their compact shape helps protect the edges from breaking during transport.
Storage Protects Chocolate and Crunch
An airtight container limits moisture exposure and keeps the toasted ingredients from softening quickly. Parchment between layers prevents the chocolate surfaces from sticking together, particularly in a warm kitchen.
Refrigerated dark chocolate nut bars remain firmer and crunchier than those kept at room temperature. Letting a chilled portion sit briefly before eating restores some chew without requiring reheating.
Freezing works well for longer preparation cycles. Wrapped portions can be arranged in a sealed container with parchment separators, then thawed individually whenever a ready-made snack is needed.
A few seconds of microwave warming softens both the binder and chocolate. Longer heating can make the syrup sticky and the chocolate overly fluid, so brief intervals offer better control.
Meal Prep Works Best After Complete Cooling
Batch preparation becomes easier when every bar is portioned only after the slab has fully set. Clean cuts create uniform pieces that stack neatly, wrap efficiently, and survive freezing with fewer broken corners.
Chopping nuts and combining the dry ingredients ahead of time reduces active work on baking day. The prepared mixture can remain ready until the syrup is warmed and the pan is lined.
Doubling the batch is practical when enough pans are available, since one portion can be served during the week and another frozen immediately. Keeping the frozen pieces separate avoids thawing more than needed.
Simple Tools Improve Shape and Cleanup
An 8-inch square pan produces a slab thick enough to stay chewy while allowing the perimeter to brown. Metal generally encourages more direct edge browning, while parchment remains valuable in any pan because the sweet binder becomes sticky during baking.
A silicone spatula handles both mixing and pressing without holding much residue. For especially even compression, the flat base of a measuring cup can be moved methodically across the center, sides, and corners.
A sharp chef’s knife gives cleaner cuts through nuts and chilled chocolate. Wiping the blade between passes prevents sticky crumbs from building up and dragging across the next slice.
Budget Choices That Preserve Good Flavor
Rolled oats stretch the nut mixture while maintaining chew and structure, making them especially useful when premium nuts are expensive. Peanuts, sunflower seeds, or a larger proportion of lower-cost nuts can replace part of a more costly blend without removing the essential crunch.
Store-brand oats and pre-chopped baking chocolate can reduce expense without materially changing performance. Small leftover quantities of compatible nuts, seeds, and chocolate chips also fit naturally into homemade chocolate nut bars, provided the overall balance remains close to the original mixture.
Dark chocolate is the most noticeable place to prioritize flavor. A well-balanced chocolate brings enough cocoa intensity to stand up to the syrup and toasted nuts, while fresh nuts prevent stale flavors from undermining the entire batch.
Compression and Cooling Define the Best Bars
Tightly packed oats and nuts create the structure that baking alone cannot provide. Moderate heat then sets the binder and develops toasted flavor, but the slab remains fragile until cooling finishes the work.
Once those two controls are respected, dark chocolate nut bars deliver their intended contrast: crisp golden edges, a chewy oat center, crunchy nut pockets, firm chocolate, and small flashes of sea salt in every portion.
Crumbly Bars and Substitution Questions Answered
Why do my bars fall apart after baking?
Insufficient pressing, oversized nut pieces, or cutting before the slab has cooled can leave weak gaps between ingredients. Compact the mixture firmly and wait until it is fully set before slicing.
Can certified gluten-free oats be used?
Certified gluten-free rolled oats are suitable when a gluten-free result is required, and they preserve the broad flakes needed for the intended chewy texture.
Can the bars be made without baking?
A chilled version is possible, but it will be softer, less toasted, and less crisp because the oats, nuts, and syrup will not undergo the same oven setting.
Which nuts are easiest to slice cleanly?
Cashews and pecans offer a gentler bite, while almonds and walnuts provide firmer crunch. Any variety works more cleanly when chopped into moderately small, even pieces.
How can I make the bars vegan?
Maple syrup can replace honey as the binder, and the chocolate should be checked to ensure that its ingredients meet the desired vegan standard.
What can replace some of the nuts?
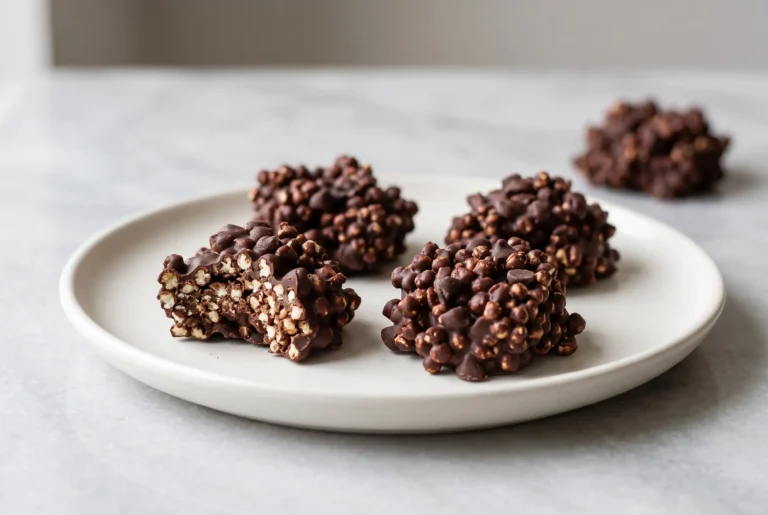
Sunflower seeds, pumpkin seeds, coconut flakes, or crispy rice cereal can replace a portion of the nut mixture, with the dry ingredients kept balanced enough to remain evenly coated.
Dark Chocolate and Sea Salt Nut Bars
Ingredients
Method
- Preheat oven to 350°F / 175°C and prepare an 8x8-inch baking pan by lining it with parchment paper.
- Add mixed nuts, rolled oats, and dark chocolate chips to a large bowl and stir to combine.
- Heat honey or maple syrup, vanilla extract, and sea salt in a small saucepan over low heat until the mixture is smooth and begins to bubble lightly.
- Pour the warmed syrup mixture over the nut and oat mixture, then stir until everything is evenly covered.
- Spread the mixture into the prepared baking pan and compact it firmly into an even layer.
- Bake for 20–25 minutes until the edges are golden, the nuts are toasted, and the bars are set.
- Add flaky sea salt over the warm bars, then allow them to cool completely before slicing.