Banana Bars with Peanut Butter and Chocolate Chips
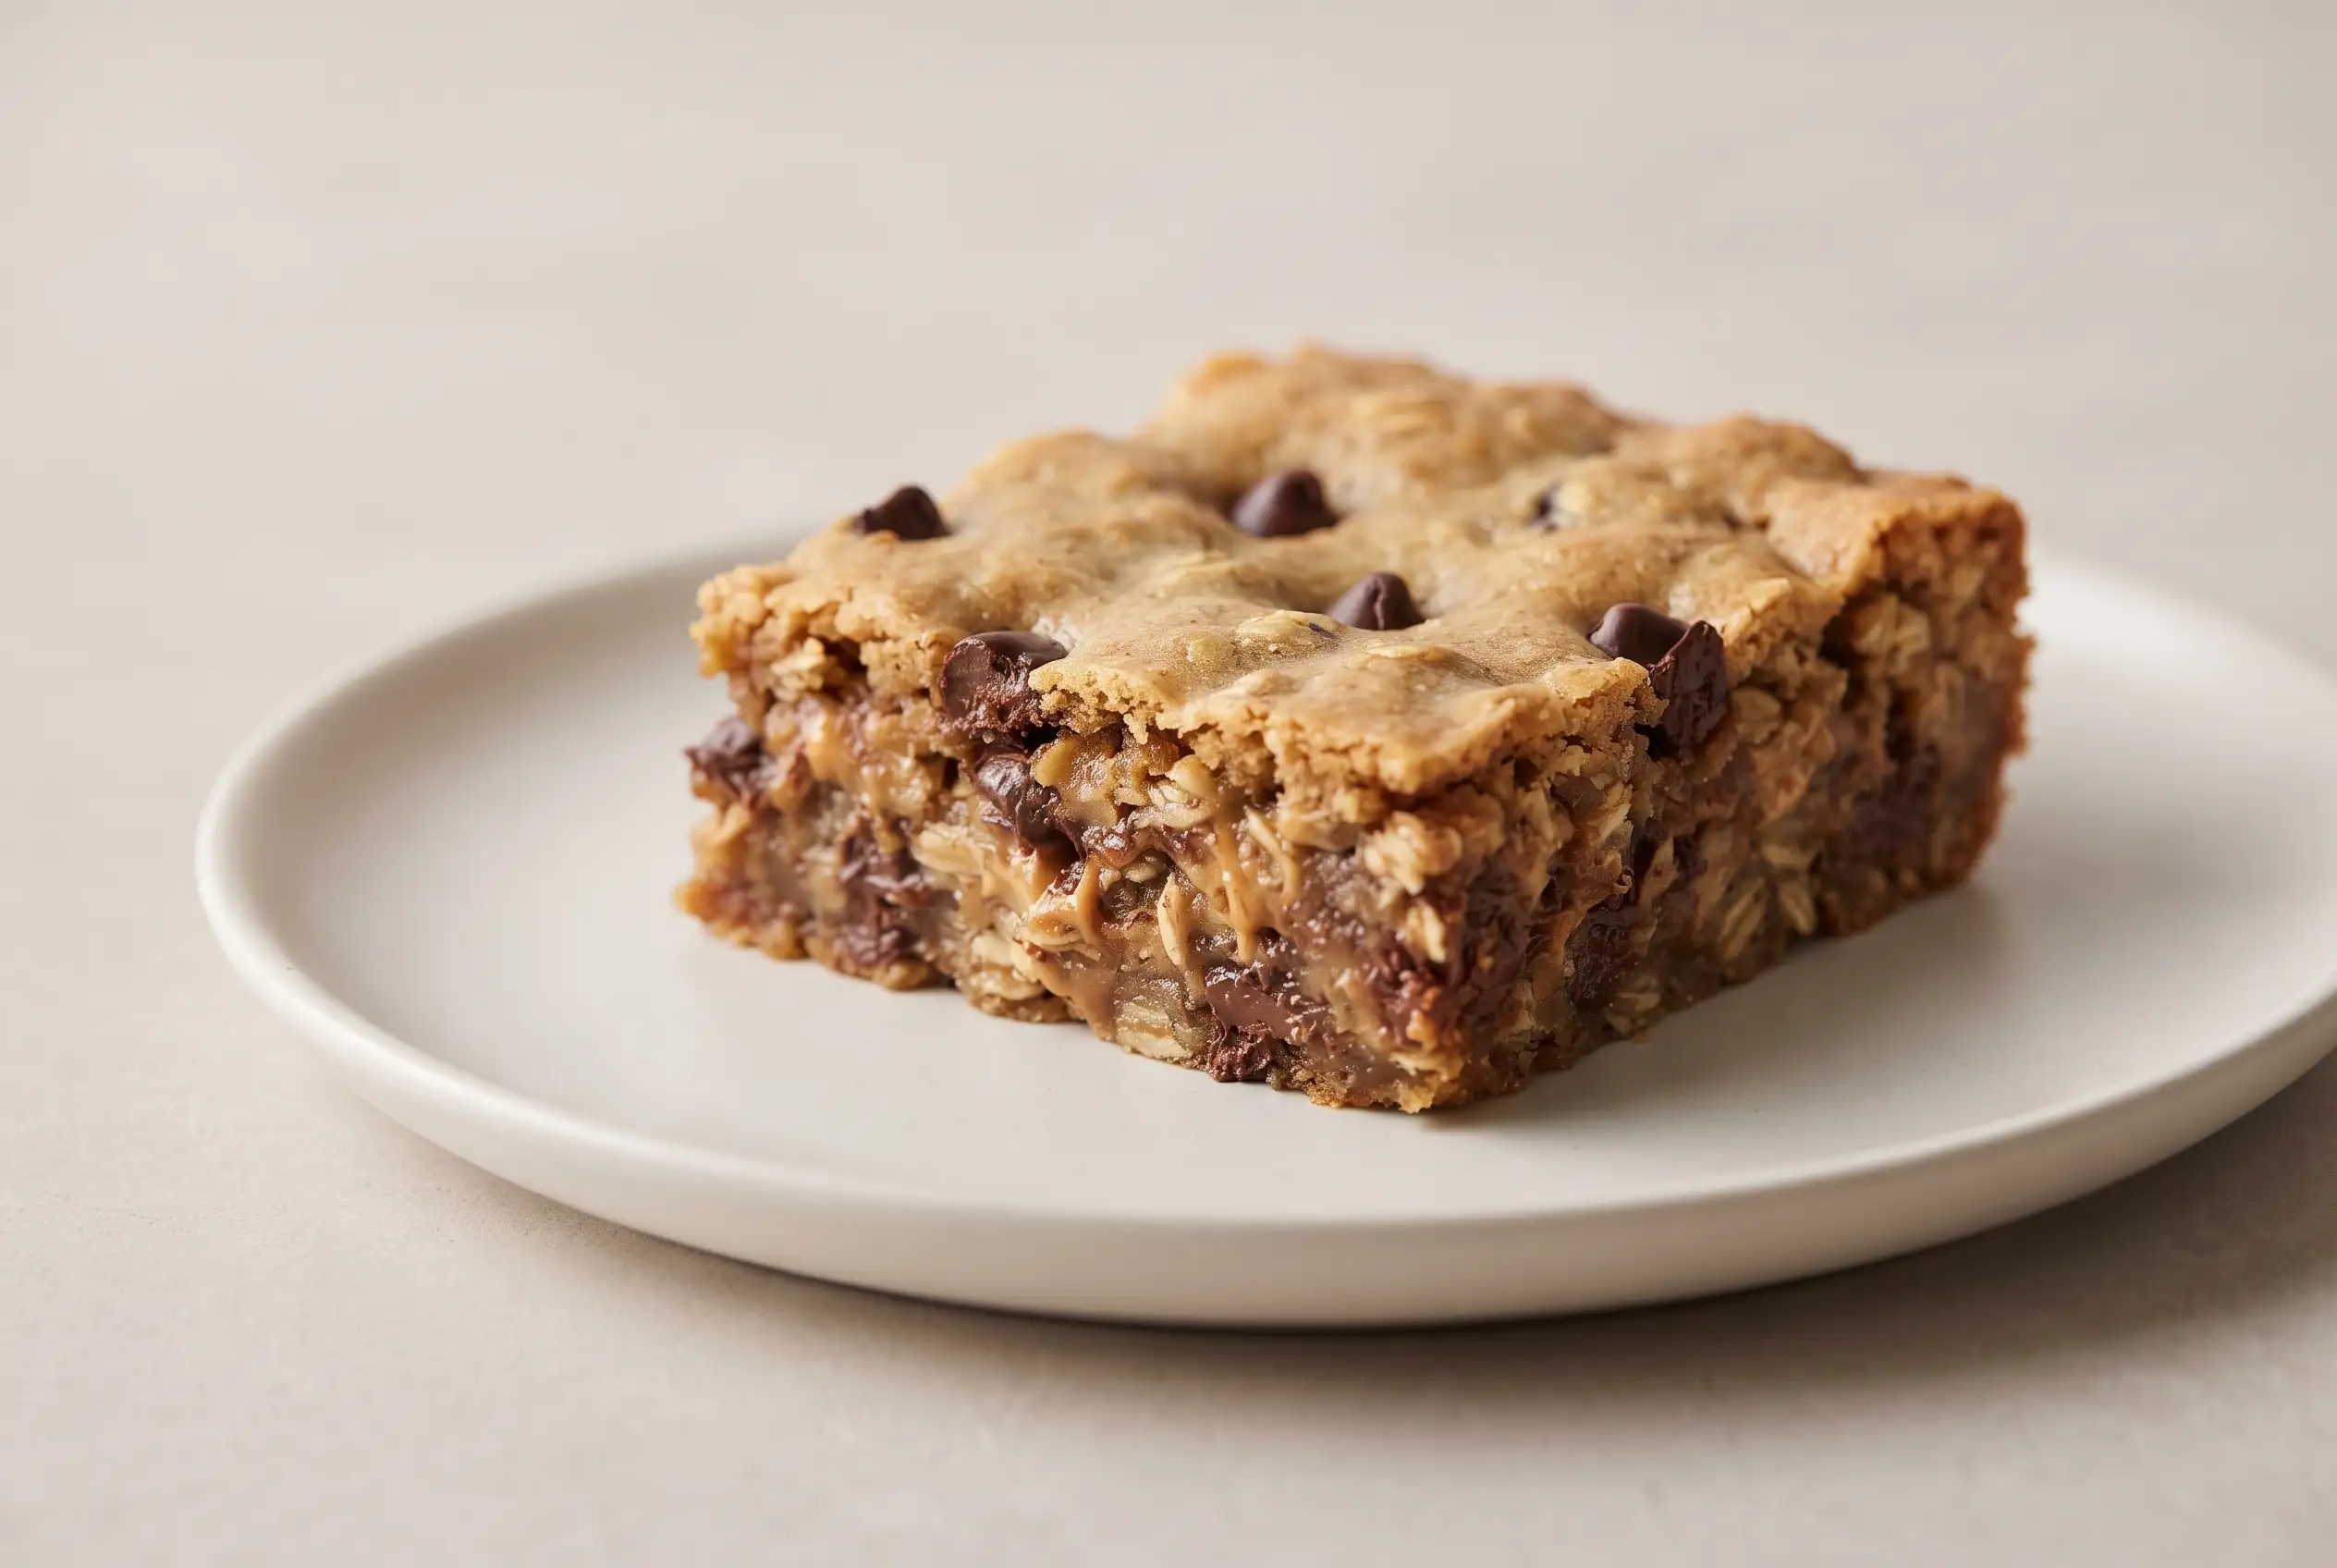
Banana bars turn overripe fruit, rolled oats, peanut butter, and chocolate chips into a soft, chewy snack with no refined flour. Their dense oatmeal texture, natural sweetness, and simple one-bowl preparation make them practical for breakfast, lunchboxes, post-workout snacks, or a lighter homemade dessert.
Only four main ingredients are needed, yet each one has an important structural role. Ripe bananas supply moisture and binding power, oats absorb that moisture, peanut butter adds richness and stability, and chocolate creates small pockets of sweetness throughout the baked slab.
Unlike dry granola bars, these healthy banana bars remain tender after cooling and become even fudgier in the refrigerator. They also freeze well, travel easily, and offer a useful way to turn heavily spotted bananas into prepared snacks.
Four Ingredients Create a Complete Snack Bar
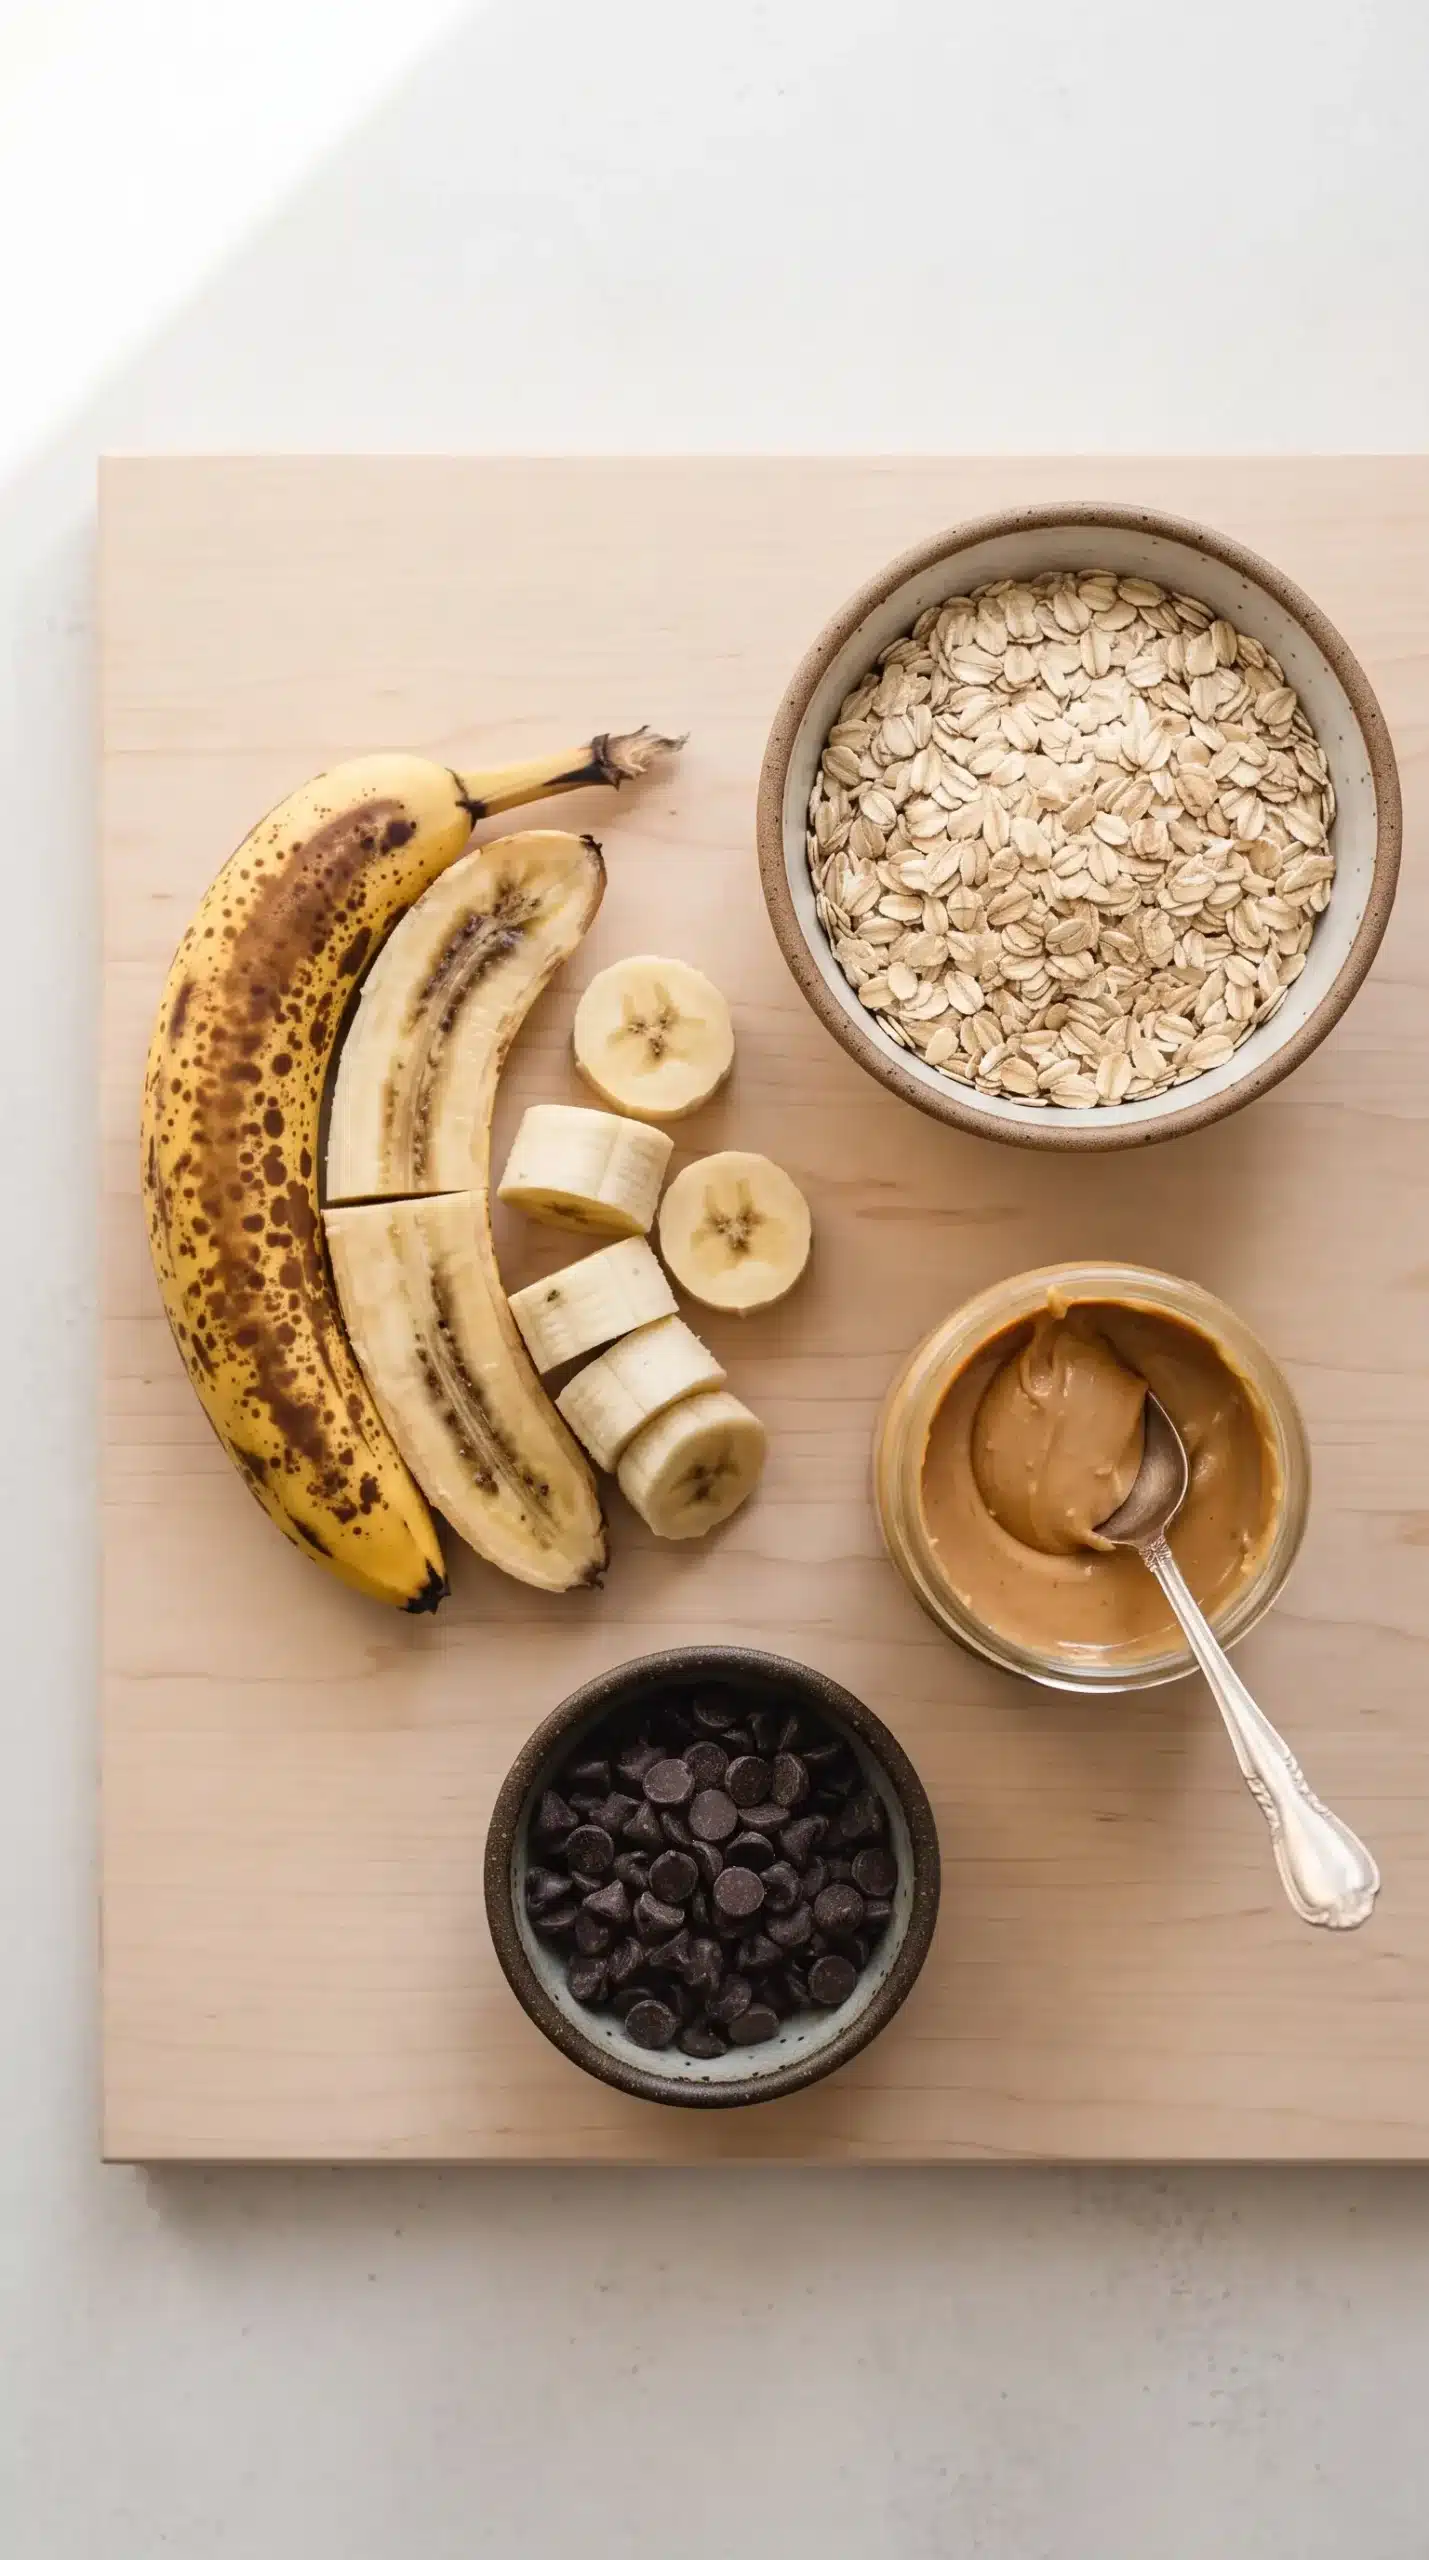
Simple formulas work best when every ingredient contributes more than flavor. In 4 ingredient banana bars, mashed fruit replaces added sweetener and eggs, while peanut butter and oats work together to create enough body for slicing.
Chocolate chips are the smallest part of the mixture, but they provide contrast against the mellow banana and hearty oats. Mini chips distribute especially evenly, although standard chips also create appealing melted pockets.
Because no flour is used, the finished texture does not resemble cake or traditional banana bread. Expect a compact, moist bar that sits between baked oatmeal, a soft granola bar, and a chewy banana cookie.
Very Ripe Bananas Improve the Result
Heavily spotted bananas are the best choice because their softer flesh mashes smoothly and brings more natural sweetness and moisture than firm yellow fruit. Under-ripe bananas can leave the mixture less cohesive and produce bars with a drier, less flavorful center.
Oat and Peanut Butter Choices Matter
Rolled oats create the heartiest chew because they soften gradually while retaining visible texture. Quick oats can be substituted when a softer, more uniform bar is preferred, particularly for younger children, but instant oats may make the slab noticeably less chewy.
Quick oats are steamed longer and rolled thinner than old-fashioned rolled oats, so they soften more quickly and create a more uniform texture throughout the bars.
Peanut butter should blend smoothly into the mashed bananas without leaving thick streaks. Standard shelf-stable peanut butter works well, while almond butter, cashew butter, or sunflower seed butter can provide a similar creamy base when dietary needs require a change.
Chocolate may be dark, dairy-free, or sugar-free according to preference. For a gluten-free version, use oats that meet the required gluten-free standard, and choose sunflower seed butter when a peanut-free option is needed.
Thorough Mixing and Firm Packing Prevent Crumbling
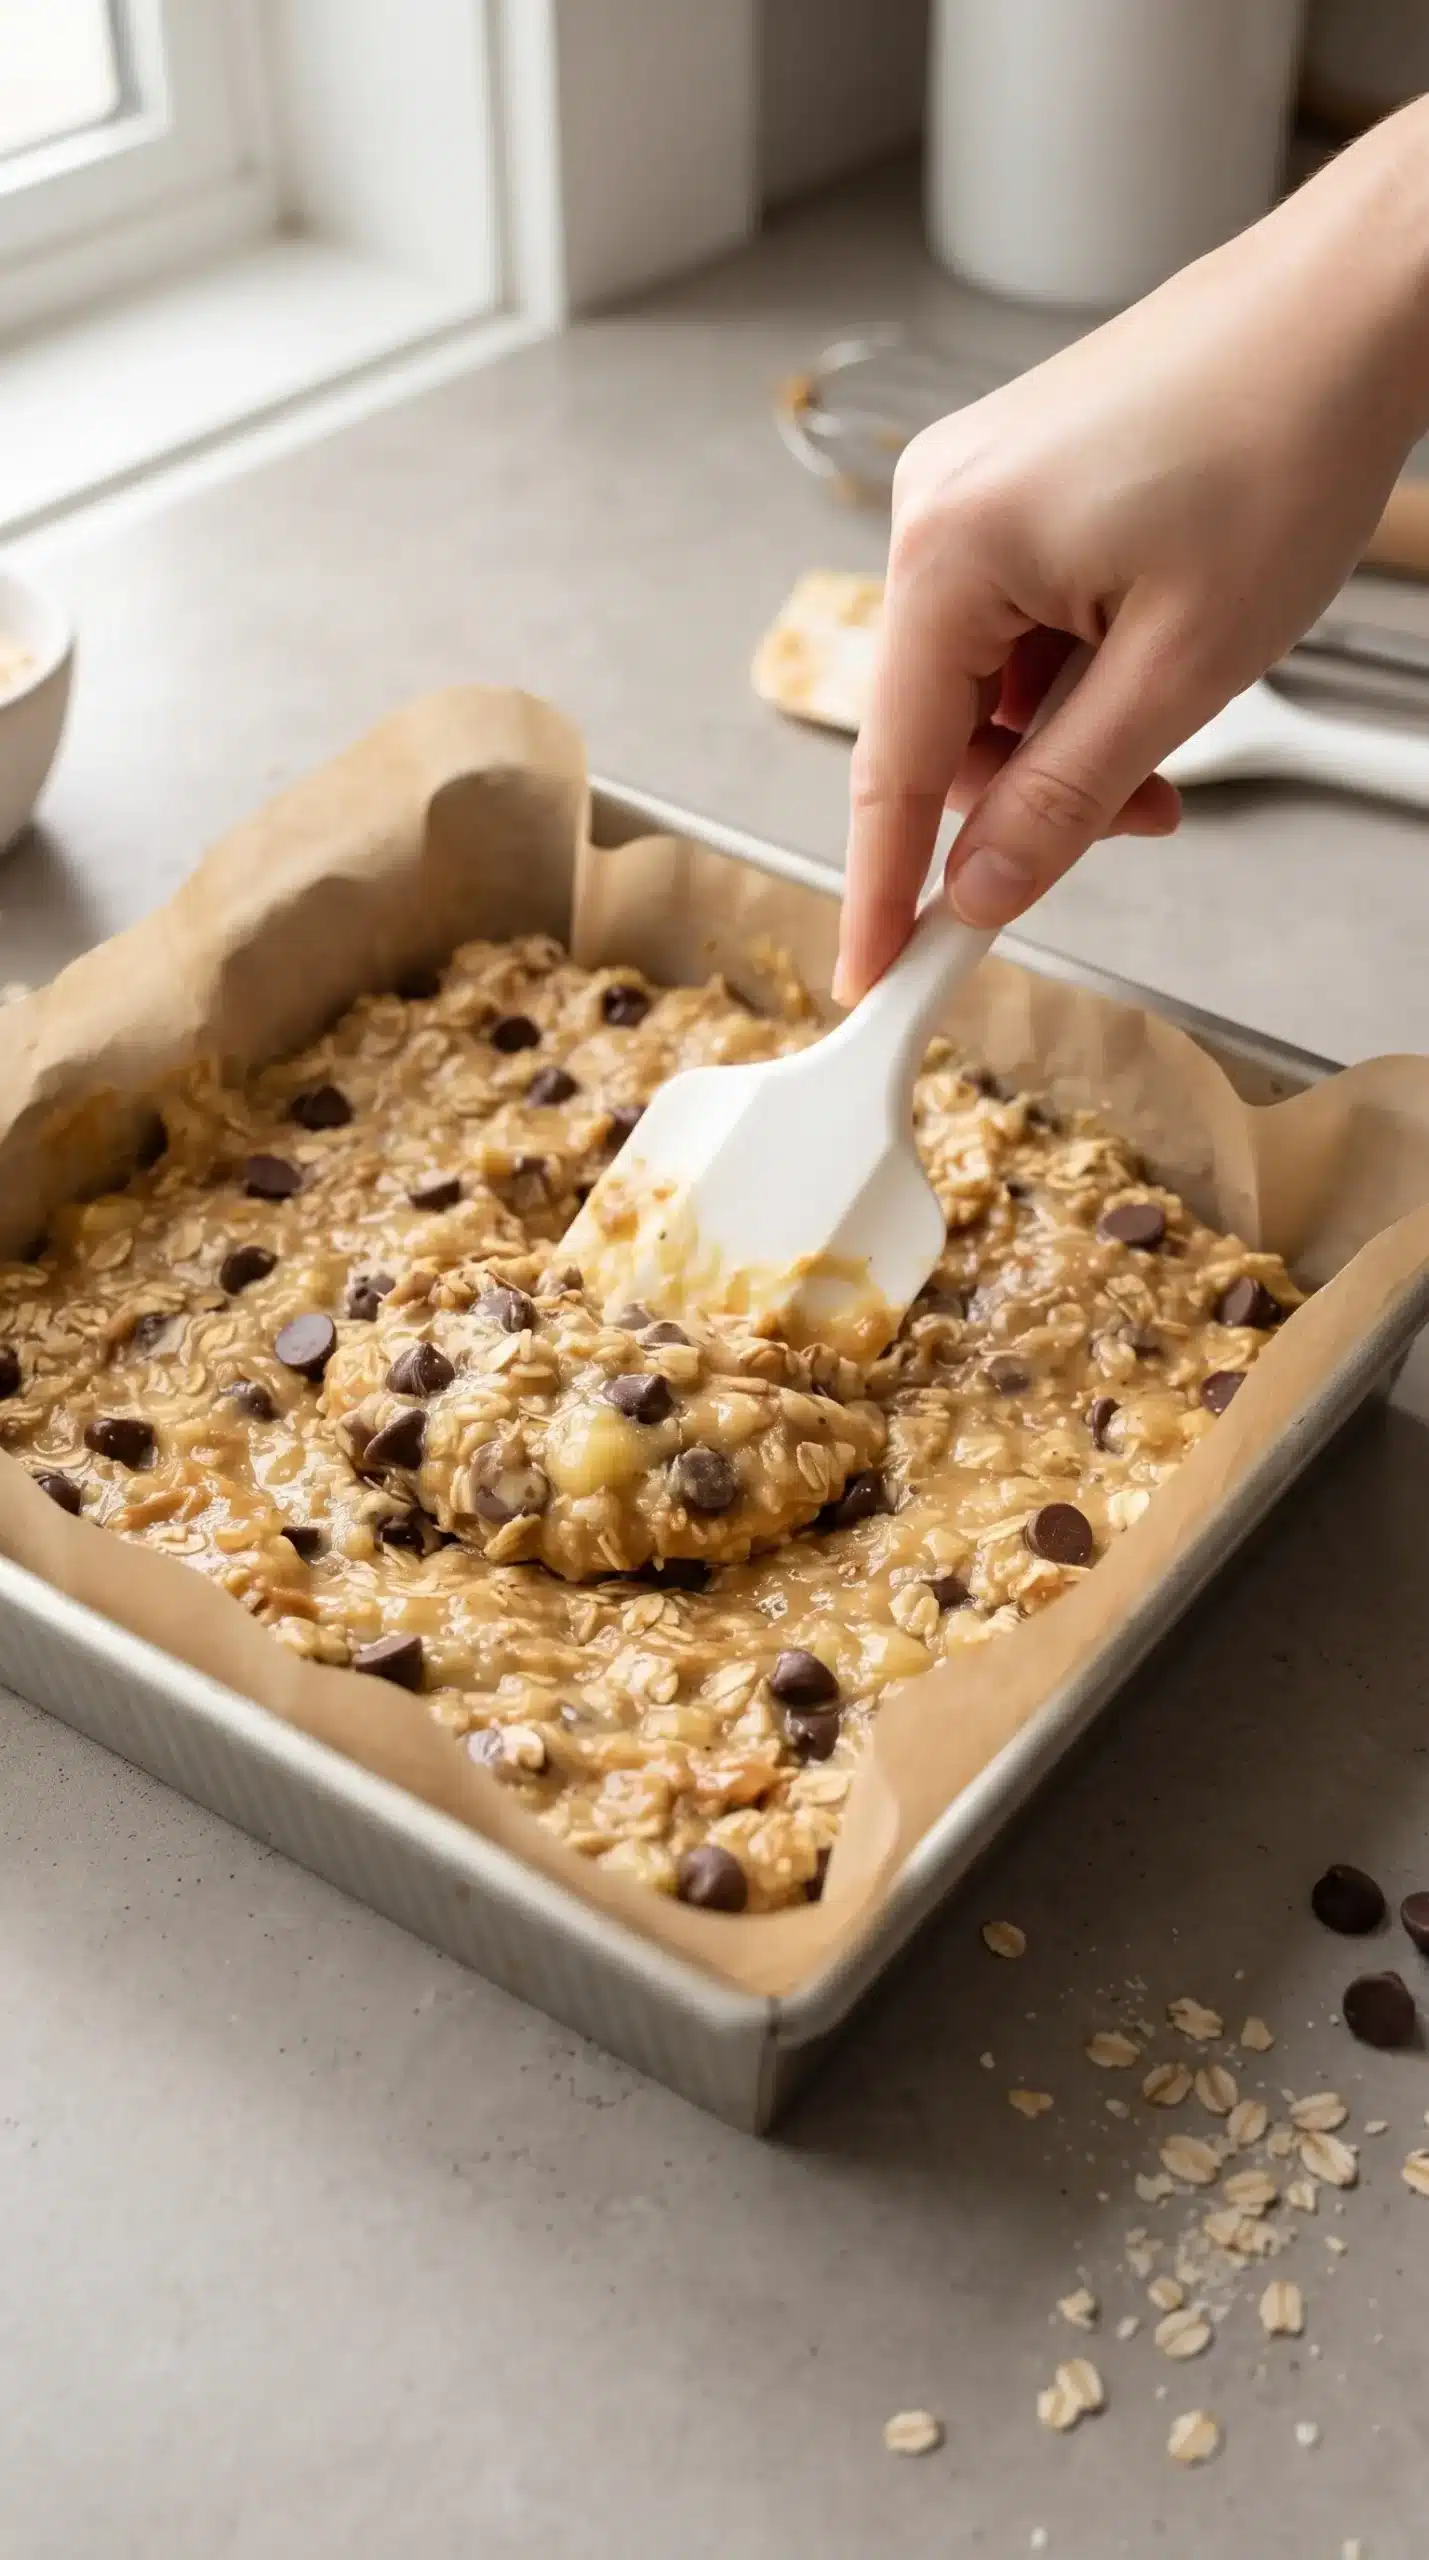
Begin by mashing the bananas until no large pieces remain, then stir in the peanut butter until the mixture looks uniform. Once the oats and chocolate are added, continue folding until every dry oat is coated; untouched pockets absorb too little moisture and can weaken the finished bars.
Transfer the thick mixture to a parchment-lined 8-inch square pan and press it firmly into the corners. An even, compact layer is more important than a perfectly polished surface because loose areas are more likely to separate during slicing.
Gentle Baking Protects the Chewy Center
Bake at 350°F until the edges are lightly golden and the middle looks set, about 12 to 14 minutes. The center may still feel soft when the pan leaves the oven, but continued cooling firms the oat and peanut butter structure without sacrificing moisture.
Cooling Determines Whether the Bars Slice Cleanly
Warm banana oatmeal bars are delicate because their internal moisture and fats have not settled. Leave the slab in the pan until completely cool before lifting it with the parchment and cutting it into portions.
For especially neat edges, refrigerate the cooled slab briefly before slicing. Chilling firms the peanut butter and chocolate, making each piece easier to separate without dragging or crumbling.
A metal pan can create slightly firmer edges than glass, while the center remains soft. Regardless of pan material, overbaking should be avoided because additional oven time removes the moist texture that distinguishes banana bars from crisp oat bars.
Banana Bar Mistakes That Weaken Texture
| Mistake | Visible Result | Better Decision |
|---|---|---|
| Using firm bananas | Less sweetness and a drier mixture | Choose heavily spotted, soft fruit |
| Leaving banana chunks | Uneven moisture and weak sections | Mash until consistently smooth |
| Packing the pan loosely | Bars break apart when lifted | Compress the mixture into an even layer |
| Slicing while warm | Soft edges drag and crumble | Cool fully before cutting |
| Baking too long | Dry, firm centers | Remove once the middle appears set |
Flavor Variations Keep the Base Flexible
Small additions can change the personality of the bars without replacing the core banana, oat, and peanut butter structure.
- Banana-bread warmth: Add cinnamon, nutmeg, or chopped walnuts for a familiar spiced flavor.
- Extra chocolate: Mix in cocoa powder and additional chocolate chips for a richer variation.
- Protein boost: Replace part of the oats with protein powder, then add chia seeds or hemp hearts if desired.
- Nut-free batch: Use sunflower seed butter in place of peanut butter.
- Fruit-forward option: Skip the chocolate and use raisins with cinnamon.
Any dry addition should be used thoughtfully because the original moisture balance depends on the bananas. Large amounts of powder or seeds can make the mixture stiffer and may reduce the soft center.
Flaky sea salt can be scattered lightly over the surface before baking when stronger sweet-salty contrast is wanted. Mini chocolate chips are another useful adjustment because they spread more evenly through every portion.
Breakfast and Snack Pairings Add Balance
Serve healthy banana bars with Greek yogurt, fresh fruit, milk, coffee, tea, or a smoothie. Their dense oat base makes them useful as a portable breakfast, while a smaller square works well as a lunchbox treat or pre-workout snack.
For dessert, warm a portion briefly so the chocolate softens and the center becomes more cookie-like. Chilled pieces offer the opposite experience, with a denser texture similar to fudgy baked oatmeal.
Storage Changes the Texture in Useful Ways
Keep cooled portions in an airtight container at room temperature for up to three days, or refrigerate them for up to one week. Room-temperature pieces remain soft and chewy, while refrigerated bars become firmer and fudgier.
Freezing Makes Weekly Snack Prep Easier
Wrap individual portions and freeze them for up to three months so only the amount needed has to be thawed. Separate wrapping also prevents the pieces from sticking together and makes grab-and-go packing easier.
Thawed bars can be eaten cool, brought to room temperature, or microwaved briefly for a softer center. No complicated reheating is necessary, which is one reason banana bars fit easily into busy routines.
Double batches are practical when enough ripe bananas are available. Freeze half soon after cooling, then keep the remaining portions refrigerated for breakfasts and snacks during the current week.
Family-Friendly Adjustments Soften Every Bite
For younger children, pulse the rolled oats briefly or use quick oats to create a smoother crumb. Cutting the slab into narrow strips, small squares, or bite-sized portions can also make the snack easier to handle.
Mini chocolate chips prevent one bite from containing most of the chocolate, and extra-ripe bananas increase sweetness without adding sugar. A little cinnamon or vanilla can shift the flavor closer to banana bread when peanut butter tastes too dominant.
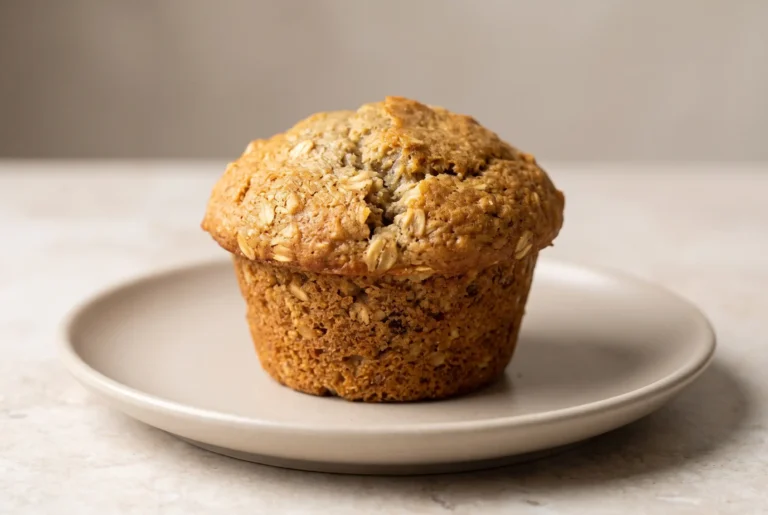
Sunflower seed butter and dairy-free chocolate provide useful allergy-conscious adaptations. A mini muffin pan can turn the mixture into individual banana bites with soft centers and slightly firmer edges. Fill each cavity only about two-thirds full; taller banana oatmeal muffins require a muffin-specific formula rather than extra banana bar batter.
Low-Cost Choices Preserve the Core Quality
Store-brand rolled oats and standard peanut butter keep the cost low without changing the basic structure. Discounted overripe bananas are particularly useful because the darkest, softest fruit often produces the sweetest batch.
Basic Equipment Is Enough for Reliable Bars
A large mixing bowl, fork or potato masher, sturdy spoon, parchment paper, and an 8-inch square baking pan cover the essential work. A silicone spatula helps compress the mixture evenly, while a bench scraper or sharp knife can produce cleaner portions after cooling.
Pre-cut parchment sheets reduce preparation and cleanup, and frozen ripe bananas can be thawed whenever a batch is needed. Once thawed, their softened texture makes mashing especially quick.
- Freeze ripe fruit: Peel bananas before storing them so they are ready to thaw and mash.
- Pre-measure oats: Keep batch-sized portions in containers for faster one-bowl mixing.
- Line the pan first: Prepare the parchment before combining ingredients because the mixture becomes thick quickly.
- Cool before portioning: Preserve clean edges by delaying slicing until the slab has set.
Moisture Control Defines Successful Banana Bars
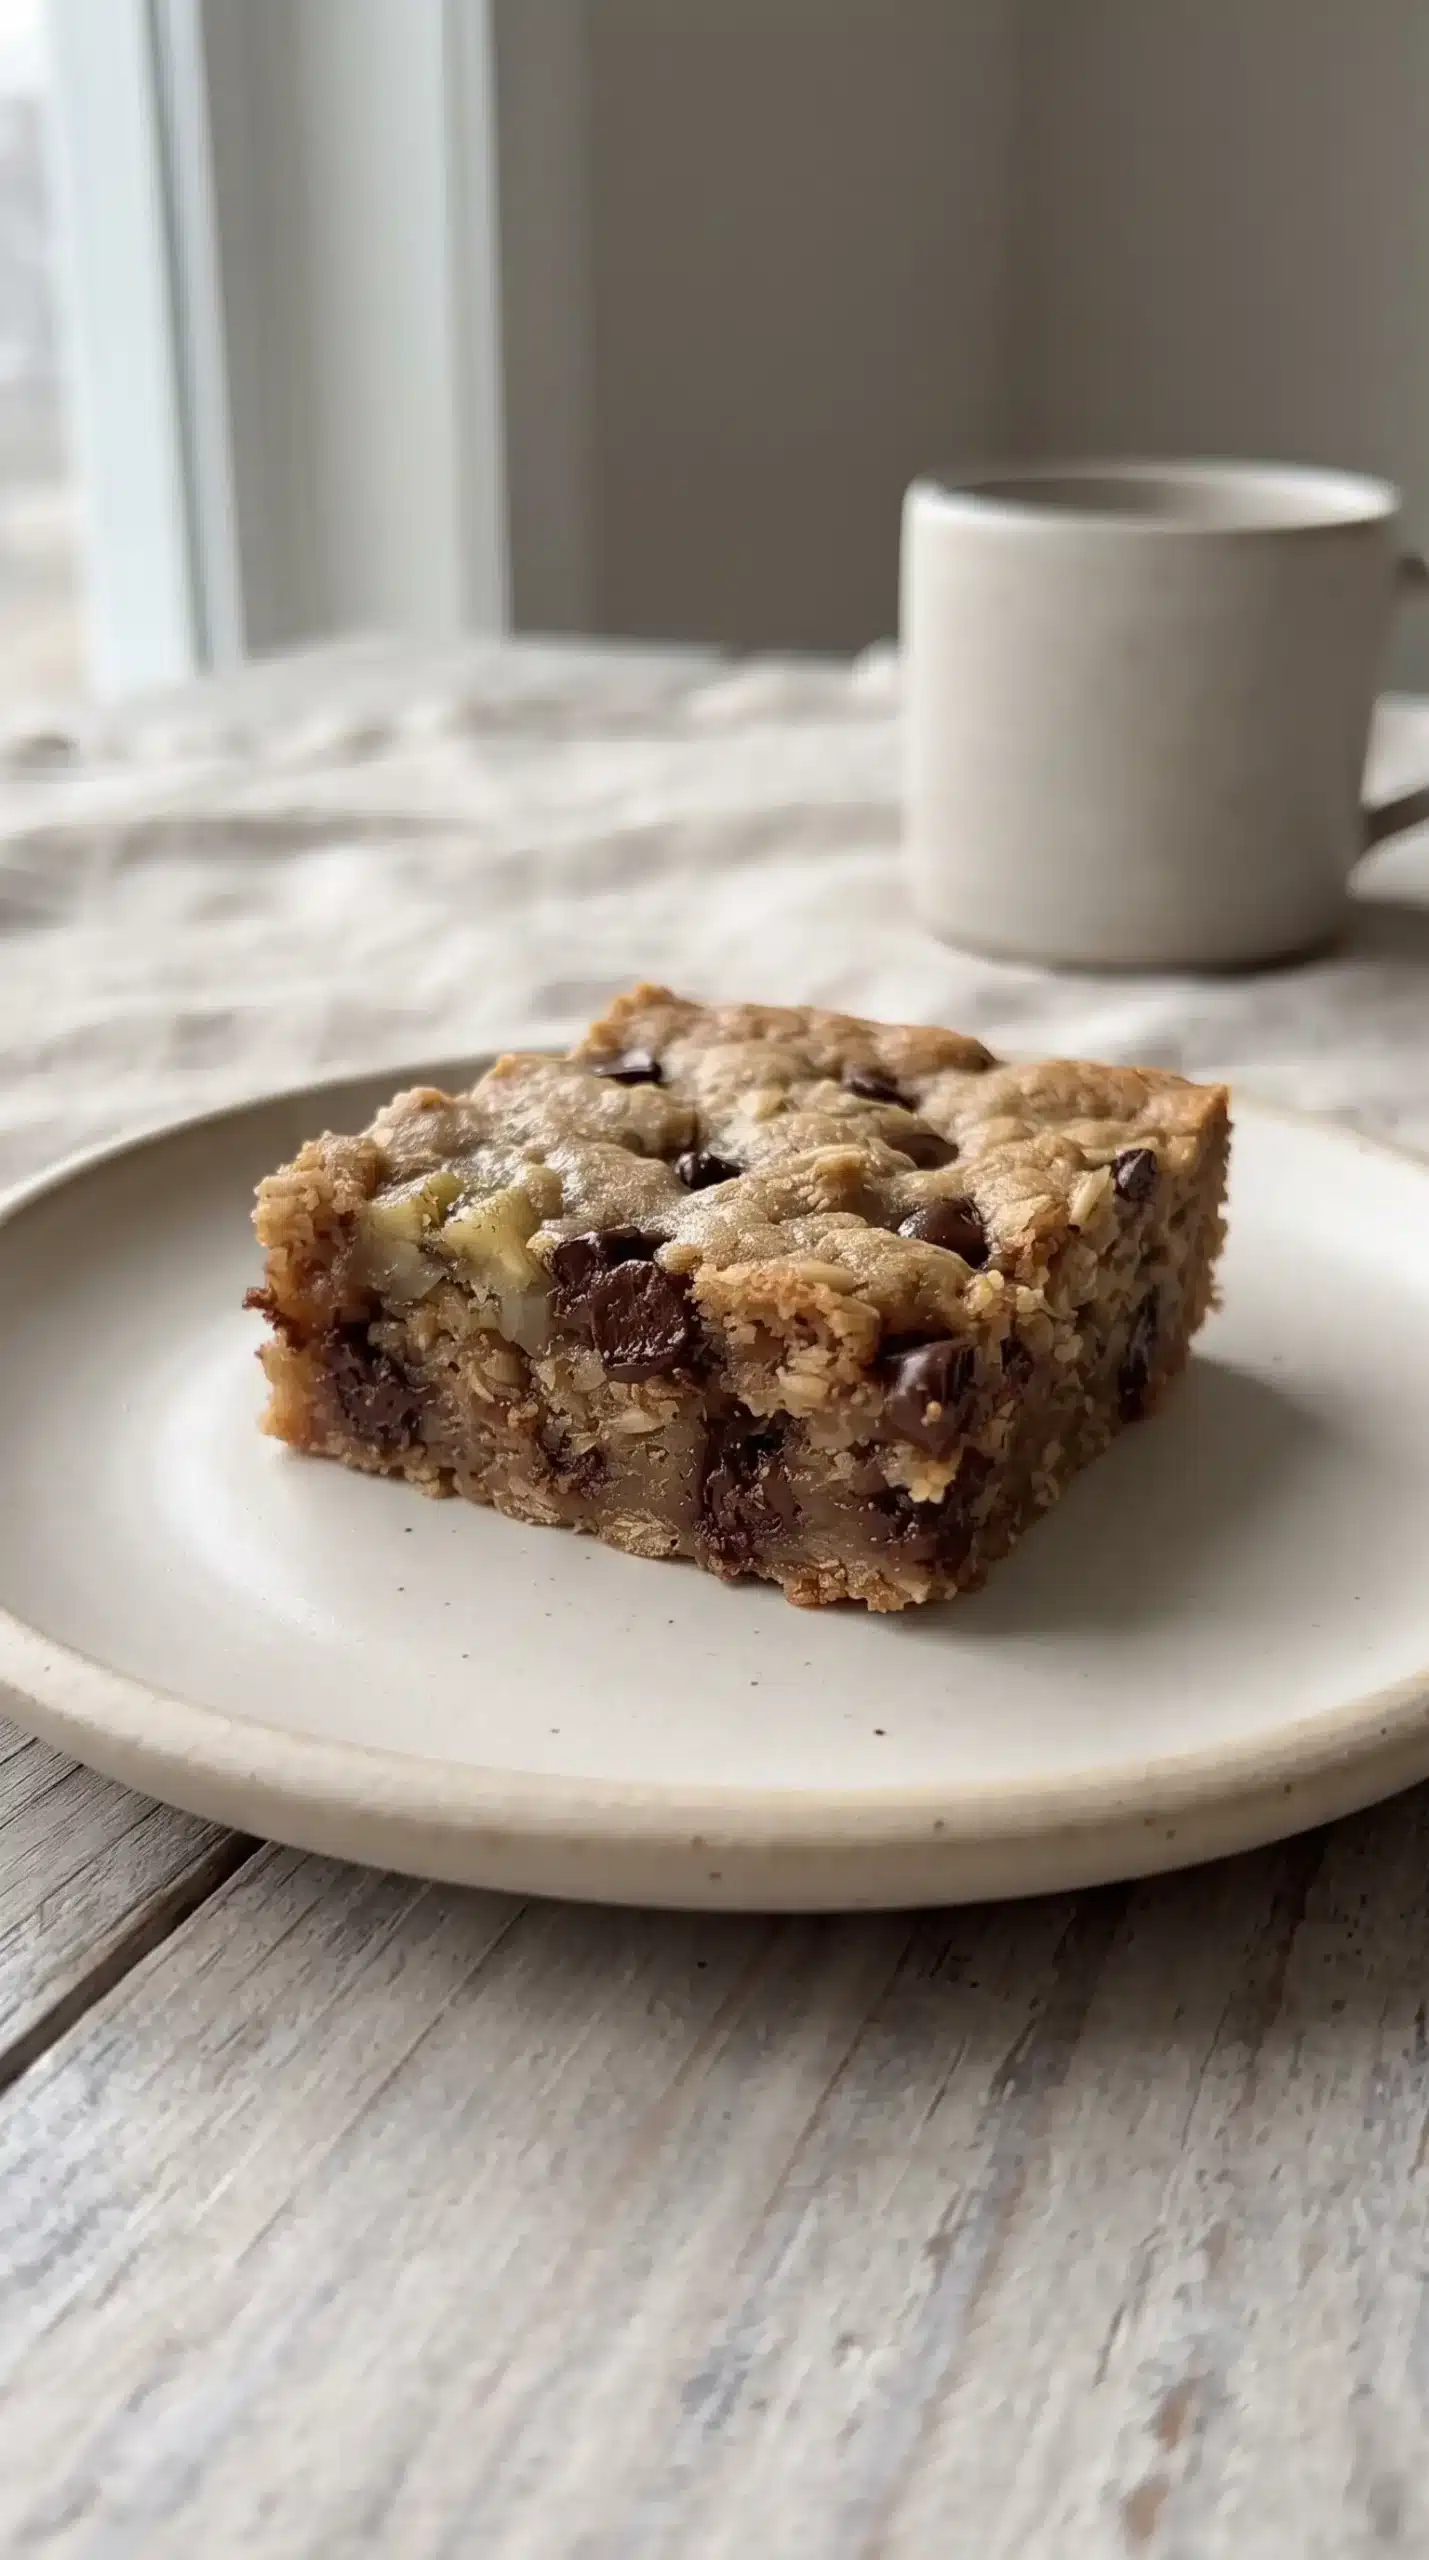
Smooth ripe bananas, fully coated oats, firm pan packing, and restrained baking all lead to the same desirable result: a cohesive slab with lightly set edges and a tender middle. When those controls are handled carefully, banana bars remain chewy enough for snacking yet sturdy enough to pack, refrigerate, and freeze.
Complete cooling finishes the structure that baking begins. Giving the oat mixture time to settle preserves the moist banana center while allowing twelve practical portions to hold their shape.
Banana Bar Texture and Storage Questions
Why do my bars feel too soft after baking?
The center naturally remains tender when it first leaves the oven. Allow the entire slab to cool fully, then refrigerate it briefly if a firmer, cleaner-cut texture is preferred.
Can frozen bananas be used after thawing?
Thawed bananas work well because they become soft and easy to mash. Include the released banana moisture when mixing so the oats receive the liquid needed for binding.
How can I make the bars less peanut-forward?
Use a milder nut or seed butter and add cinnamon or vanilla for a more noticeable banana-bread profile. Chocolate chips can also be reduced when a simpler fruit-and-oat flavor is desired.
Why are the edges firm while the middle stays moist?
The pan edges receive heat more directly, so they set faster than the center. That contrast is normal and gives each portion enough exterior structure to support the softer interior.
Can the bars be packed directly from the freezer?
Individually wrapped portions can be transferred from the freezer to a lunch container and allowed to thaw before eating. Their compact oat structure makes them suitable for portable meal prep once fully cooled and wrapped.
Banana Bars with Peanut Butter and Chocolate Chips
Ingredients
Method
- Preheat oven to 350°F / 175°C and prepare an 8x8-inch baking dish with parchment paper.
- Mash the ripe bananas in a large bowl until mostly smooth.
- Mix the peanut butter into the mashed bananas until evenly blended.
- Stir in the rolled oats and chocolate chips until the mixture is well combined.
- Spread the mixture into the prepared baking dish, pressing it into the corners and leveling the surface.
- Bake for 12–14 minutes until the edges are lightly browned and the middle is firm.
- Allow the banana bars to cool fully before slicing.